Imagine losing 40% of potential customers before they’ve even looked at your products. That’s what can happen if your site is only available in one language.
Research has shown that most online shoppers prefer buying products in their native language, with 76% favoring websites in their mother tongue, and those 40% we mentioned are all potential customers who refuse to buy from a store that isn’t available in their language.
For WooCommerce store owners targeting international markets, offering a multilingual store is not really an option – it’s essential. However, managing multiple languages while maintaining site performance presents significant challenges, especially when handling product data and custom fields.
In this guide, you’ll learn practical solutions for:
- Creating fast, multilingual product translations
- Managing custom field translations effectively
- Setting up multilingual URLs and currencies properly
Let’s begin!
The importance of a multilingual WooCommerce store
Should store owners invest in multilingual functionality when browsers offer automatic translation? Absolutely, and here’s why:
First, native language shopping drives better results. So it’s easy to see why stores that use professional multilingual solutions often see higher conversion rates compared to those relying on browser translations.
Second, a multilingual store brings several advantages:
- Search engine visibility improves as each translated version creates unique, indexable content that ranks for language-specific keywords. This multiplies your opportunities to reach new customers through organic search.
- Customer experience becomes more professional with consistent translations across your entire store – from product descriptions and shipping details to payment processes and support documentation. This builds trust through attention to detail.
- Market credibility increases when you offer professionally translated content rather than automated translations. It shows commitment to serving international customers properly and understanding their needs.
Three main solutions dominate the WooCommerce translation space: WPML, Weglot, and TranslatePress. While each takes a different approach, this guide focuses on WPML due to its comprehensive WooCommerce integration. WPML handles everything from currency management to inventory synchronization across languages.
Drawbacks of using a multilingual plugin
Before implementing a multilingual solution, you need to understand some important drawbacks. The most common issue is plugin compatibility: Not all WordPress plugins work smoothly with translation tools.
So, before you install a multilingual plugin, verify compatibility with your existing setup. If you’re building a new store, choose plugins specifically tested for multilingual compatibility, like Studio Wombat’s products.
Keep in mind that no matter how optimized the plugin is, site performance will still be affected, as adding translation functionality inherently increases server load and can slow down your site. Of course, there is always the option of multisite installations, but they come with their own technical challenges when used with WooCommerce.
Step by step to creating your first multilingual WooCommerce store with WPML
There are 2 main things you need to do to start using WPML – install the correct set of plugins and then set up your site correctly. Here’s how to do that:
Step 1: Download and install WPML
Let’s walk through the initial setup:
1. Download the WPML plugin from your account.
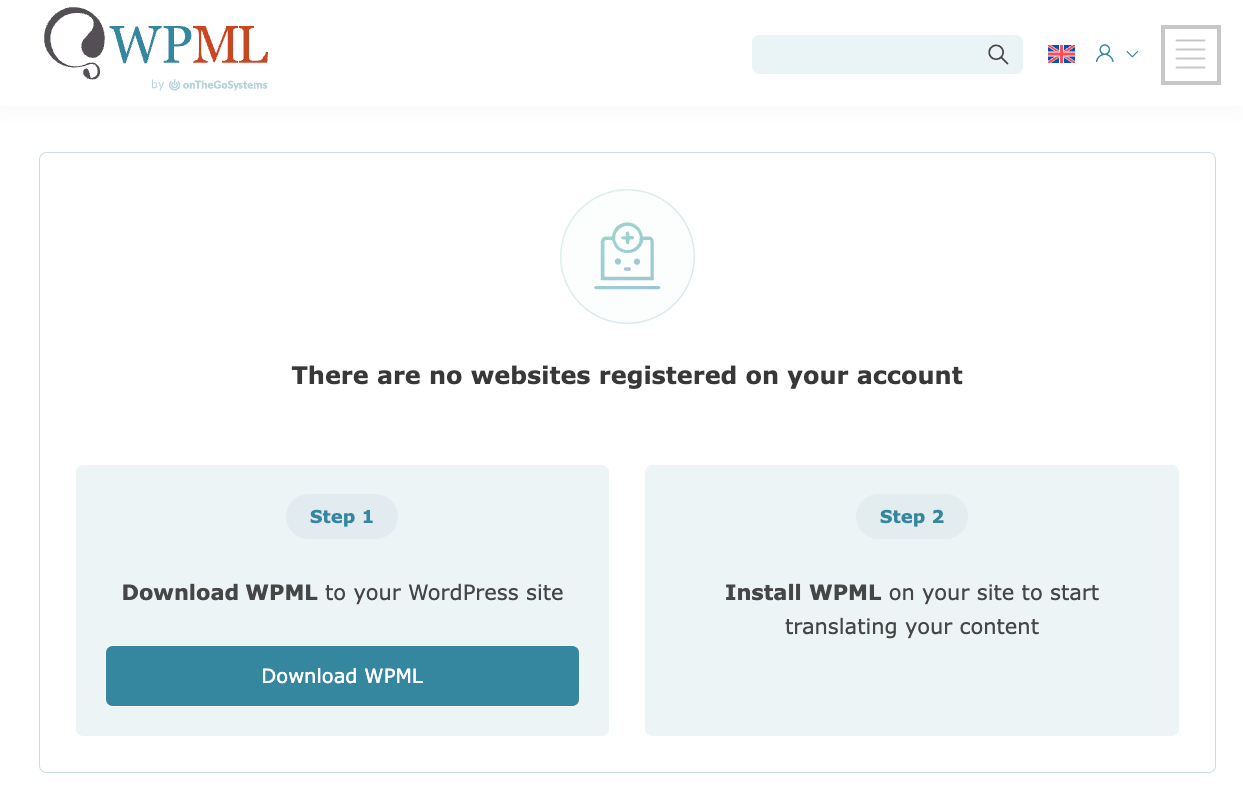
2. You’ll be prompted with 2 options:
a) Download an installer that will detect the correct WPML components and put them on your website.
b) Choose to download it manually.
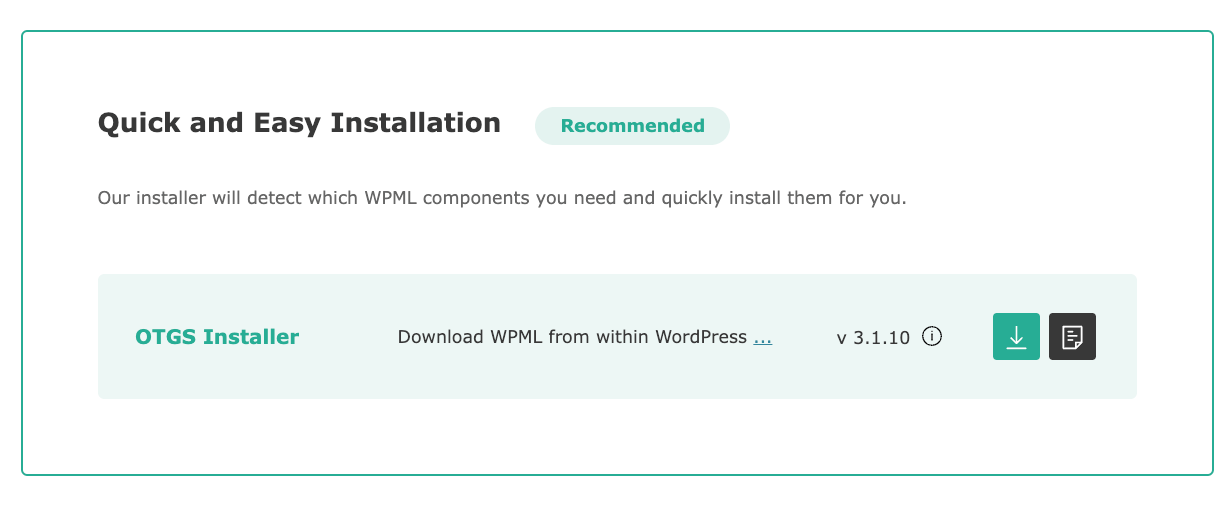
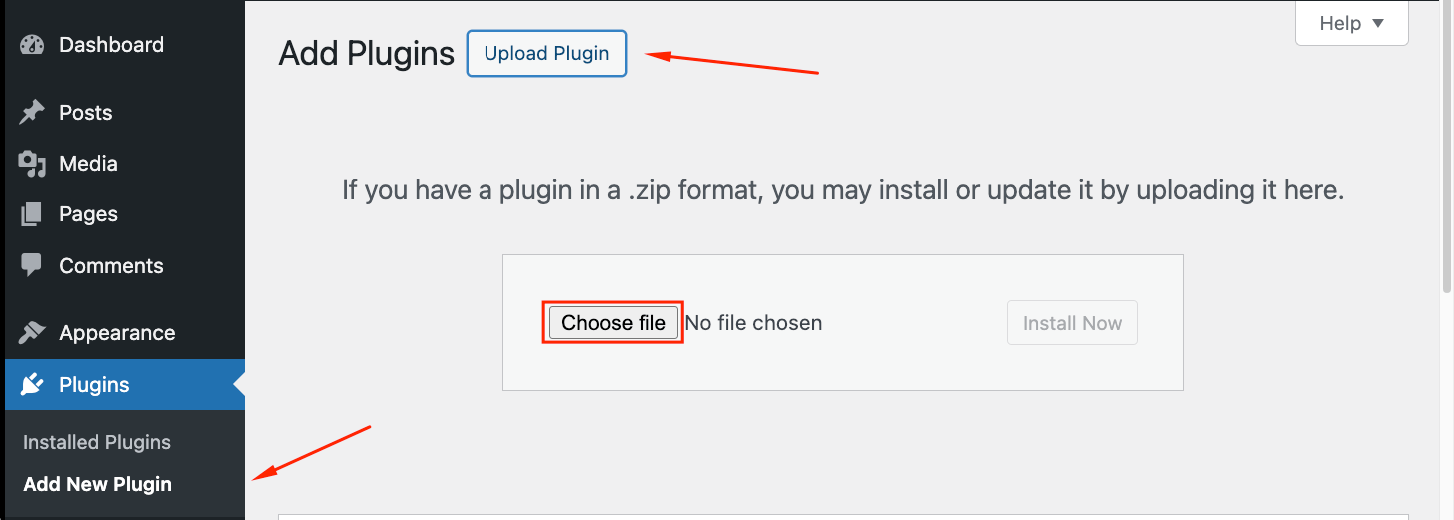
We’ll go with option a, the installer plugin, which you’ll have to upload as you would a normal plugin:
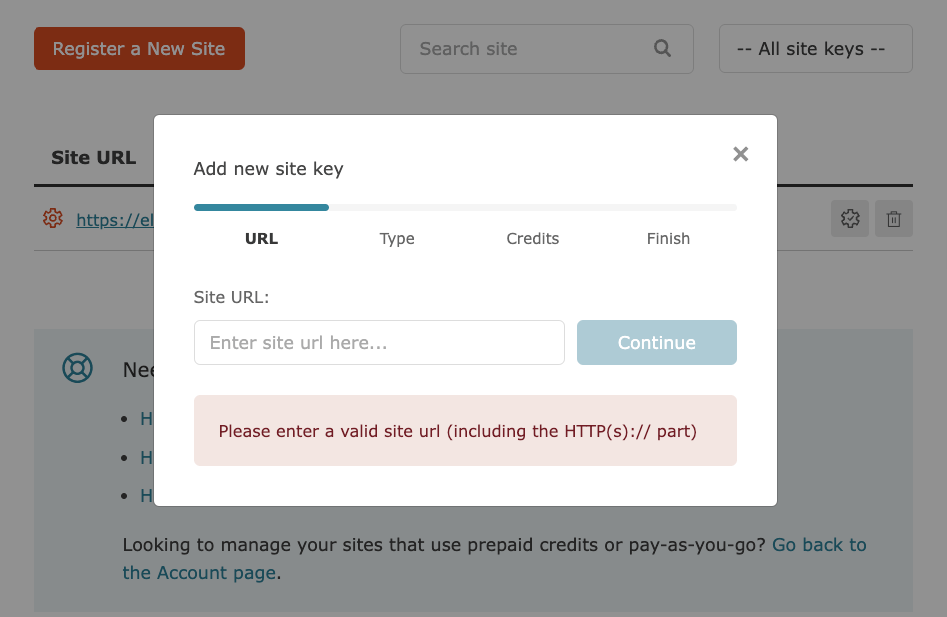
3. Register your site on the WPML website to receive a unique key.
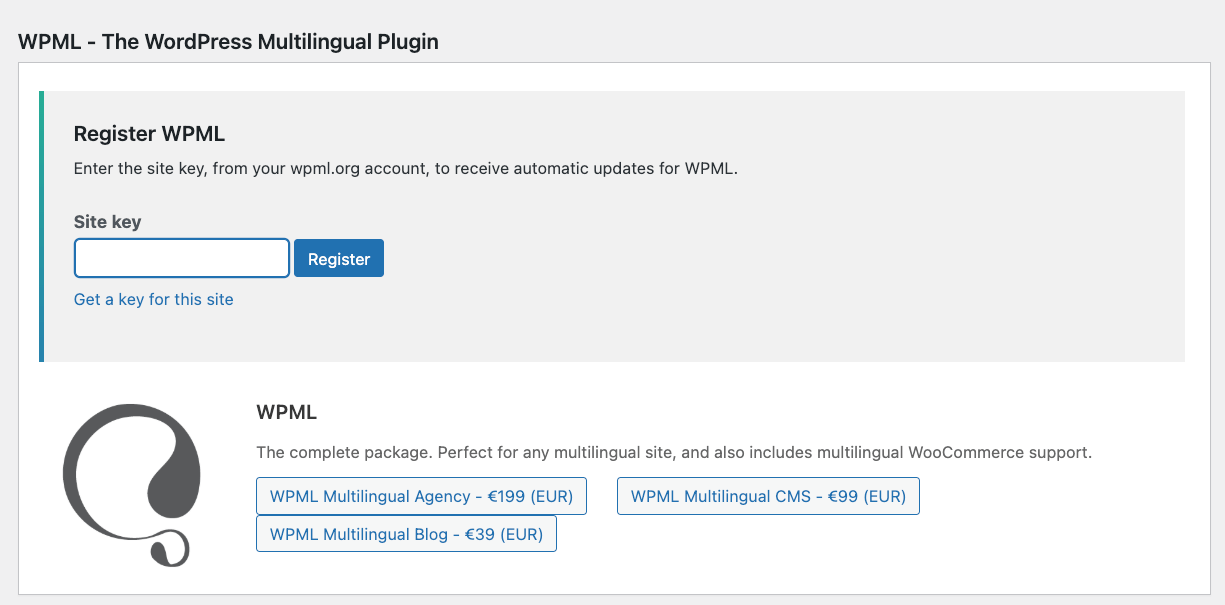
4. Then, insert that key in the plugin settings.
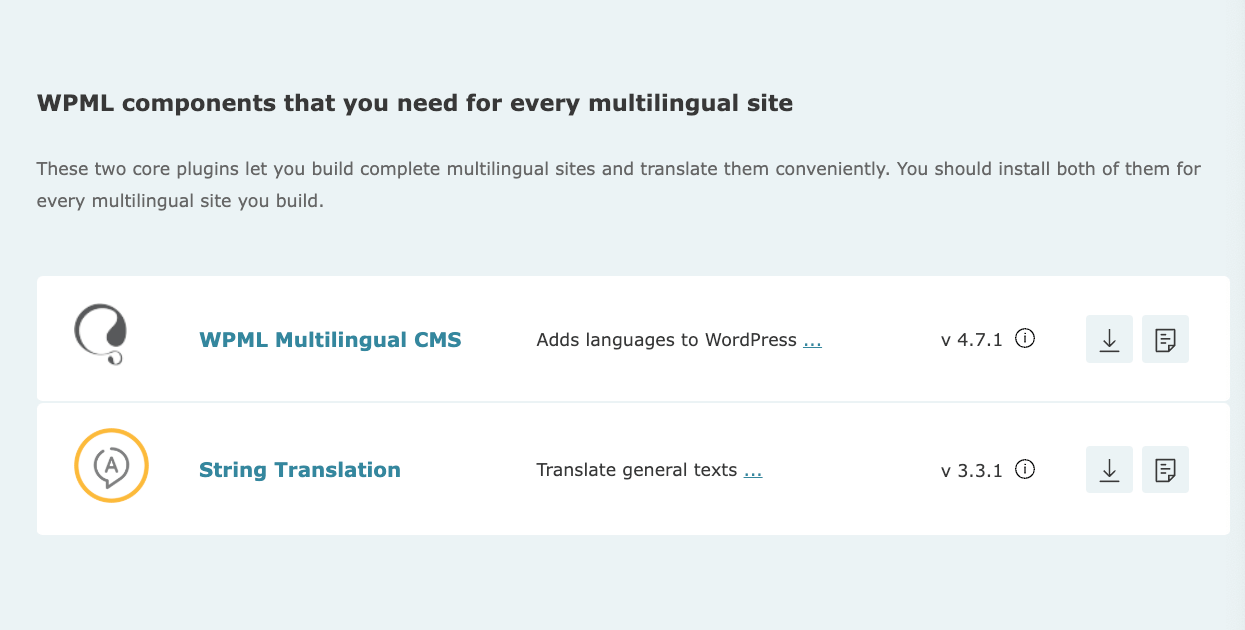
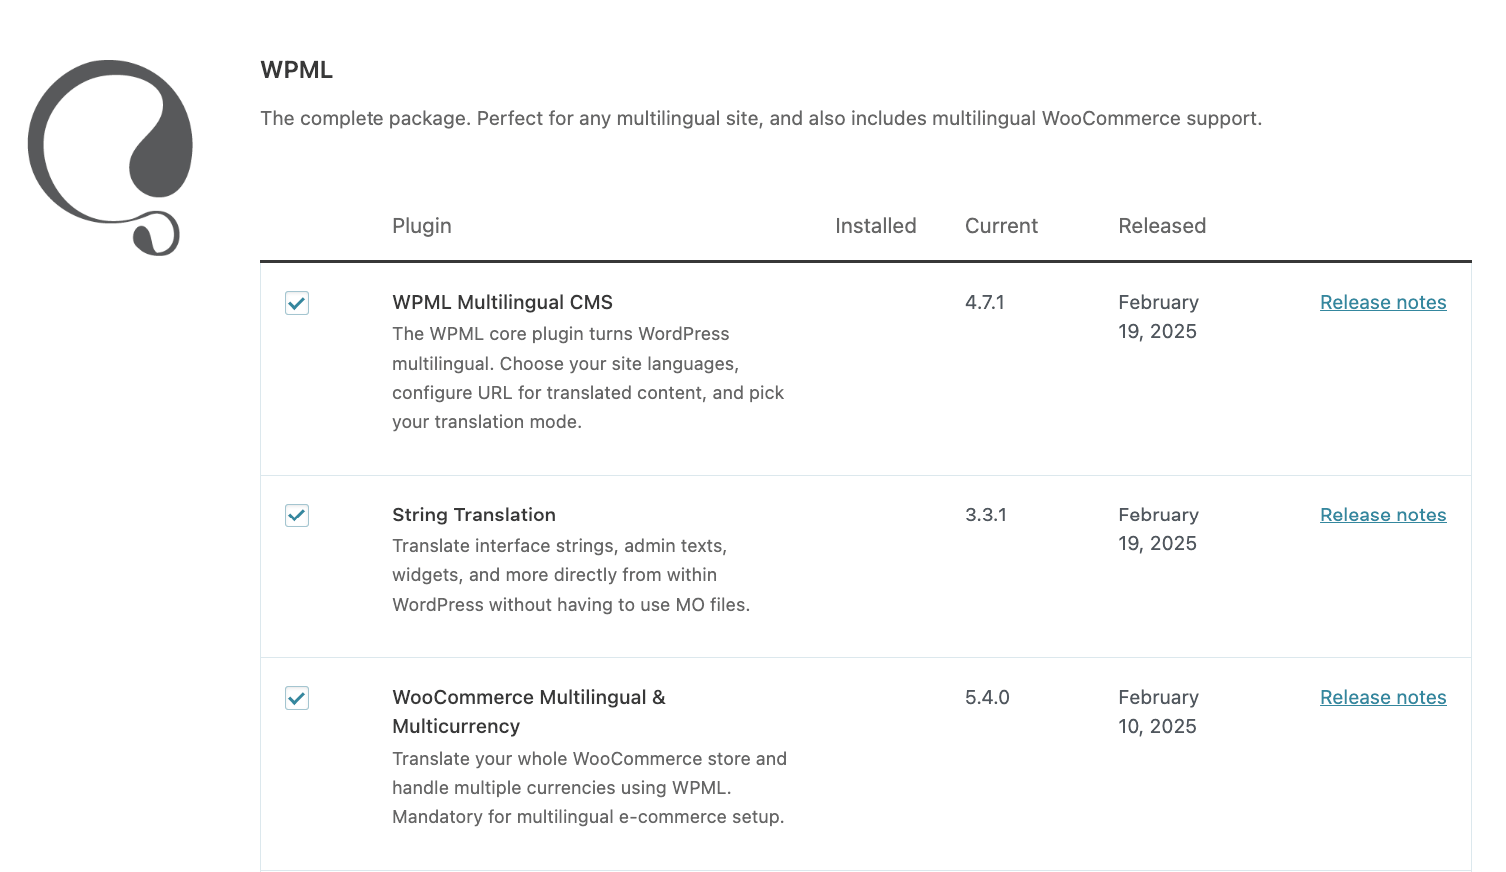
5. You’ll see a full package of all related plugins that you can download. For this example, we’ll need the WPML Multilingual CMS, String Translation, and WooCommerce Multilingual & Multicurrency.
Step 3: Set up the main WPML settings
Once you have everything downloaded and activated, you’ll be prompted to set up the language settings:
- Pick your translation languages from a list or create a custom language.
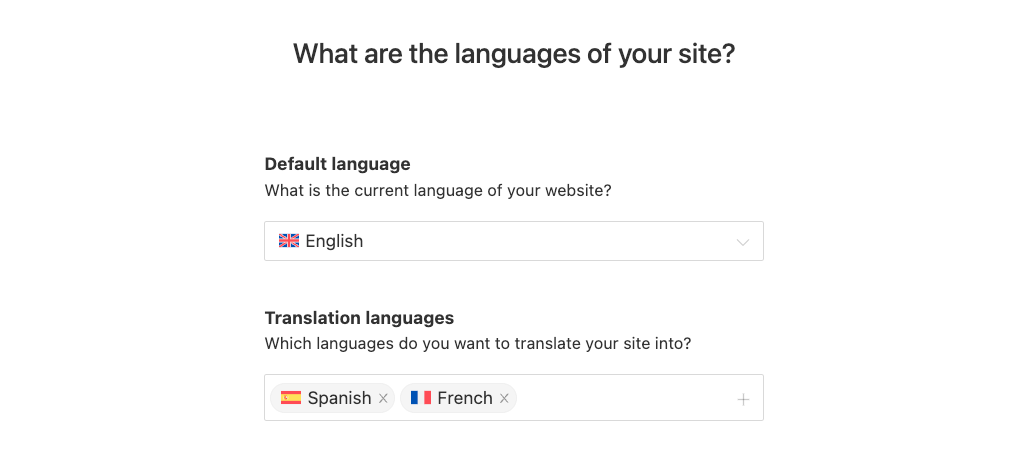
- Format the URL:
- Different languages in directories – https:/yoursite.com/fr
- A different domain per language
- Language name added as a parameter – https:/yoursite.com/?lang=fr
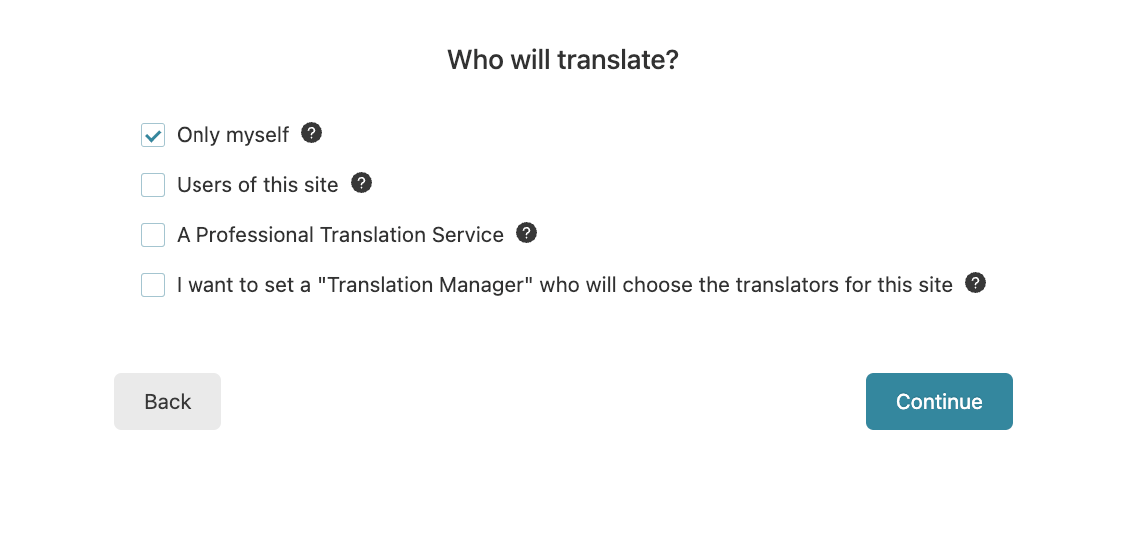
- Select who will be the person translating: you, other users of the site, a professional translation service, or a “Translation Manager,” who will choose the translators.
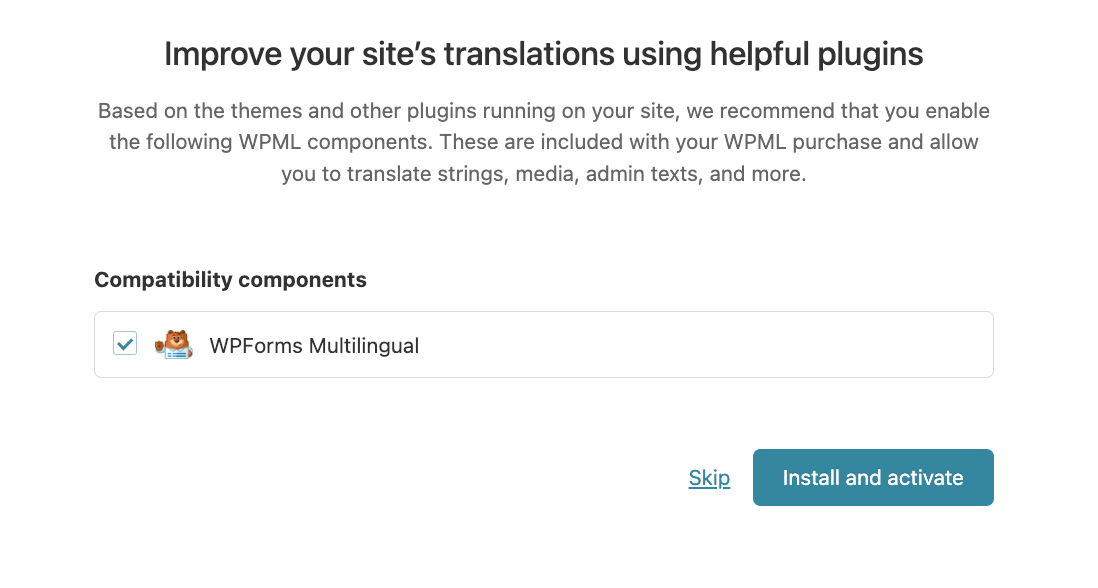
- In case you have other plugins that are WPML compatible, you’ll get suggestions on whether you want to install their multilingual components.
- You’re done!
Step 4: WooCommerce Multilanguage setup
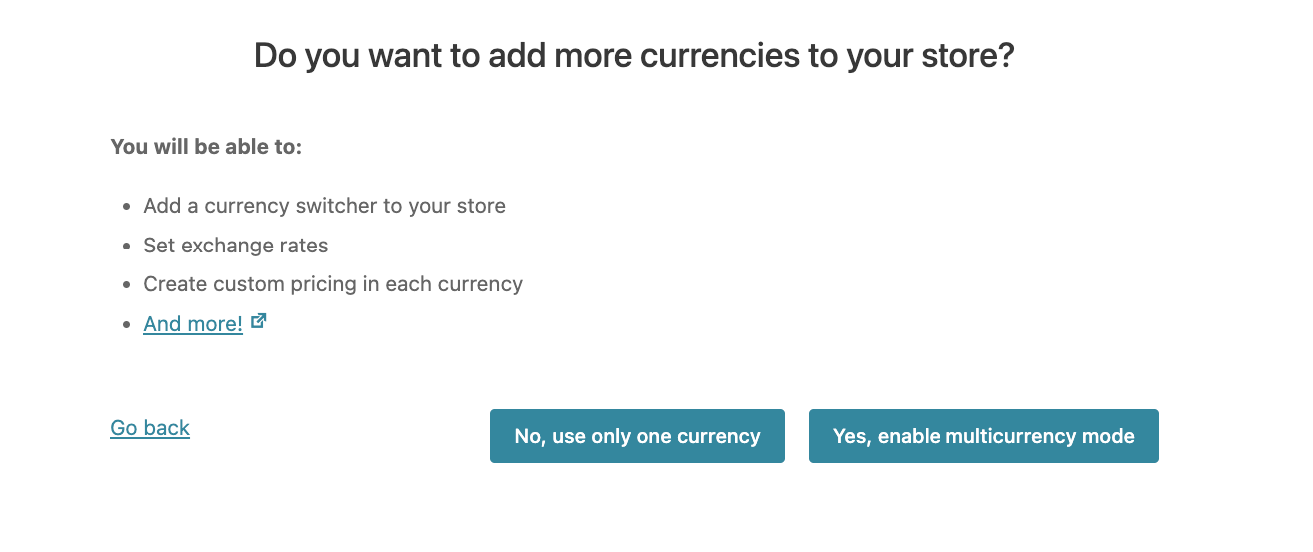
Next, you need to adjust the settings for your multilingual WooCommerce store. This will let you create store pages in all your site’s languages immediately and take care of other important components such as global attributes, multiple currencies, and translation options.
We recommend enabling multicurrency mode as it helps with the overall user experience.
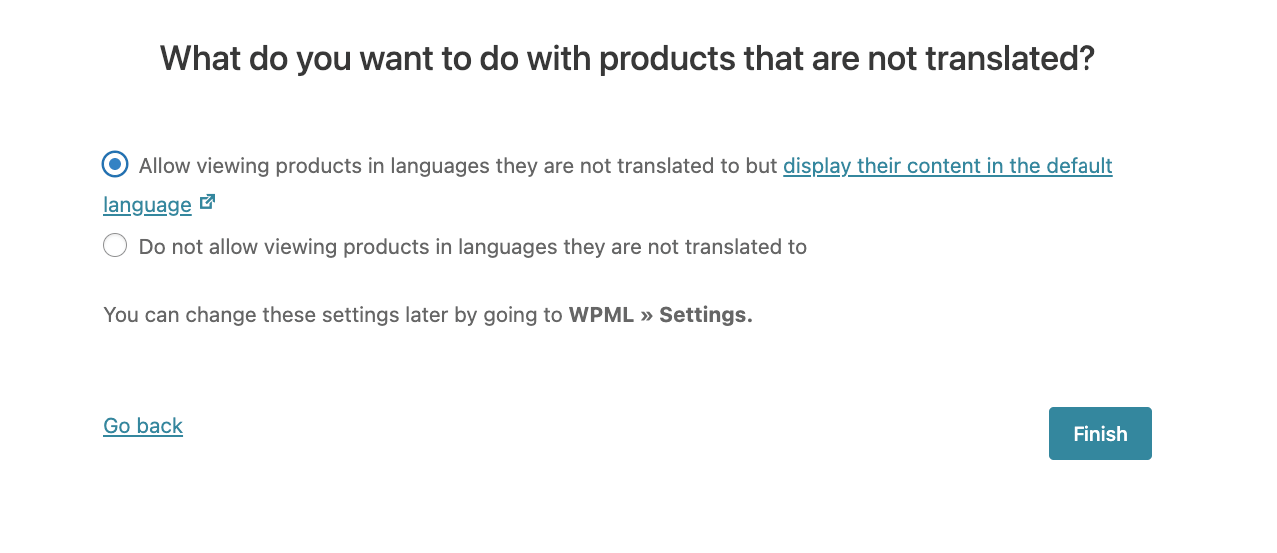
You also need to decide what to do with products that aren’t translated. There is the option to hide all products that aren’t translated or still show them but in the original language.
Hiding non-translated products can be useful if you’re offering different stocks depending on the country. For example, you might have specific stock for French-speaking countries, and other products that are only available to your Spanish-speaking audience.
Step 5: Translate your WooCommerce store content
Translating products, product variations, posts, and pages
Setting up product translations requires careful attention to detail, and you can do this by navigating to WooCommerce → WooCommerce Multilingual → Translate Products or by going to the Products list table and clicking Translate WooCommerce products.
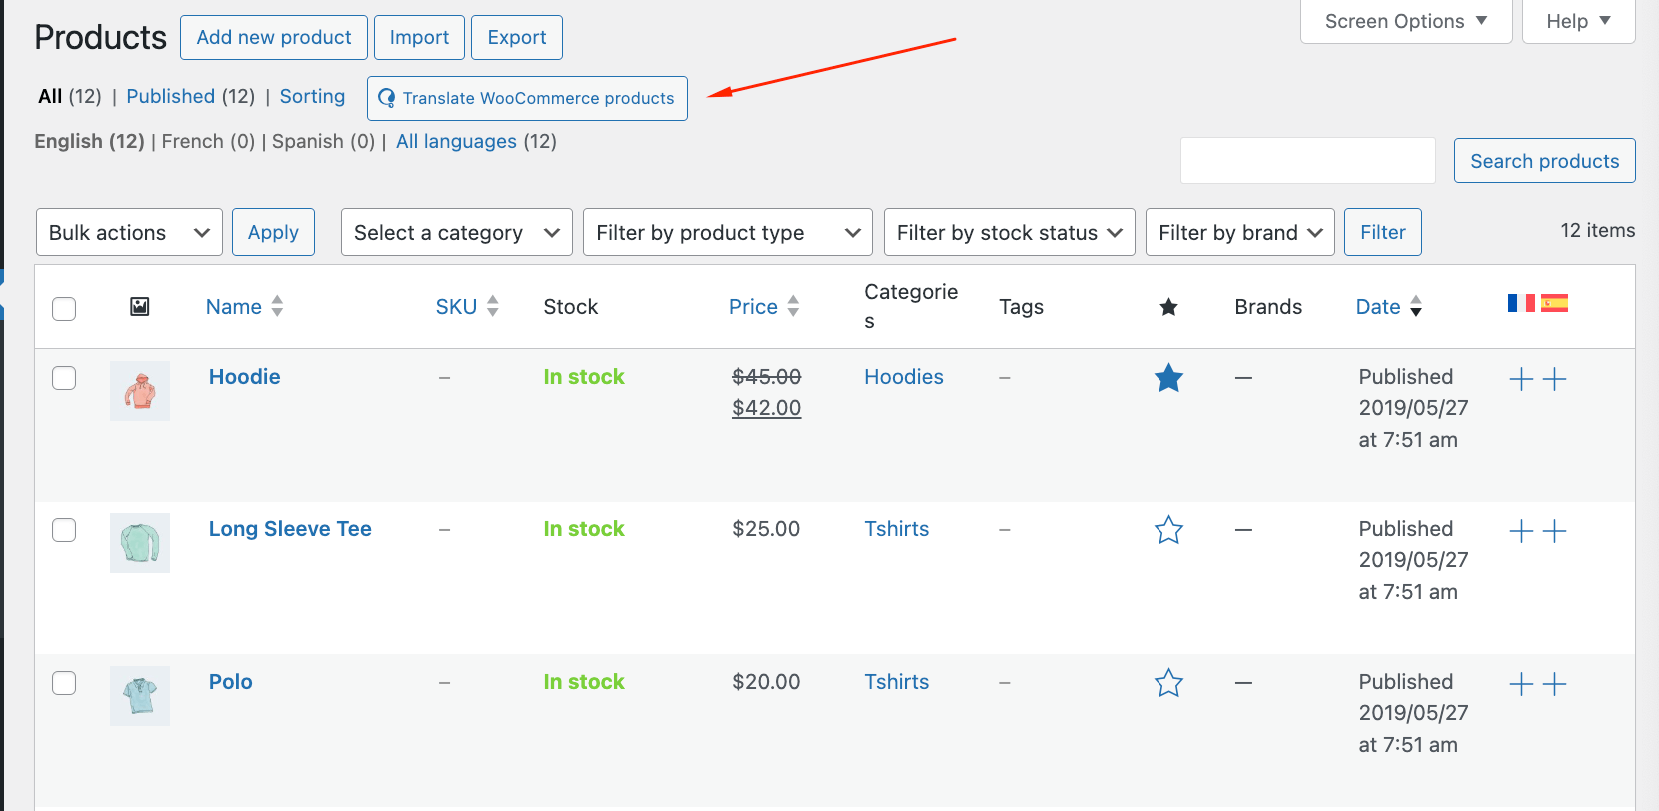
You’ll be taken to a translation dashboard where you can select all the products that need to be translated.
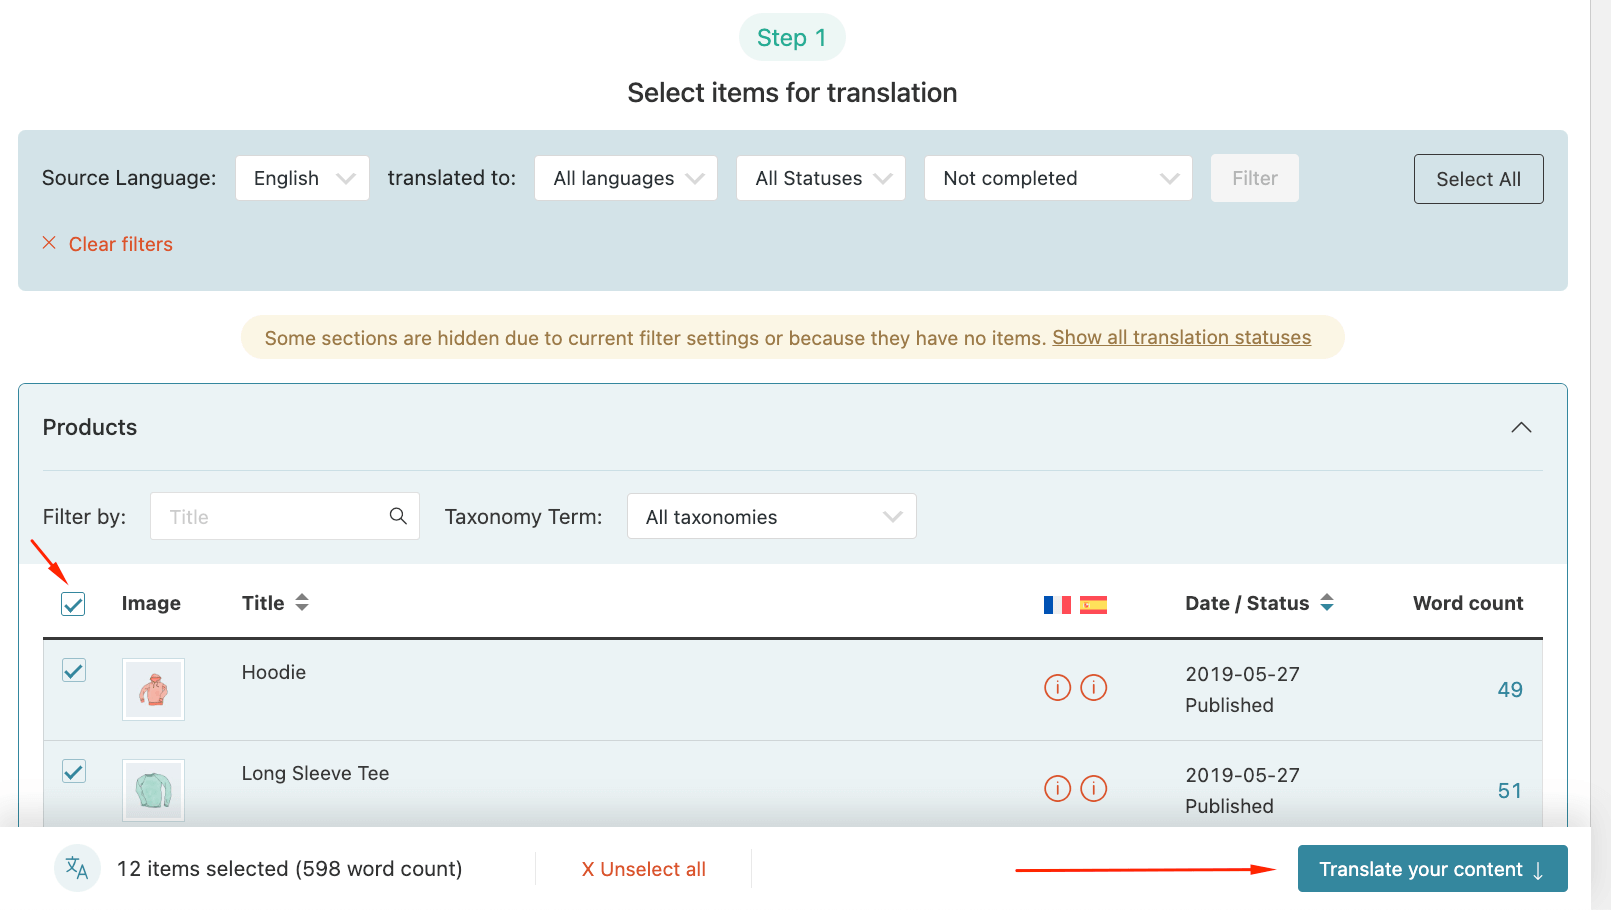
After that, you need to decide on the method of translation.

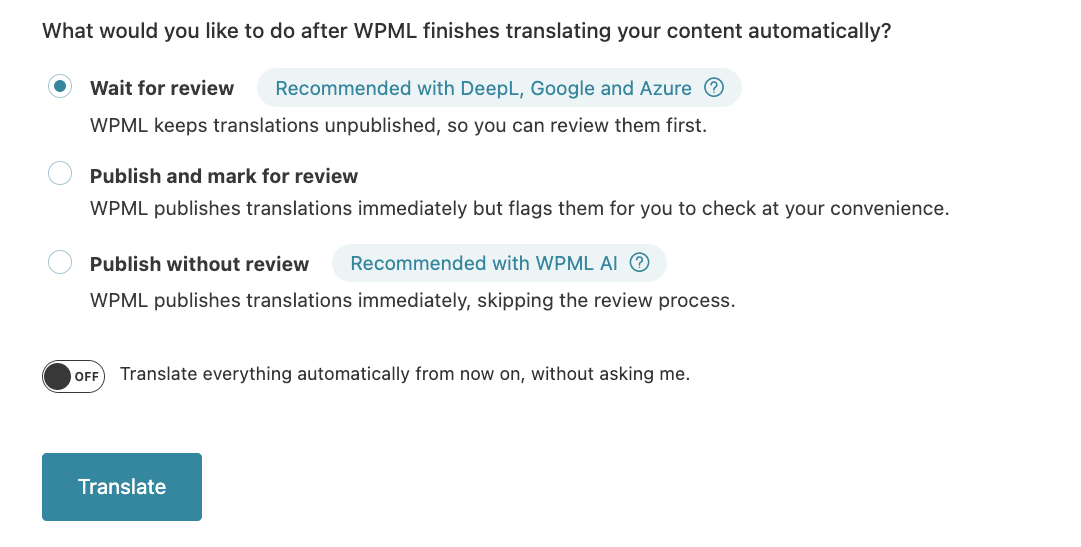
If you go with automatic translation, you’ll then have to choose whether you want to review the products before publishing, publish them without a review, or publish them while flagging them for review.
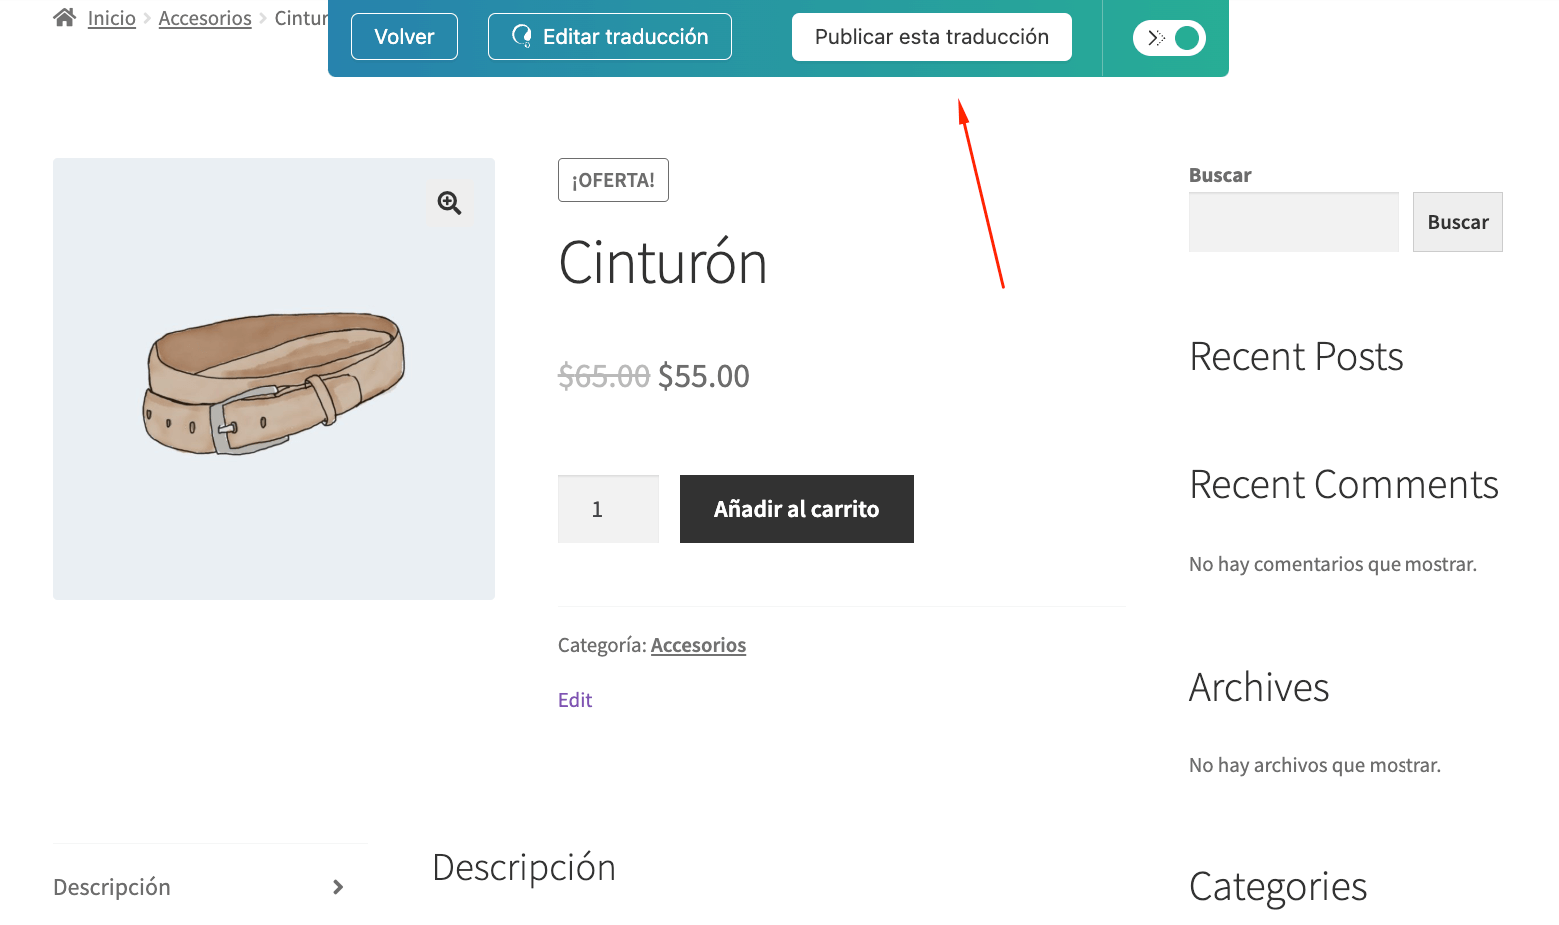
At the review stage, you get to see the live translation, which you can either edit or approve, and move to the next one.
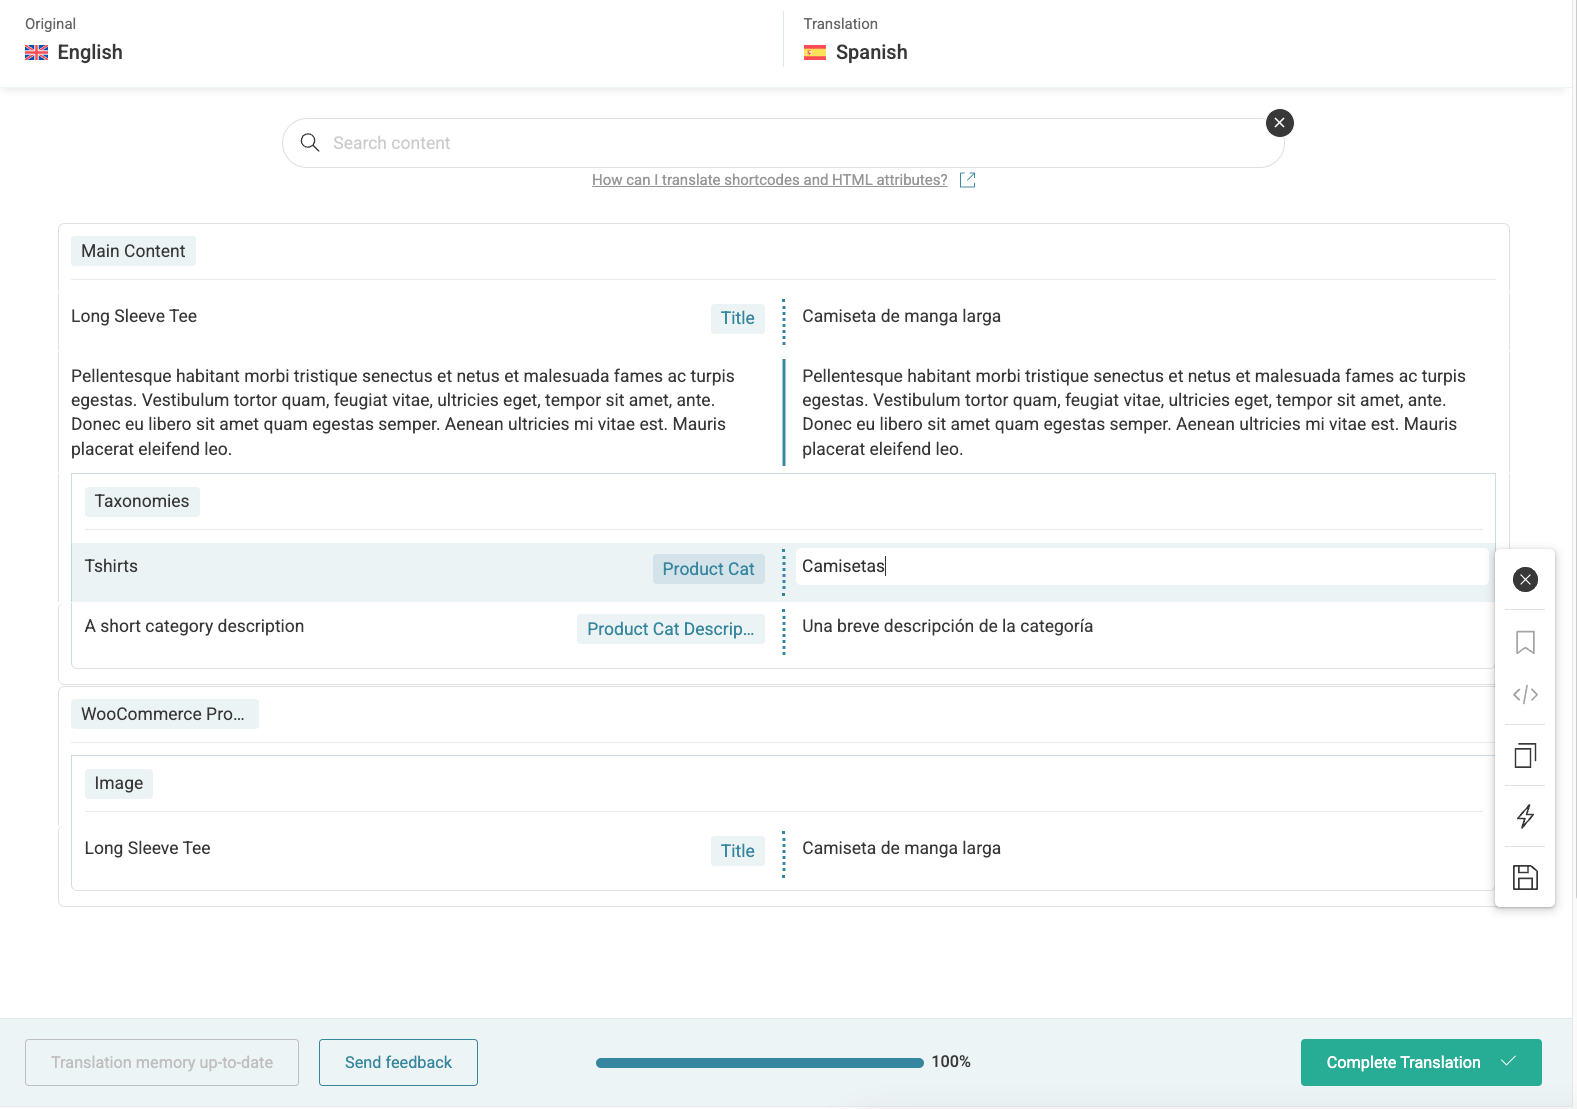
If you choose to edit the translation, you’ll be taken to a separate window that will display the different elements of the product page, such as the main content, titles, and taxonomies.
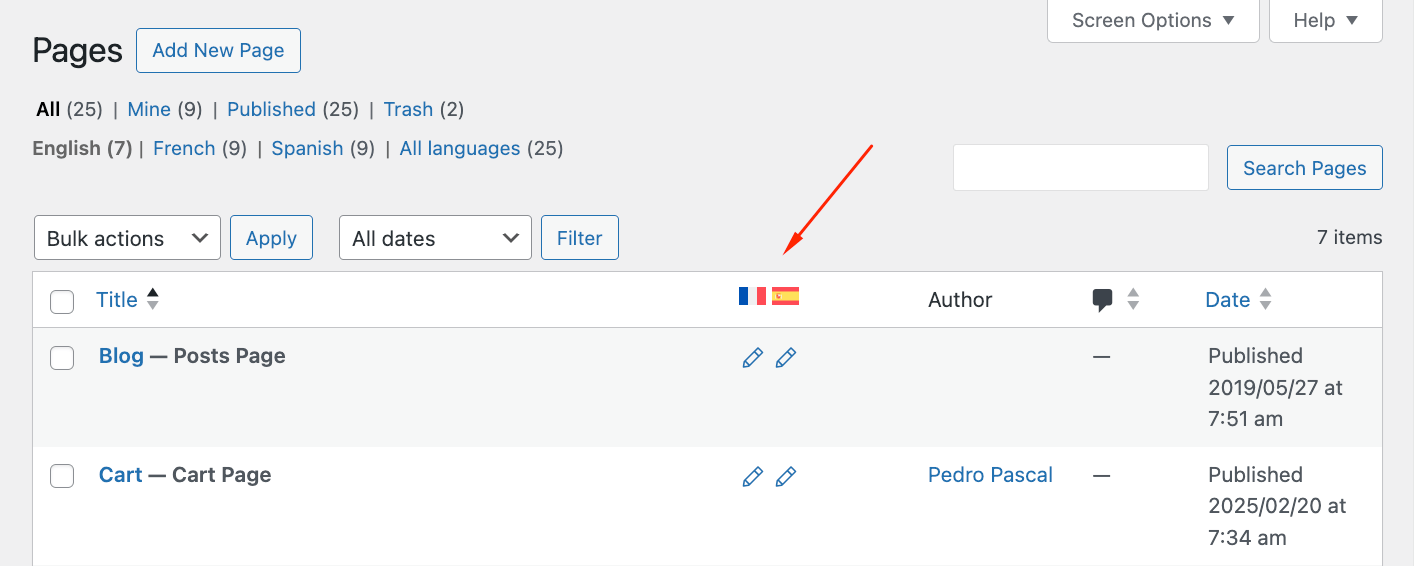
The method is the same for all the other content types, such as pages and posts, and once you have them translated, you can see the different versions on the main dashboard.
Finally, pay attention to media synchronization – you can either use the same product images across all languages or set language-specific images. The latter is particularly useful if your products have text overlays or size charts that need translation. WPML allows you to maintain separate image galleries for each language while keeping the technical specifications synchronized.
⚠️ Translations shouldn’t be literal – use cultural context to avoid silly or offensive language. Double-check whether the used terminology makes sense in the target language – something that Amazon didn’t do when they launched their Swedish store.
Translating the cart and checkout pages
Creating a smooth checkout experience in multiple languages requires careful translation of all customer-facing elements.
Access WPML String Translation to begin the process.
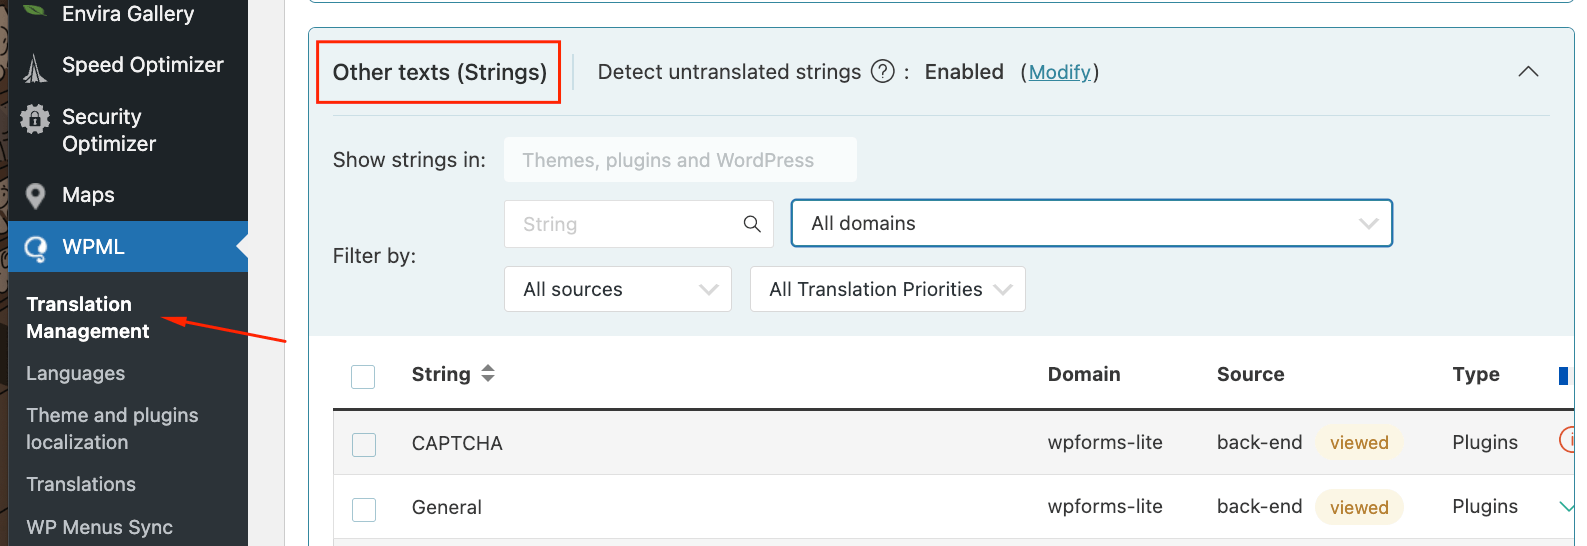
- Checkout fields: While these are relatively simple and short (names, email addresses, etc.), there are still some cultural nuances. For example, some countries use different address formats or require additional fields. Customize validation messages to be clear and helpful in each language – “Please enter a valid postal code” should reflect the local term (ZIP code, postal code, CAP, etc.).
- Payment gateway translations: Each payment method should be displayed correctly in the customer’s language, including any special instructions or security notices. Remember to translate success and error messages, too.
- Email template translations: For your post-purchase communication to be effective, you need to maintain a consistent tone across all languages while respecting cultural differences. For order confirmation emails, ensure that dates, times, and currency formats follow local conventions. Consider creating language-specific email footers with relevant customer service contacts.
💡Pro tip: Pay special attention to measurement units – consider whether to keep them consistent or localize them for each market. If you decide to keep them consistent, include a conversion chart so that clients can easily see what their size is.
Translating URLs
Proper URL structure affects both user experience and SEO performance. Start in WooCommerce Multilingual & Multicurrency → Store URL to set your base configuration.
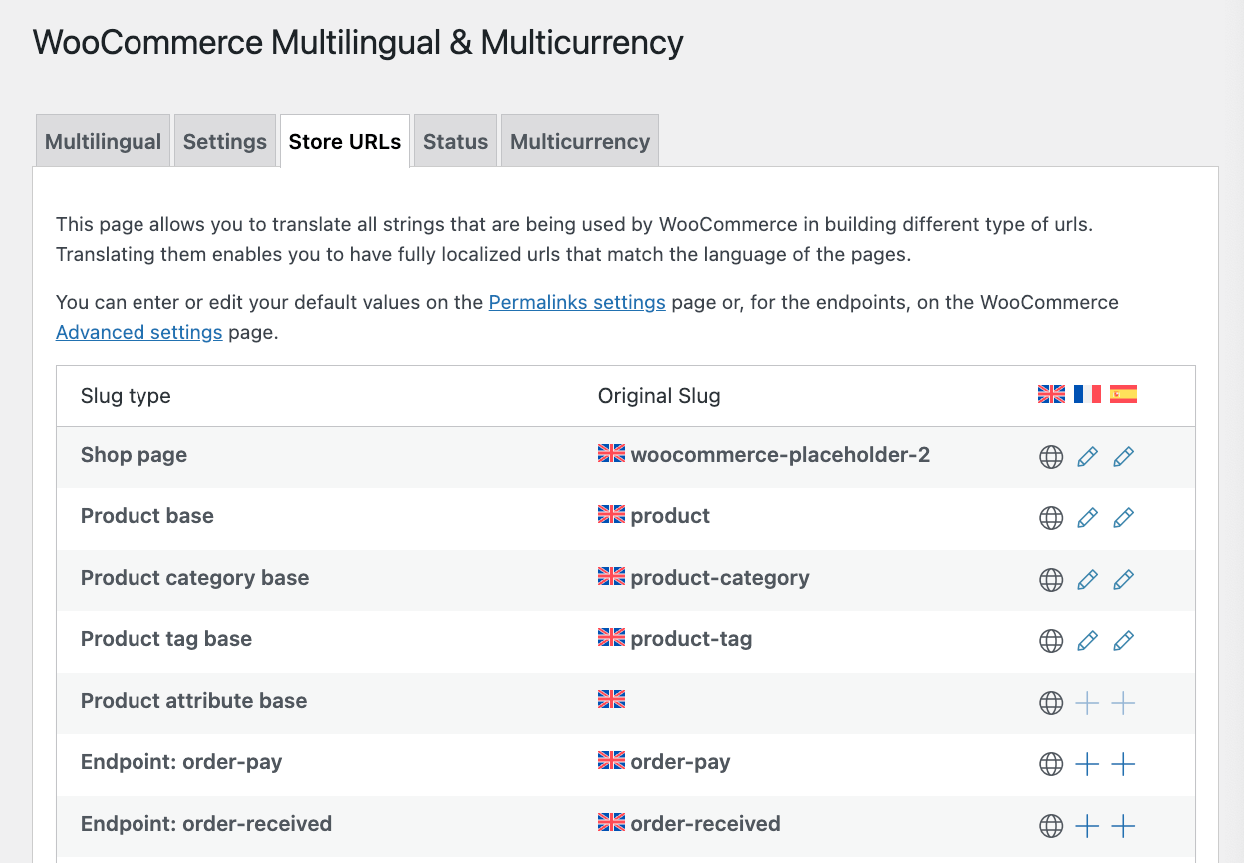
For WooCommerce stores, you’ll need to translate several URL components:
- Product base: Change /product/ to language-specific terms like /produit/ (French) or /producto/ (Spanish).
- Category base: Translate /category/ to match your target languages.
- Tag and attribute bases: Ensure these match local terminology.
Here’s a practical example:
- English: example.com/product/blue-shirt
- French: example.com/fr/produit/chemise-bleue
- Spanish: example.com/es/producto/camisa-azul
Remember that URL structures impact your site’s search engine visibility. Use hyphens between words and keep URLs concise yet descriptive in each language. Test all URL structures after configuration to ensure proper redirection and accessibility.
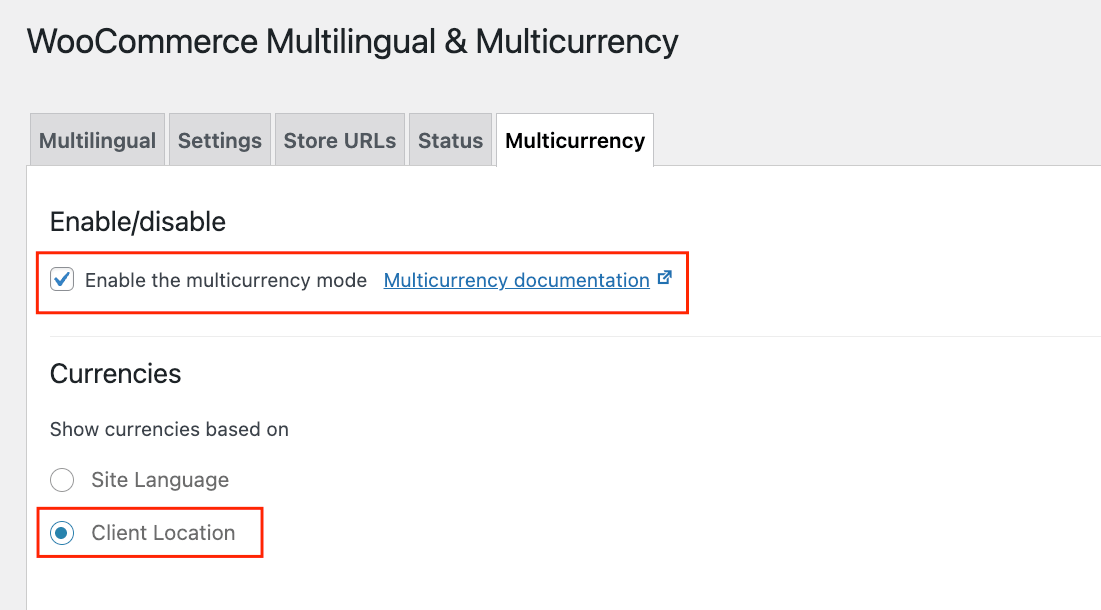
Using multiple currencies in WooCommerce
Navigate to WooCommerce → WooCommerce Multilingual & Multicurrency → Multicurrency tab to begin currency setup. This feature helps customers shop in their preferred currency.
First, configure automatic exchange rate updates:
- Choose reliable providers.
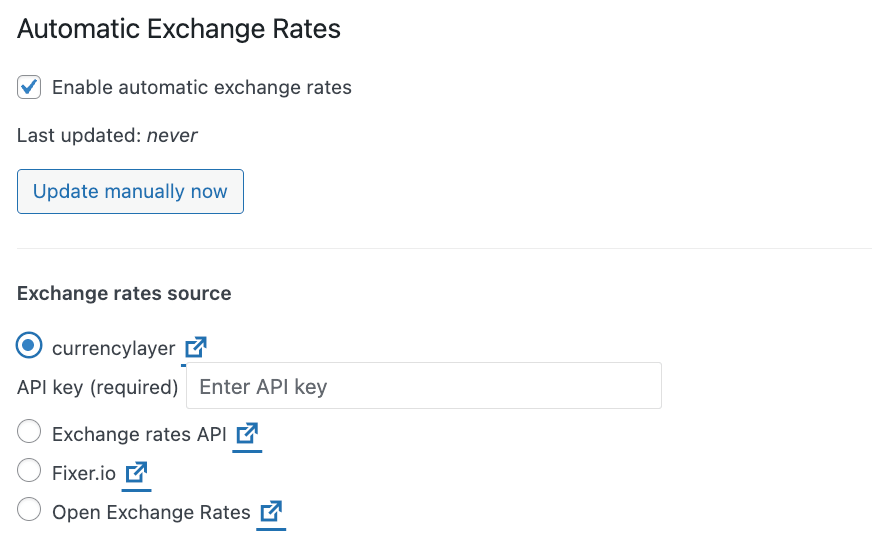
- Set update frequencies – daily updates work well for most stores.
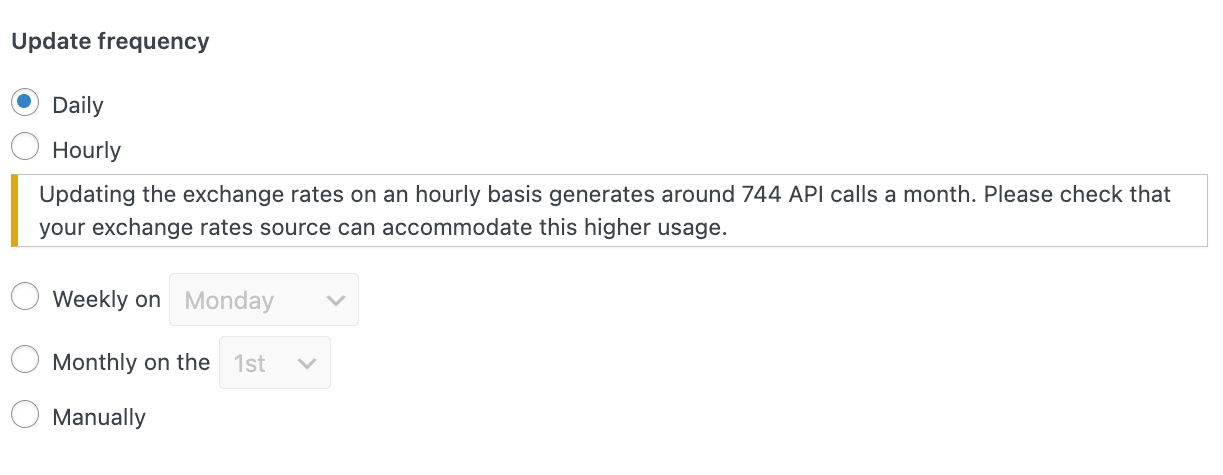
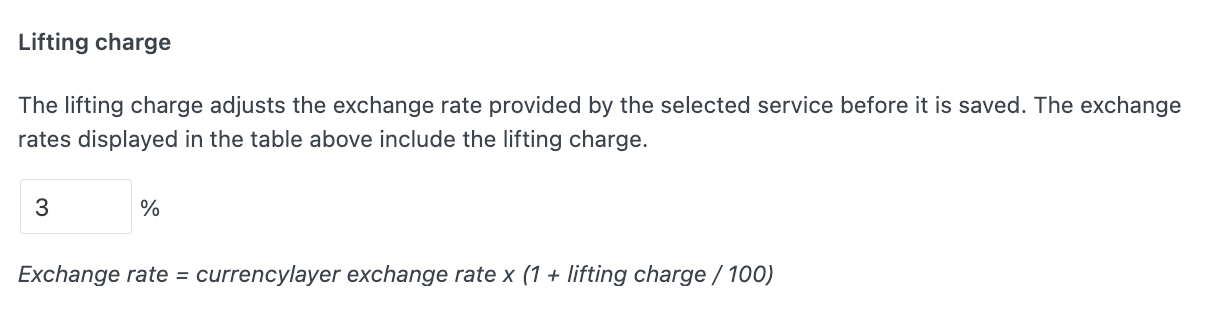
- Add a small markup percentage if needed to cover conversion fees.
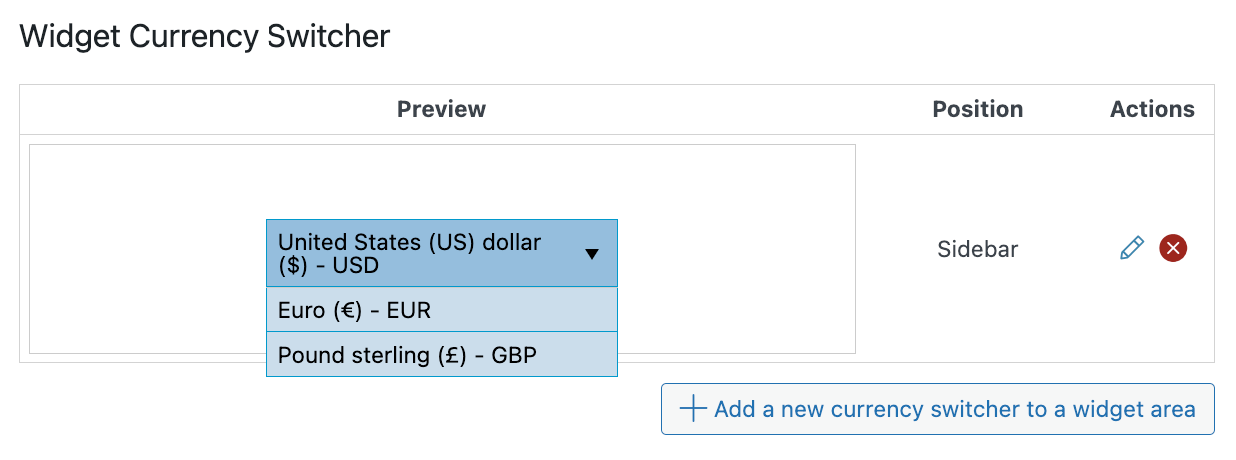
- Add a currency change switcher if you want.
Configure currency-specific settings:
- Payment gateways: Some payment processors handle multiple currencies better than others.
- Shipping rates: Adjust for different regions and currencies.
- Tax calculations: Ensure compliance with local tax regulations.
For example, selling in euros and pounds:
- €50 product might be £45 (based on current rate).
- Add UK-specific payment options for pound transactions.
- Configure UK VAT rates for pound purchases.
Position your currency switcher strategically – headers and footers work well – and add currency symbols next to prices for clarity. When you’re done, test the complete checkout process in each currency to encounter possible issues and fix them before going live.
Make your store multilingual today!
Converting your WooCommerce store into a multilingual platform opens significant opportunities. Remember: Nearly half of all shoppers won’t purchase from sites that aren’t in their language.
Thankfully, setting up a multilingual store has become straightforward with modern WordPress solutions. As we’ve shown, the process mainly involves installing the right plugins and following a systematic approach to translation. While the initial setup requires attention to detail, the long-term benefits far outweigh the effort.
Choose your tools carefully – compatibility matters. Look for plugins specifically tested with multilingual setups, such as Studio Wombat’s product suite. This ensures smooth operation across all store functions, from product customization to checkout processes.
Ready to expand your market reach? Follow the steps outlined in this guide to transform your single-language store into a global shopping destination. With proper translation and localization, you’re better positioned to serve customers worldwide and build trust in new markets.
