Creating product tables
Once you have installed the WooCommerce Product Tables plugin and activated your license key, you can start creating tables straight away!
Create your first product table in WooCommerce
In the WordPress admin dashboard, go to Products → Product Tables and click “Add New” at the top. The plugin guides you through a step-by-step process to build your table:
Step 1: Naming your table
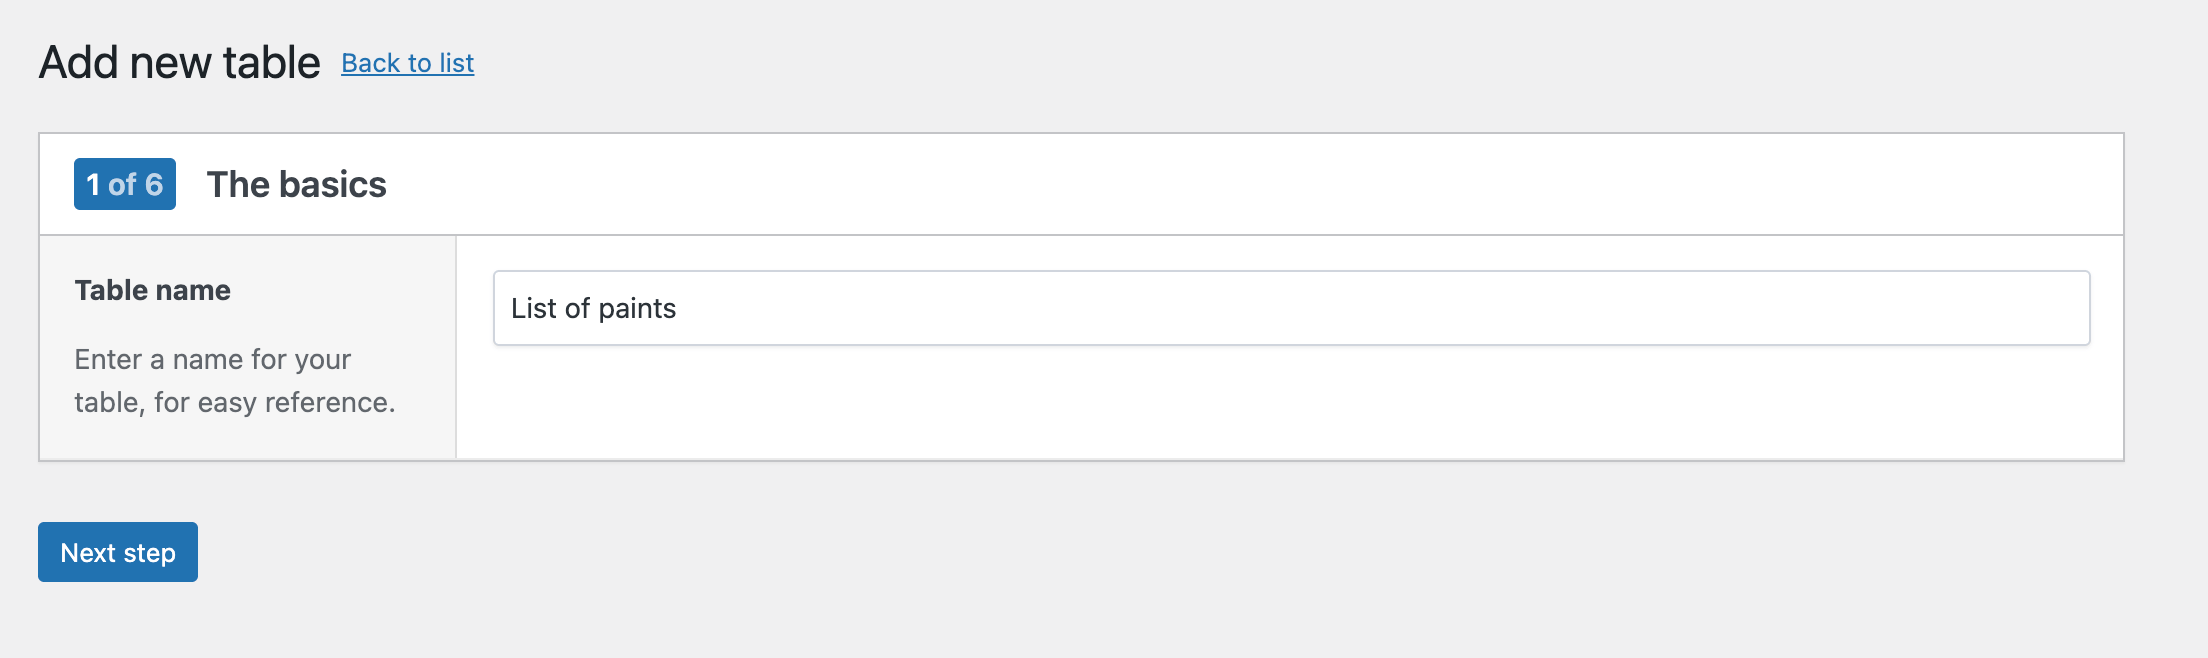
Give your table a name. This name is only for internal reference and will appear in the table list in your WordPress dashboard.
Click Next Step to advance.
Step 2: Select which products to display
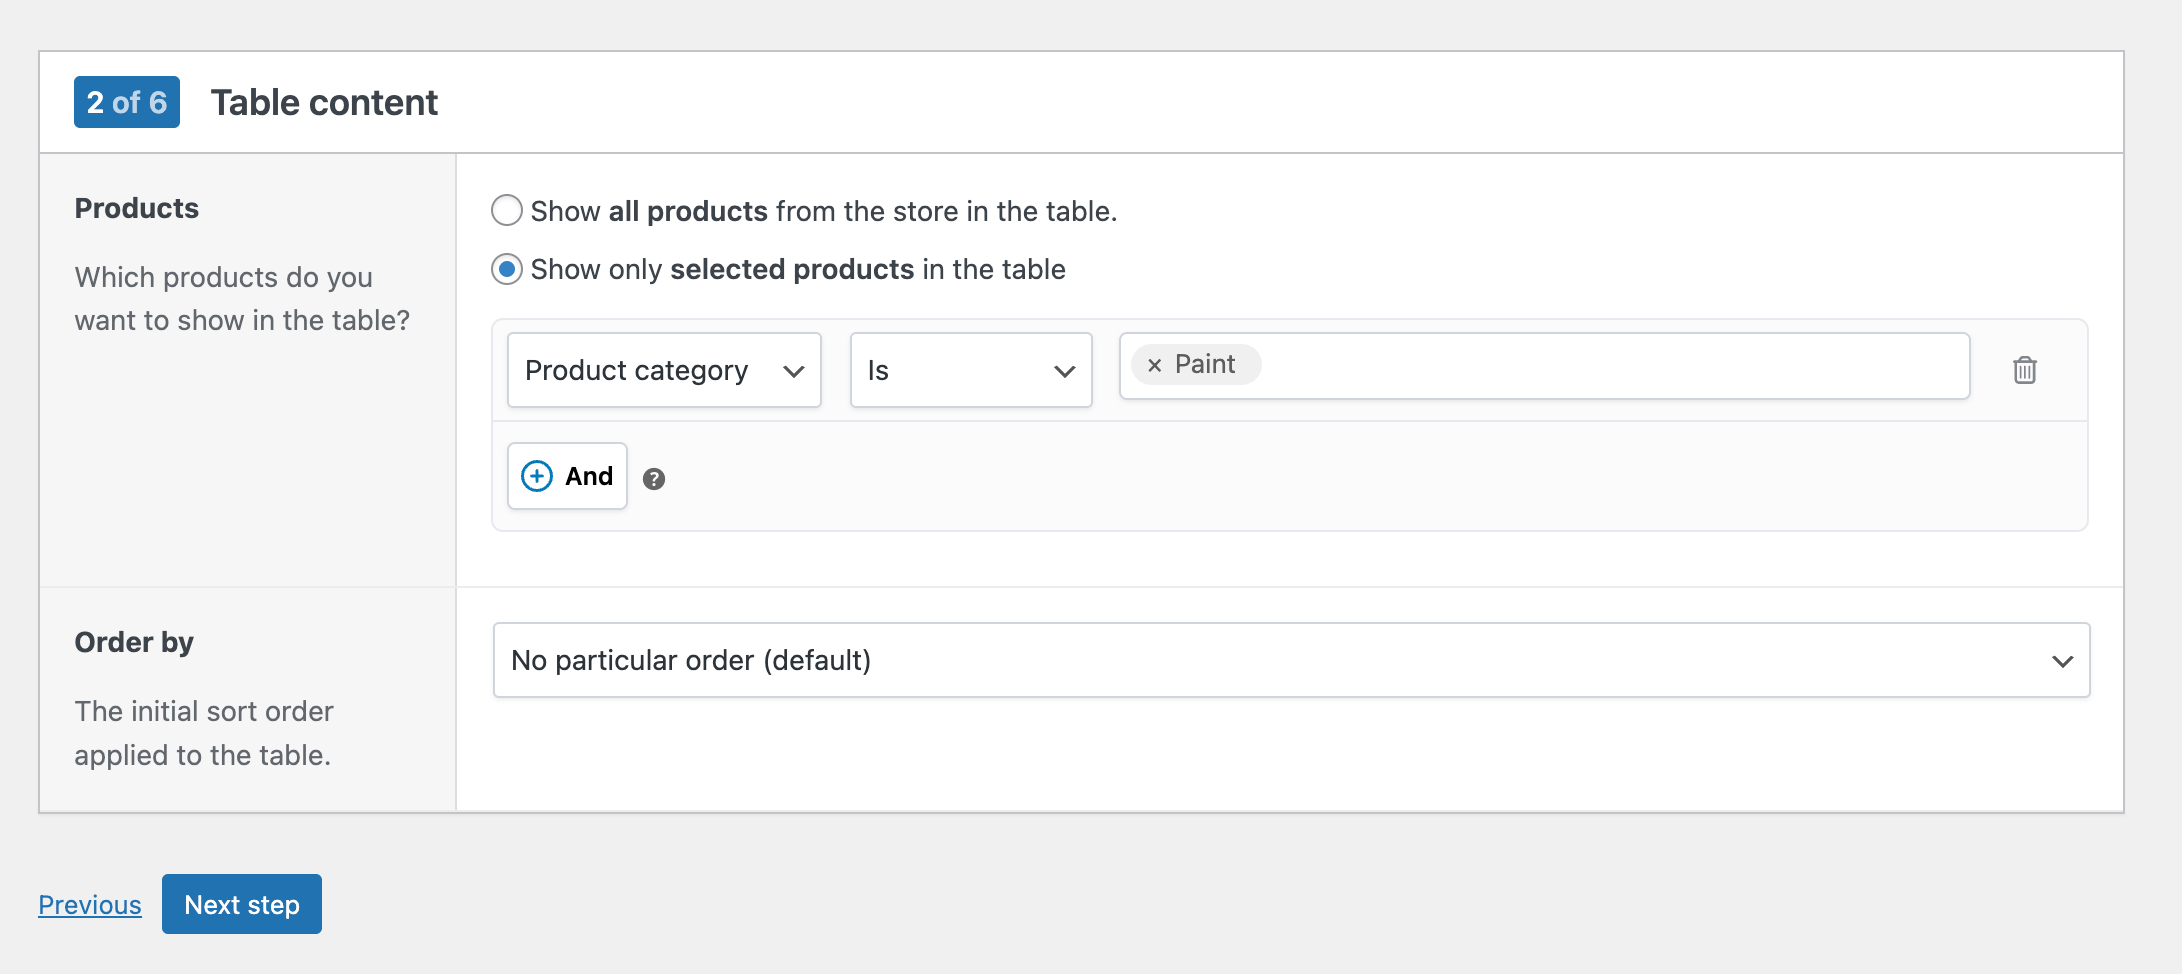
In this step, you define which products should appear in the table. You have two options:
- Show all products: include every product from your store in the table.
- Show only selected products: only a subset of your products should appear in the table. You can filter by product category, tags, specific products, product type, or stock status. Multiple conditions can be combined using the AND-button.
In the example above, we’re creating a table of paint products by selecting only items from the ‘Paint’ category.
You can also set an initial sort order for how products are displayed in the table. The default value is “No particular order” as this results in the fastest database query.
Click Next Step when you’re ready.
Step 3: Choose your table columns
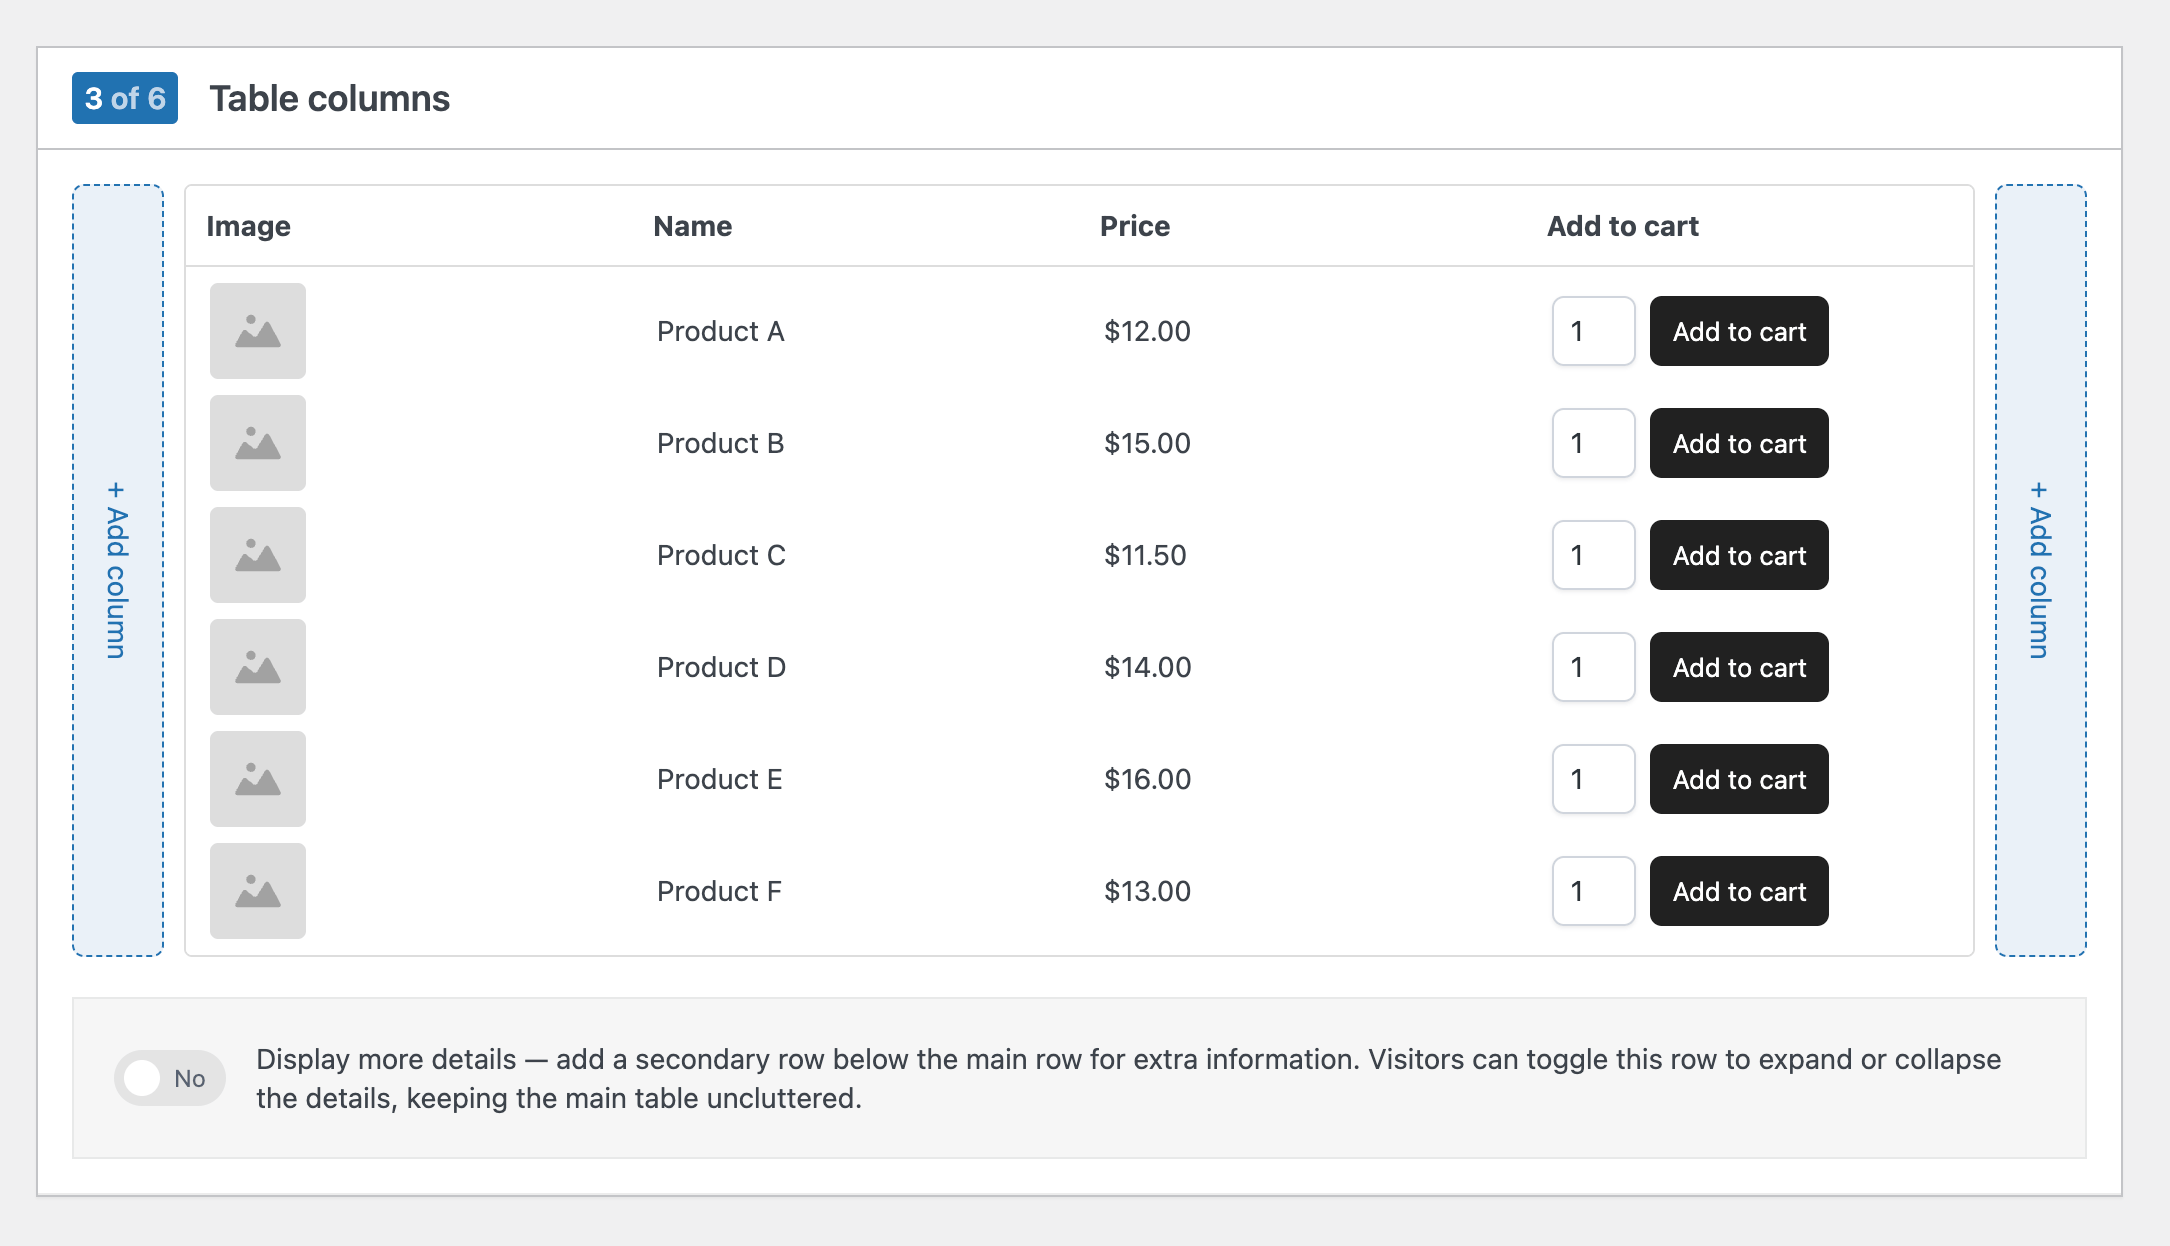
In this step, you decide which columns should be shown in the table and in what order. By default, the table includes Image, Name, Price, and Add-to-cart to get you started, but you can fully customize it.
- Use the + Add column button on either side to insert new columns such as SKU, stock status, categories, tags, attributes, info, or custom fields.
- Drag and drop columns to reorder them.
- Remove any column you don’t need to keep your table clean.
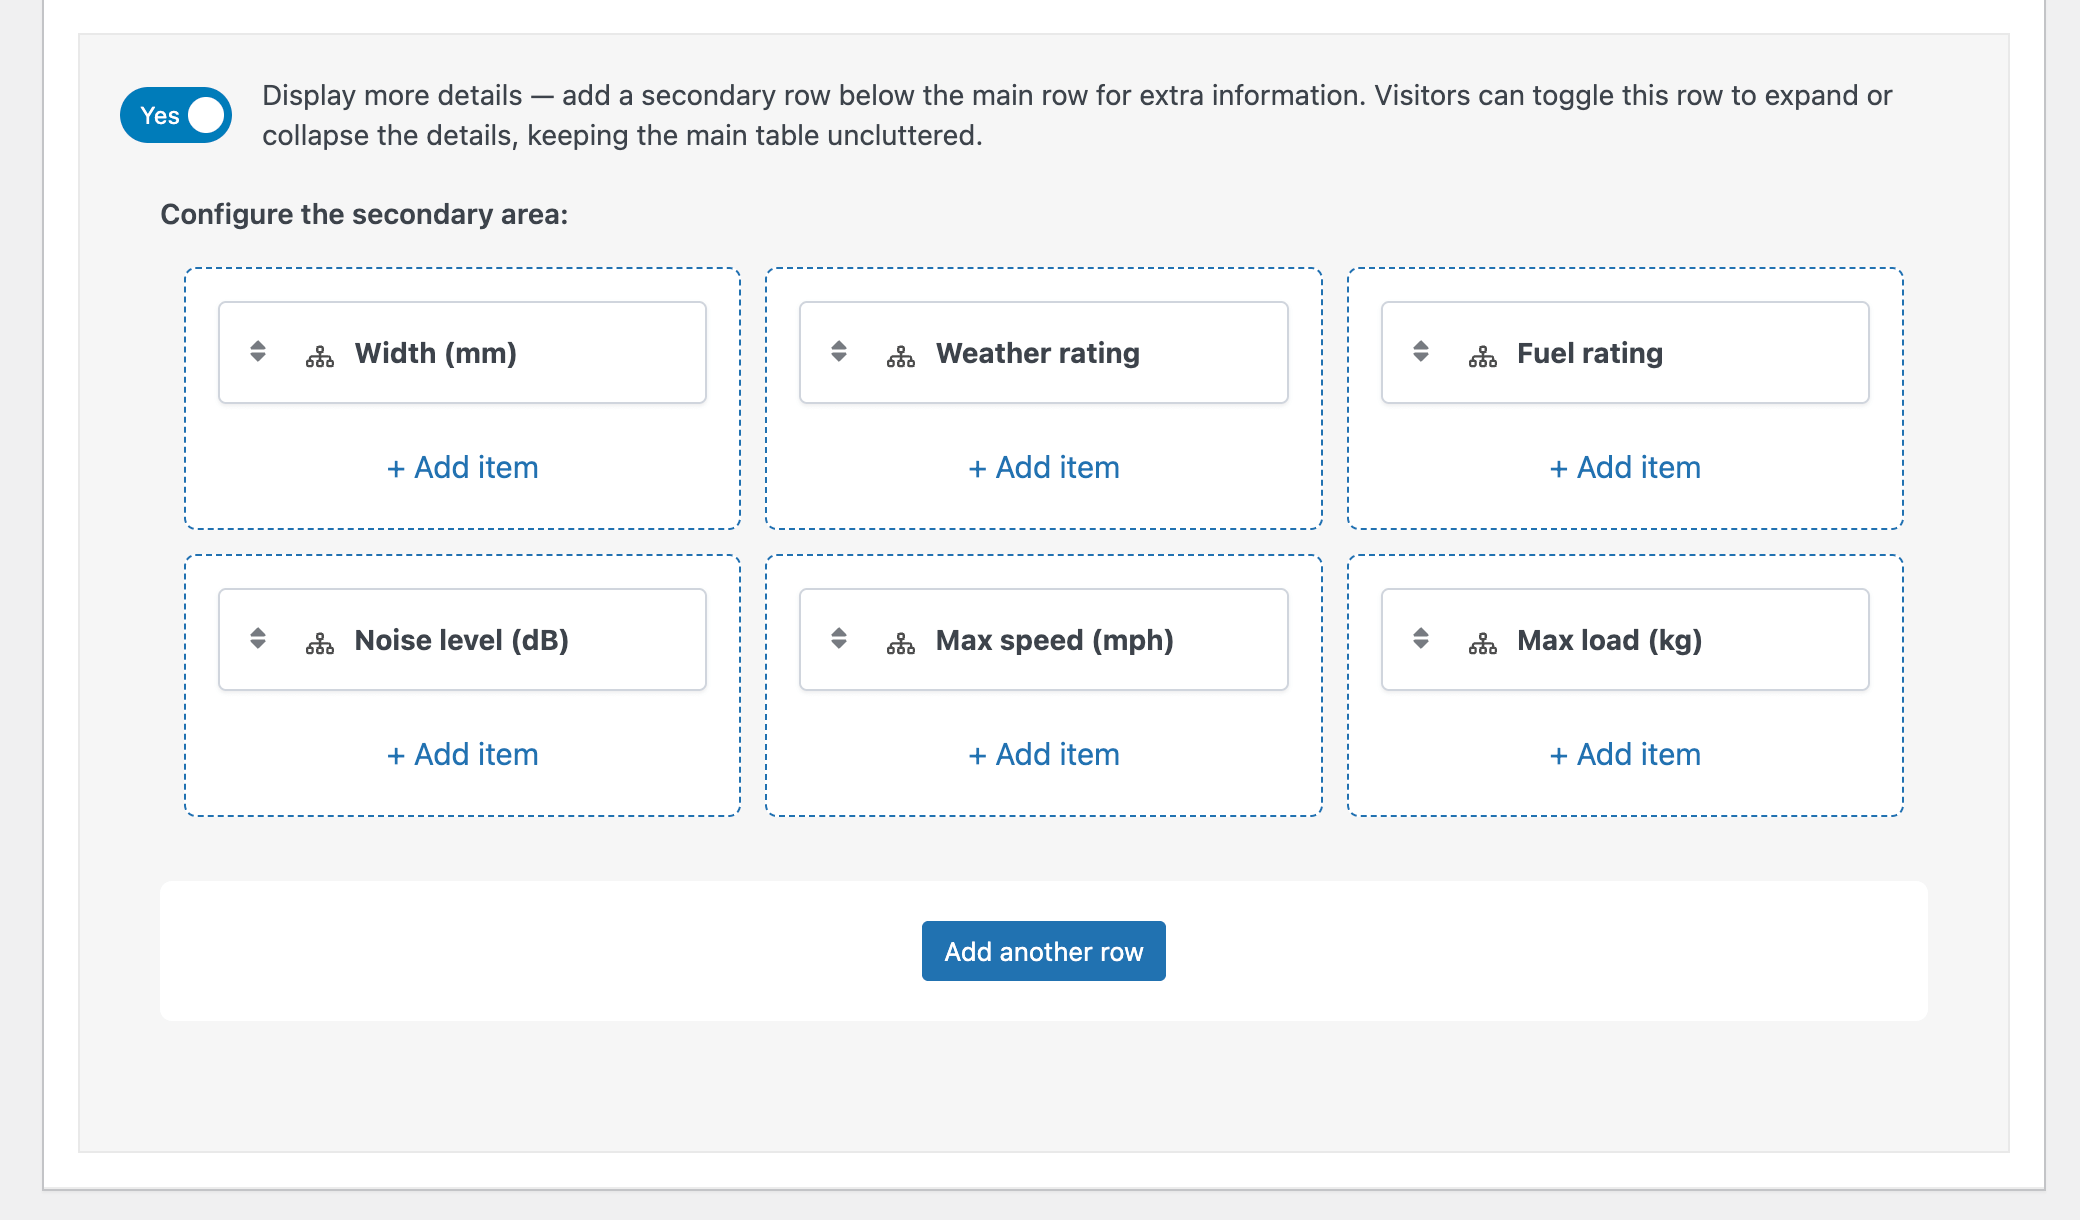
You can also enable the “Display more details” setting to add a secondary expandable “details” row below each product. This lets you show extra information (like the product description or custom fields) without cluttering the main table view.
The details row looks like this on the frontend:
You can freely create rows and add any item you desire:
Step 4: Customize the table header with search and filters
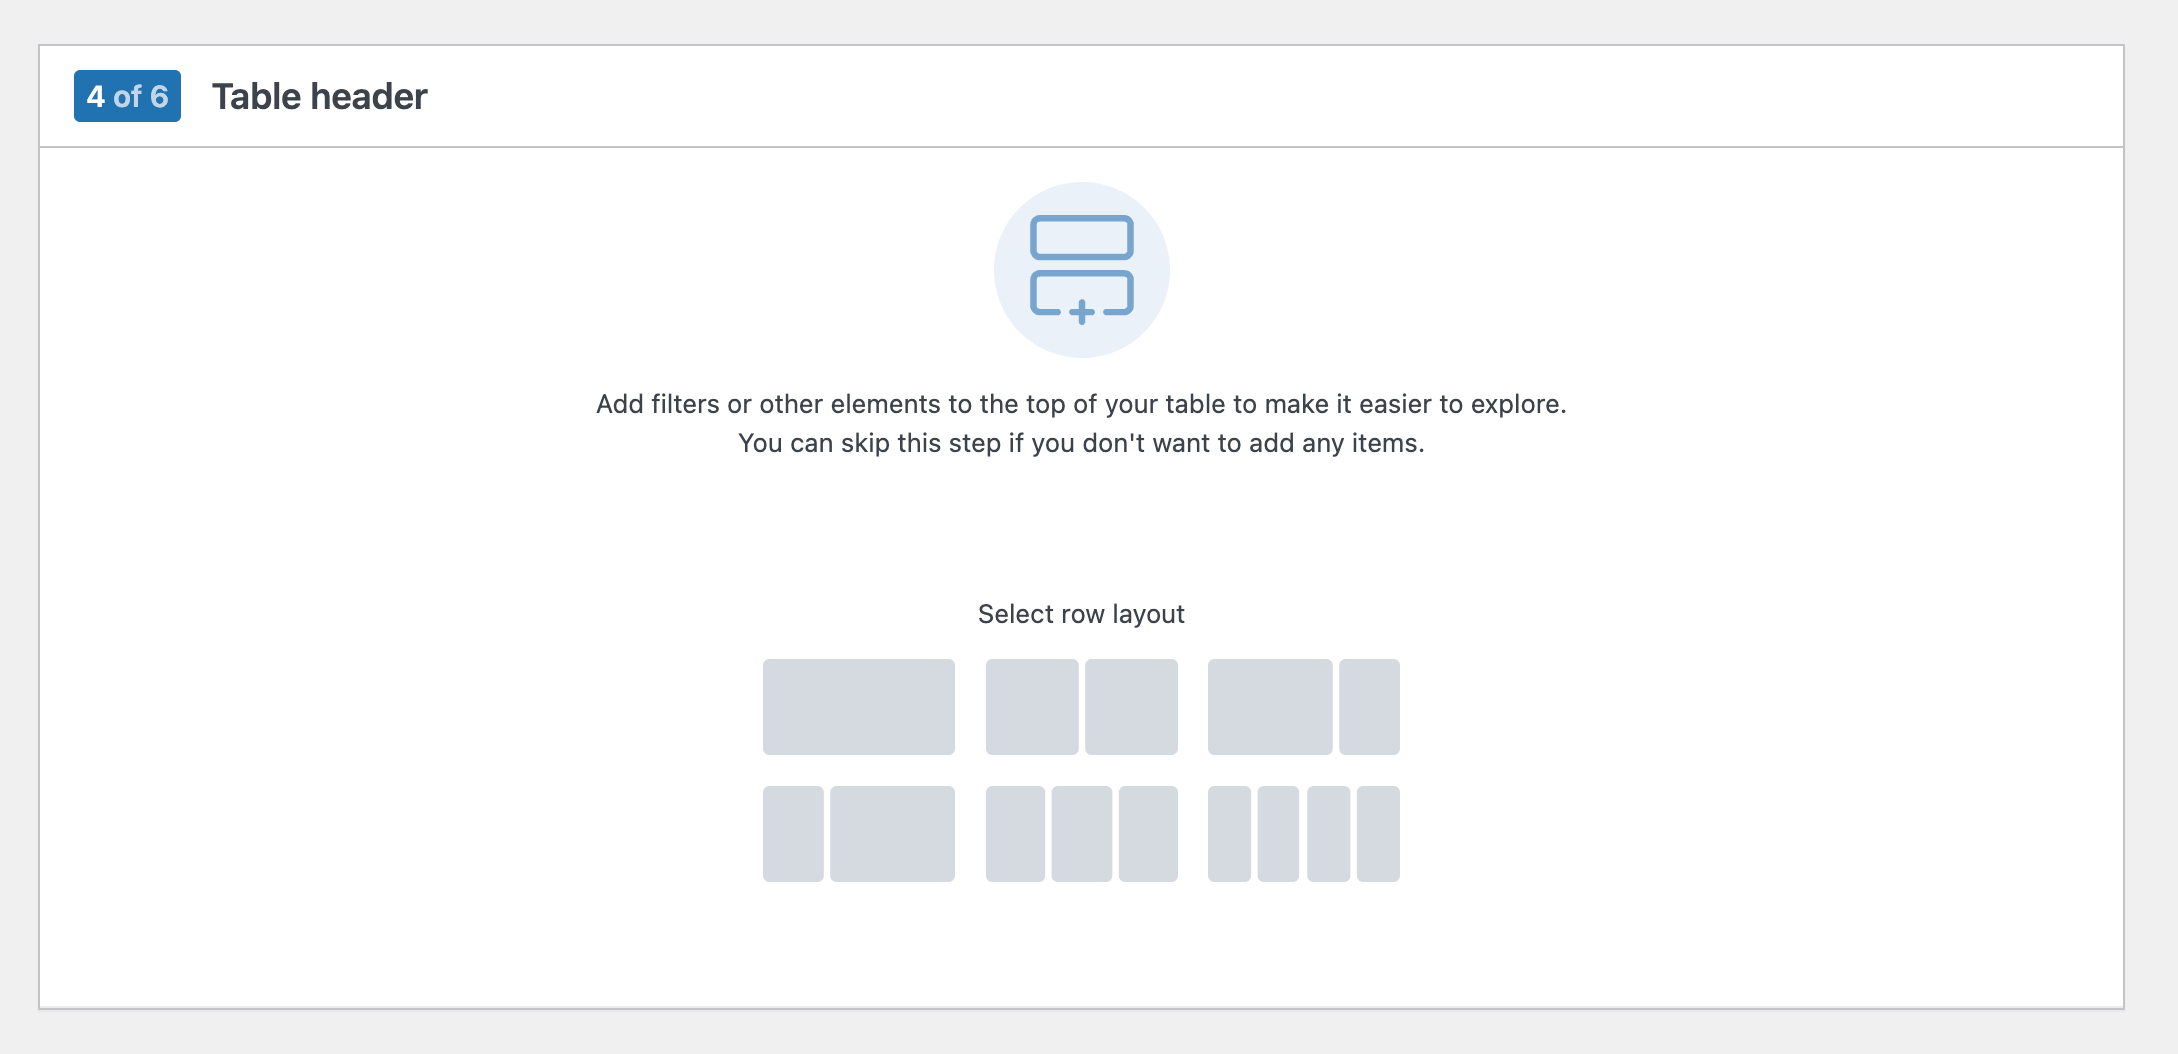
In this step, you can add elements above your table to make it easier for visitors to search and filter products. Typical options include:
- Filters: let users narrow down products by category, tag, attribute, price, or other criteria.
- Search fields: allow quick keyword-based searching by product name or SKU.
- Other controls: add extra elements that help users interact with your table.
Start by selecting a row layout. This controls how header elements are arranged next to each other at the top of your table. Then, you can add any search or filter element to the row’s columns by clicking Add Item.
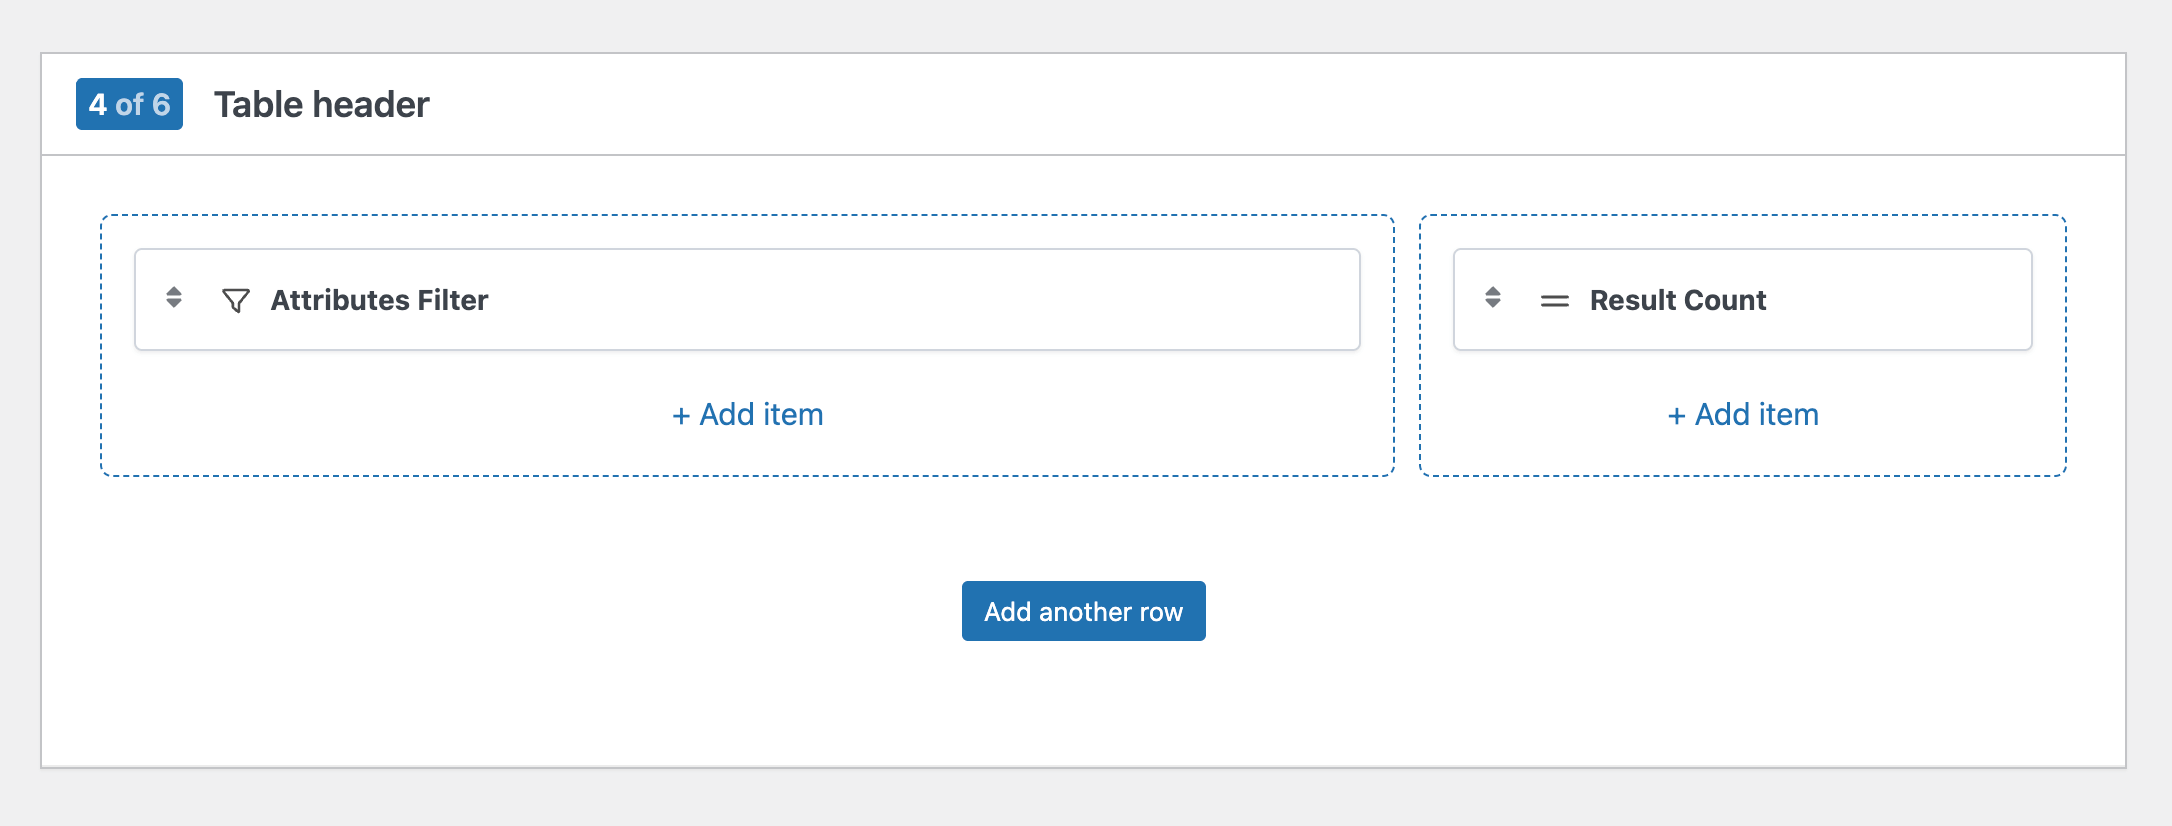
The header can contain any of these items:
- Keyword search: this adds a search box where visitors can type a product name or SKU (full or partial) to quickly find matching items.
- Categories filter: filters the table by one or more product categories.
- Tags filter: filters the table by one or more product tags.
- Attribute filter: allow customers to filter the table by a product attribute.
- Price filter: lets visitors filter products by selecting a price range.
- Brands filter: filter the products by one or more brands.
- Stock availability: filter the products by a stock status (“in stock” or “out of stock”).
- Result count: shows the number of products matching the current filters or search.
If you don’t want a header, you can simply skip this step.
Step 5: performance settings
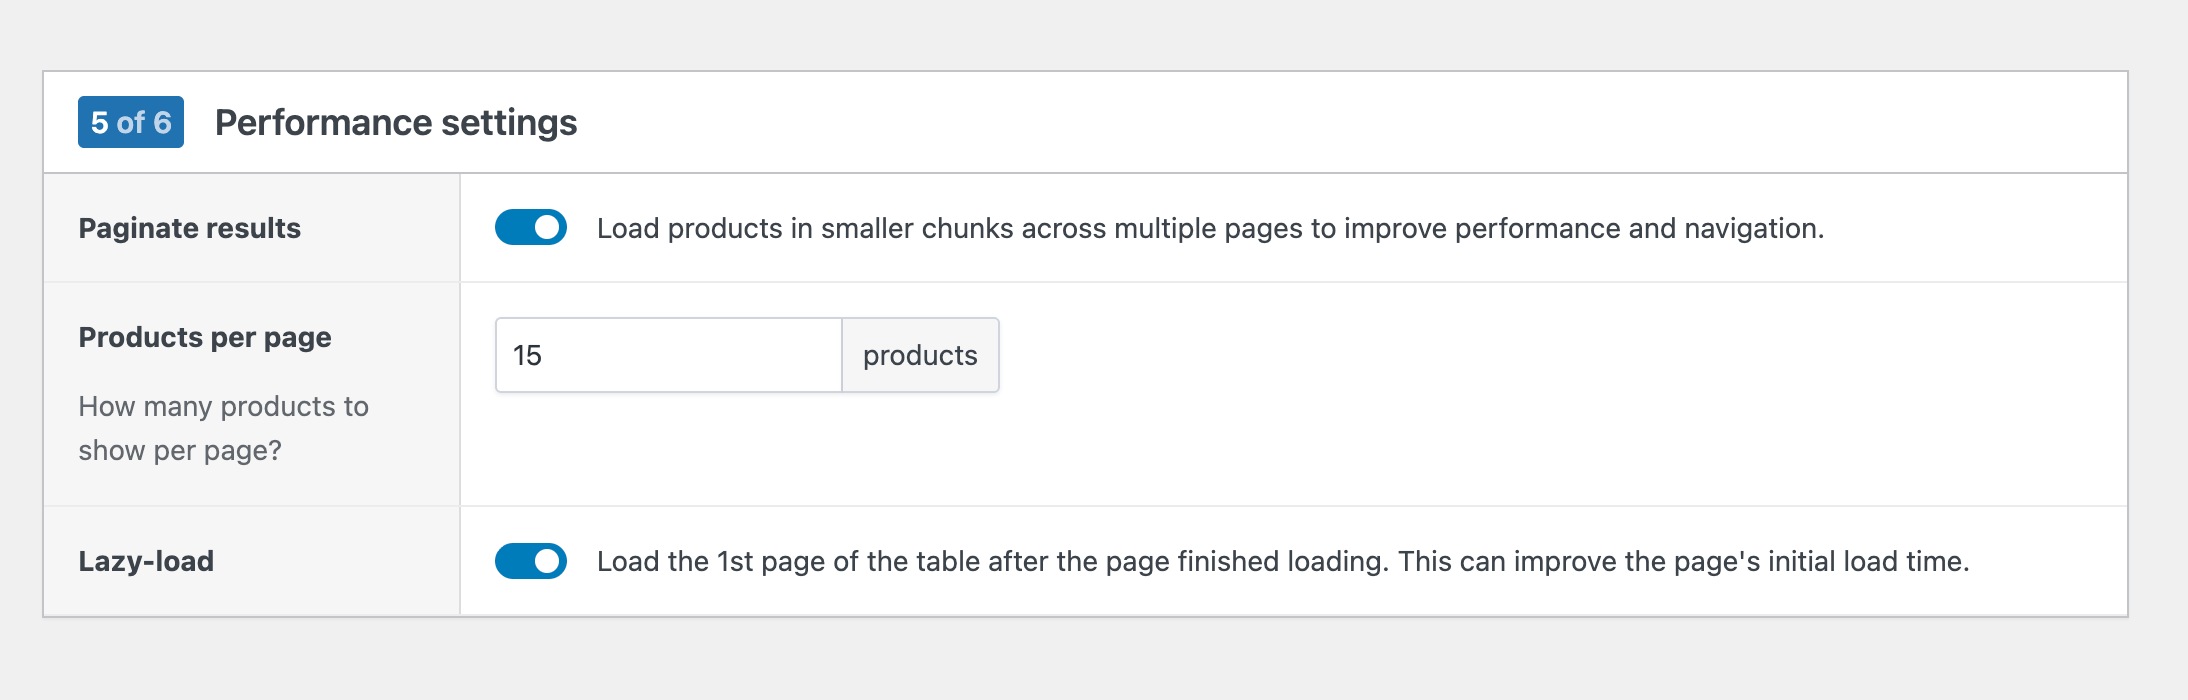
These options help keep your tables fast and easy to navigate, especially if you’re displaying lots of products.
- Paginate results: break the product list into multiple pages instead of loading everything at once. This improves performance and makes browsing easier.
- Products per page: set how many products should appear on each page when pagination is enabled.
- Lazy-load: delay loading the first page of the table until after the rest of the page has finished loading. This means our plugin does not affect your pages’ initial load time.
Our advice is to always enable pagination and lazy loading. A good amount of products per page is anywhere between 25 – 50.
Step 6: other settings
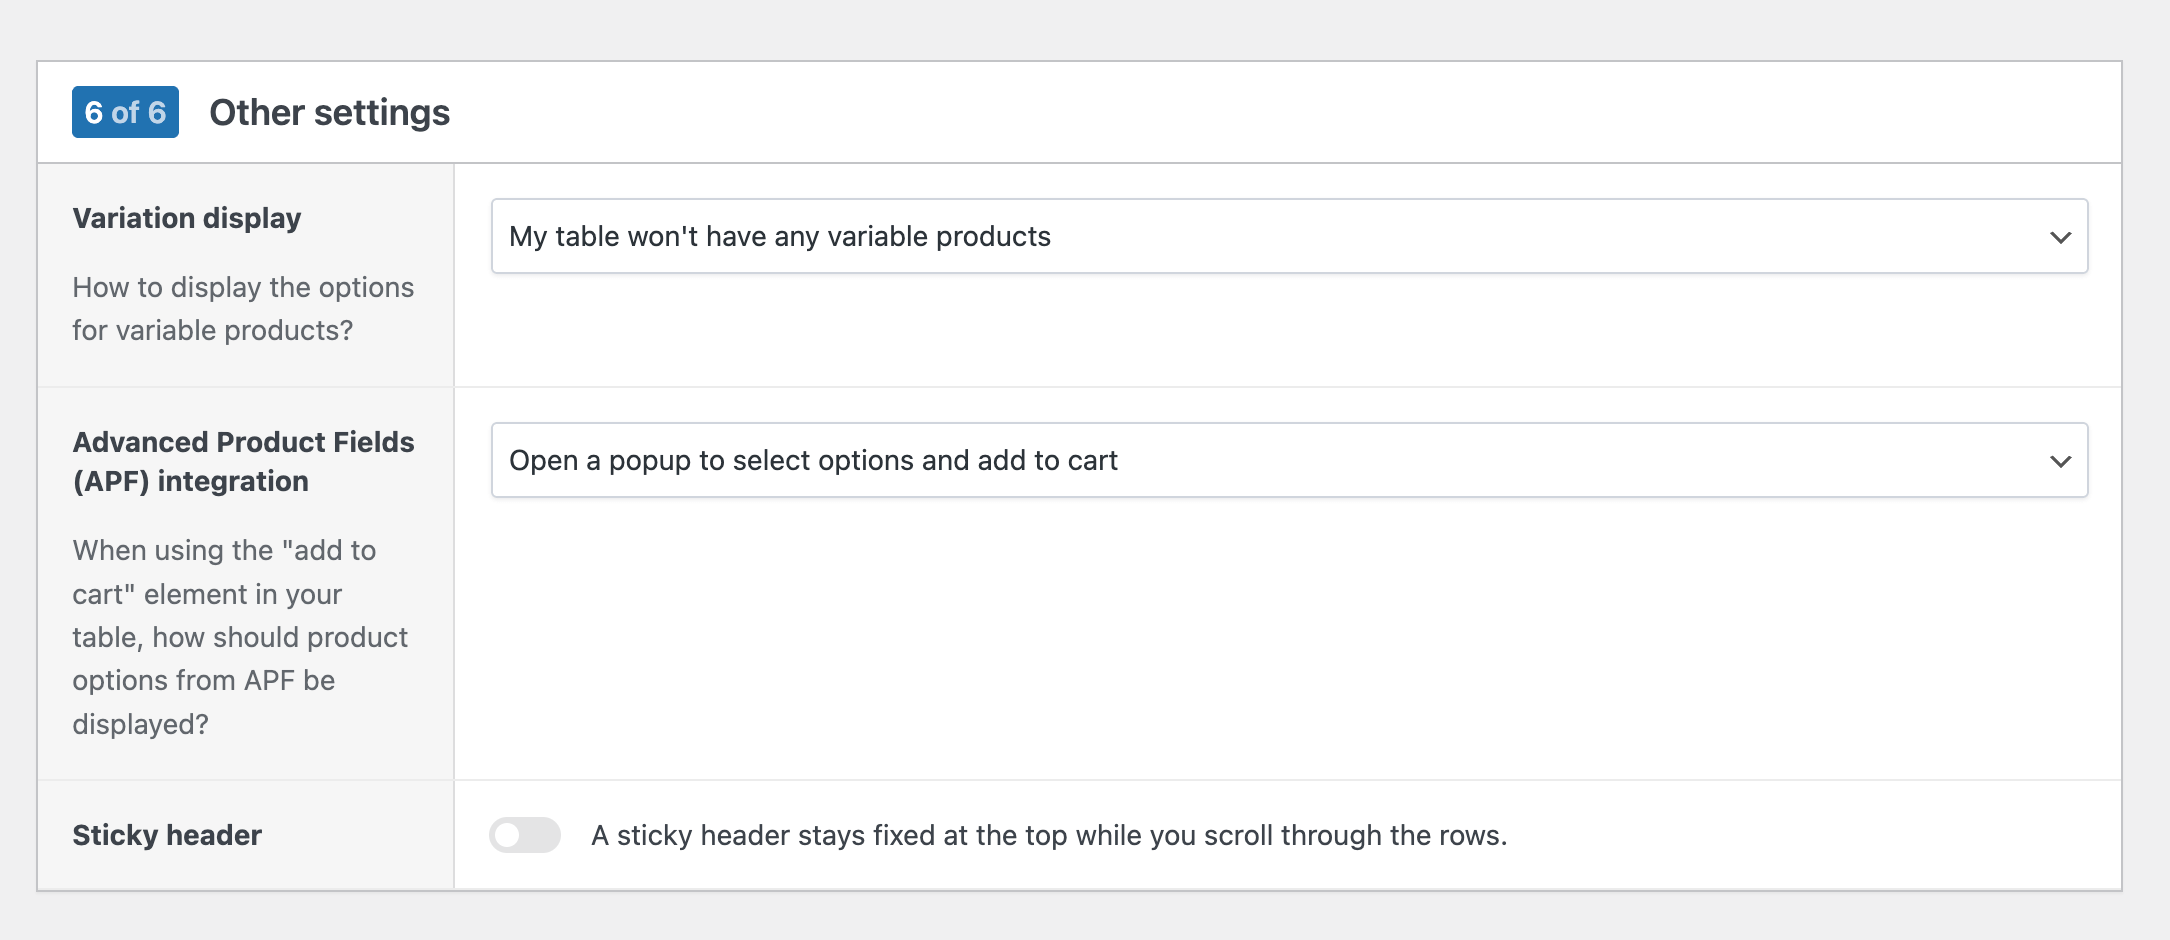
In the final step, you’ll find general settings to fine-tune how your table behaves. Here you can control how product variations are displayed, enable a sticky header that stays visible while scrolling, and configure integrations with other plugins (such as our Advanced Product Fields plugin).
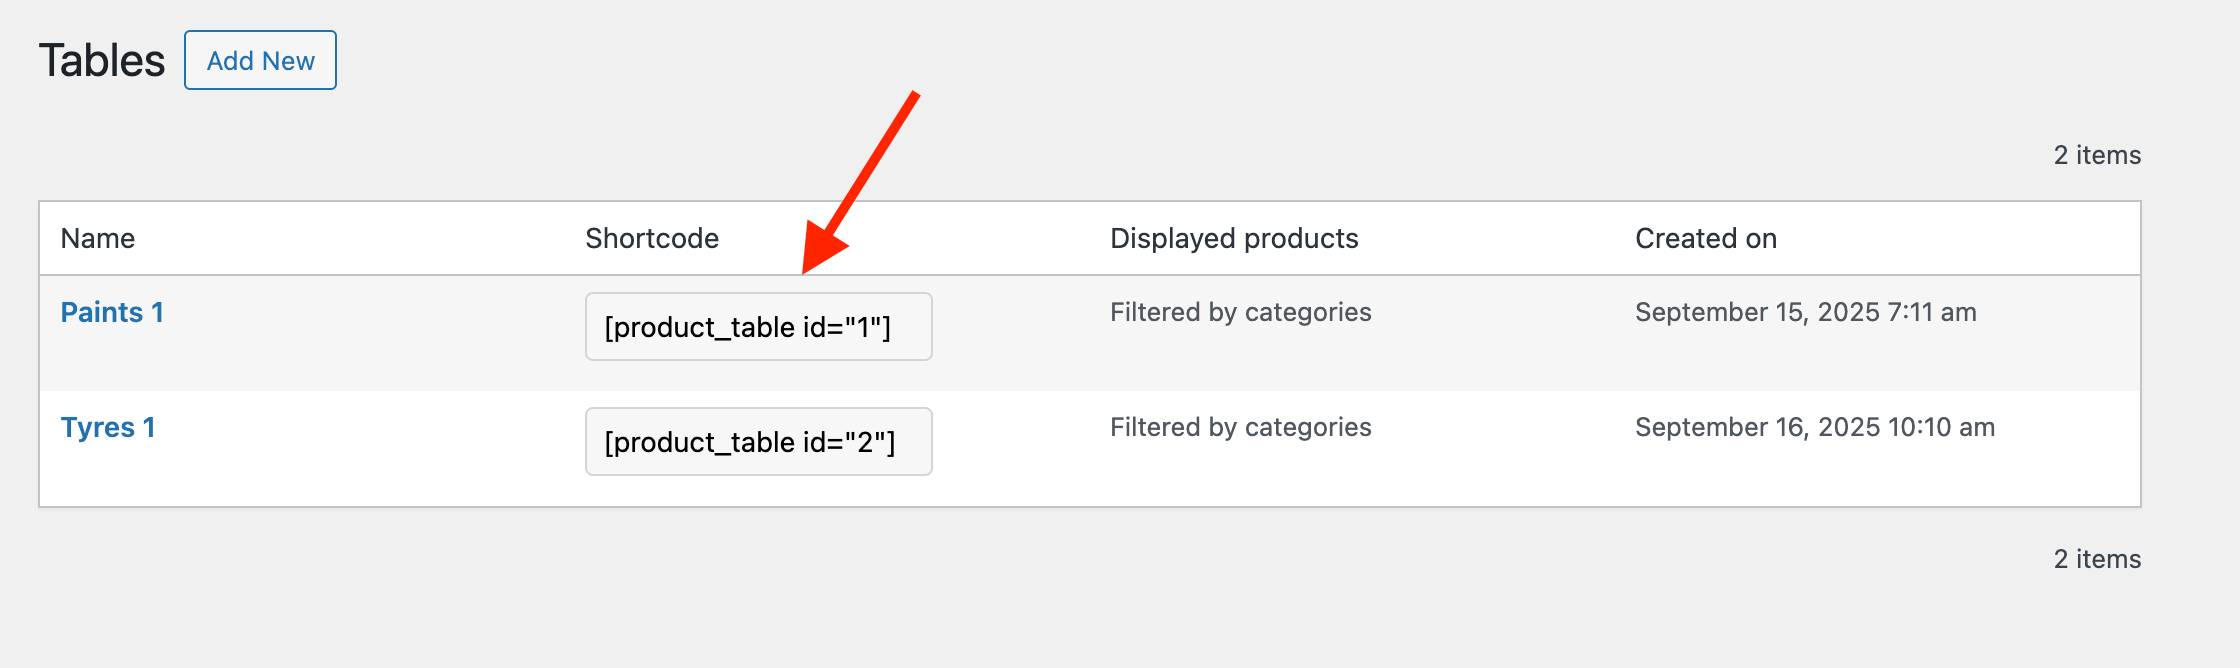
Once you’ve completed all the steps, save your table. You can then add it to any page on your site using the shortcode, which you can find in the table list under Products → Product Tables in your WordPress dashboard.
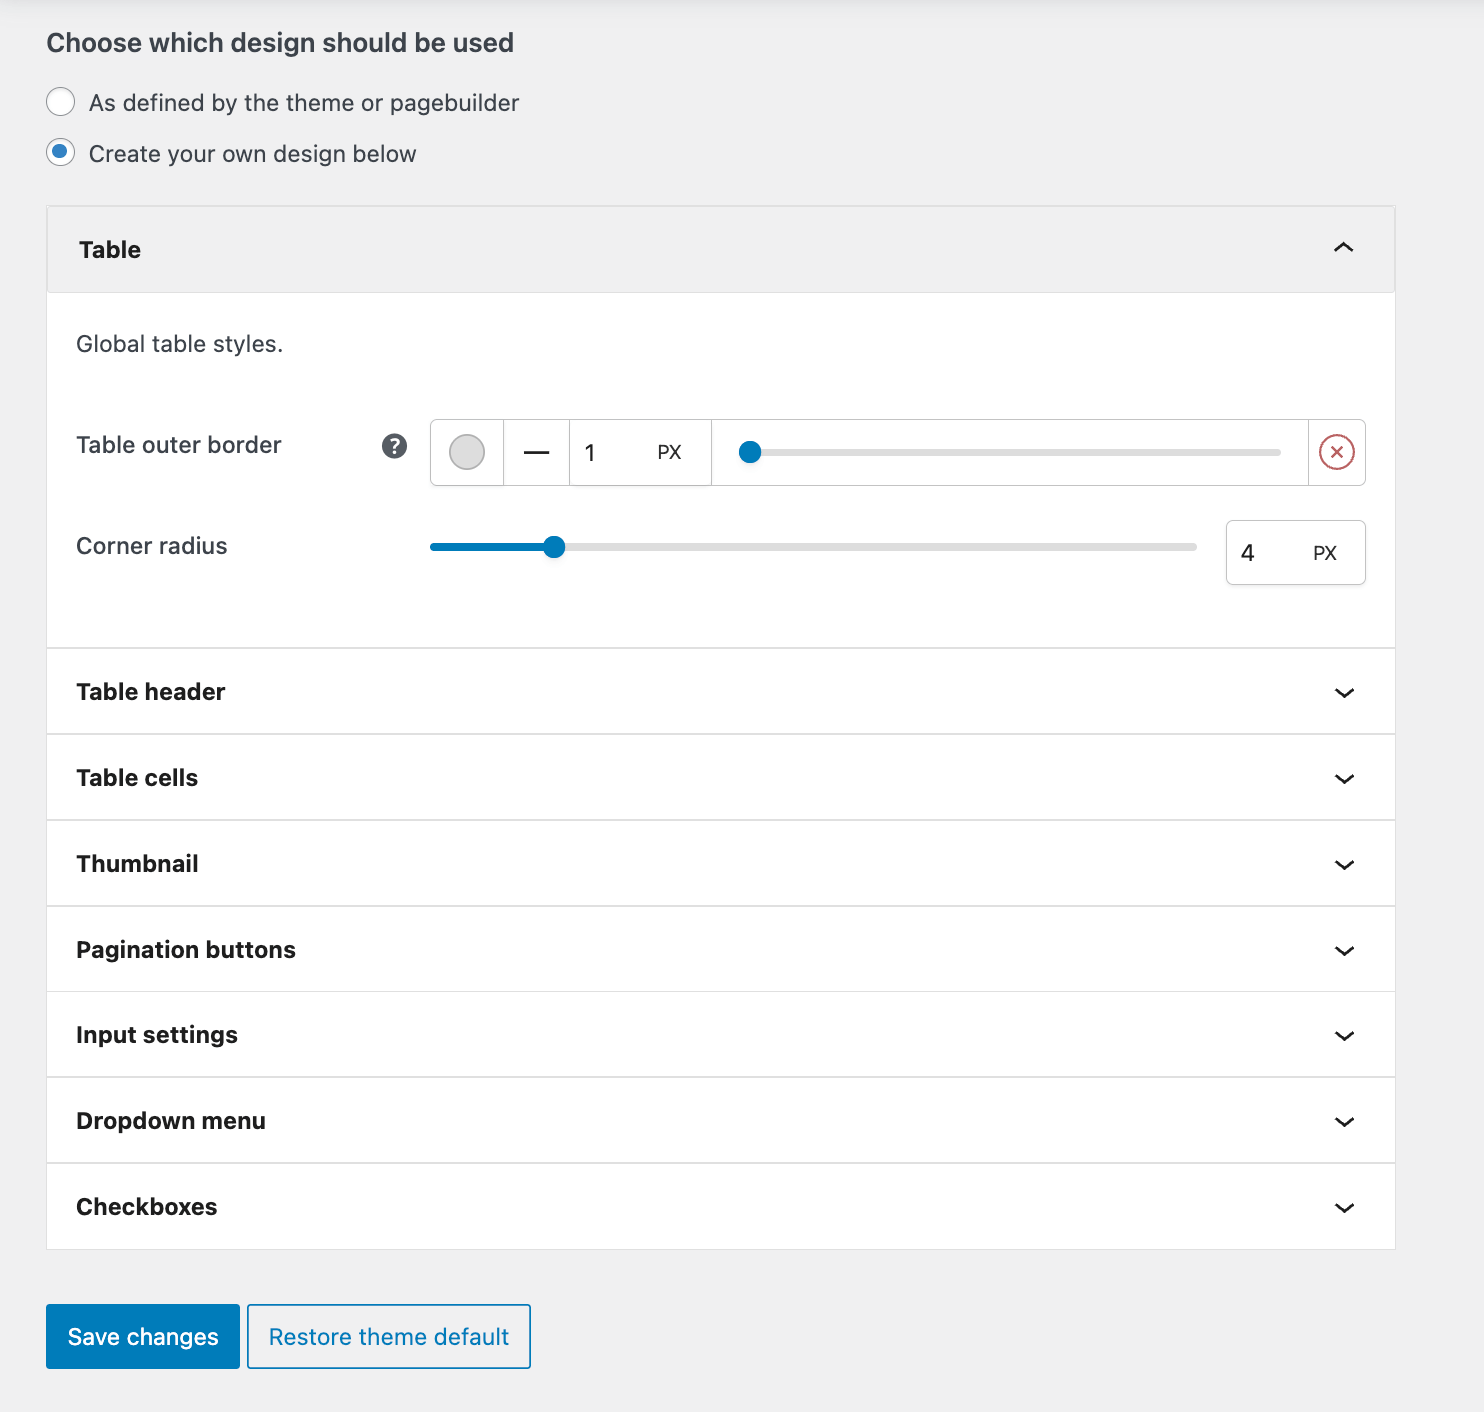
Designing your table
Most themes and page builders don’t include styling for tables. That’s why our plugin comes with built-in design settings to help you match the table to your brand. Go to WooCommerce → Settings → Product Tables → Design, where you can customize options such as cell background and text color, header colors, borders, and corner radius.