
WooCommerce includes 11 built-in email notifications, covering order confirmations, shipping updates, password resets, and more! So your store’s essential communication is handled out of the box.
For more advanced email marketing features like abandoned cart recovery, welcome sequences, or post-purchase follow-ups, WooCommerce gives you the flexibility to integrate a plugin or external platform that fits your needs.
Automated emails generate 320% more revenue than non-automated emails. This is because these are sequences that actually drive repeat purchases and recover lost sales.
To help you out, we’ll take a look at the logic model that powers every WooCommerce email automation plugin on the market. You’ll learn:
- How the 4-component framework works: Trigger → condition → delay → action
- Which email workflows to build first (and why the order matters)
- How to choose between a native WooCommerce plugin and an external email platform based on your store’s size and needs
Whether you’re setting up your first automated email or rethinking a setup that isn’t performing, understanding the mechanics behind these workflows gives you the foundation to get it right.
What WooCommerce emails can and can’t do natively
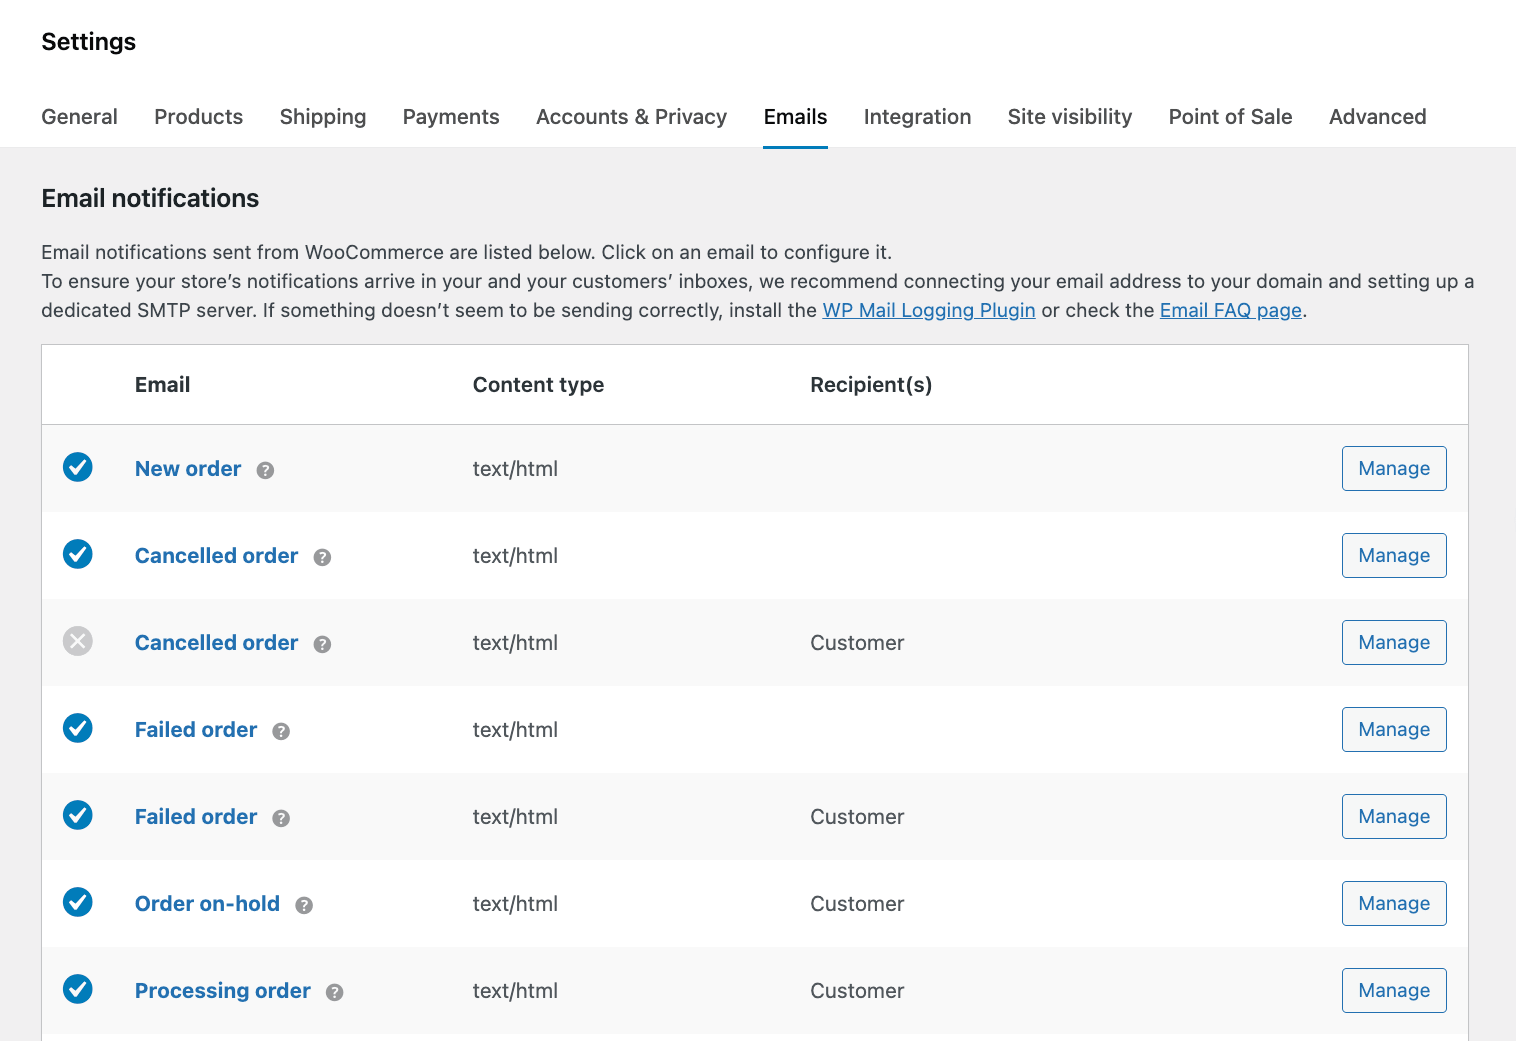
WooCommerce includes 11 built-in email notifications: new order, canceled order, failed order, order on-hold, processing order, completed order, refunded order, order details/invoice, customer note, reset password, and new account.
What you might notice is that every single one is a status notification. They fire when an order changes state or a customer takes an account action – think receipts and alerts, not marketing campaigns.
What you can actually customize
Head to WooCommerce → Settings → Emails, and you’ll find different options, such as:
- A list of all email types and their recipients.
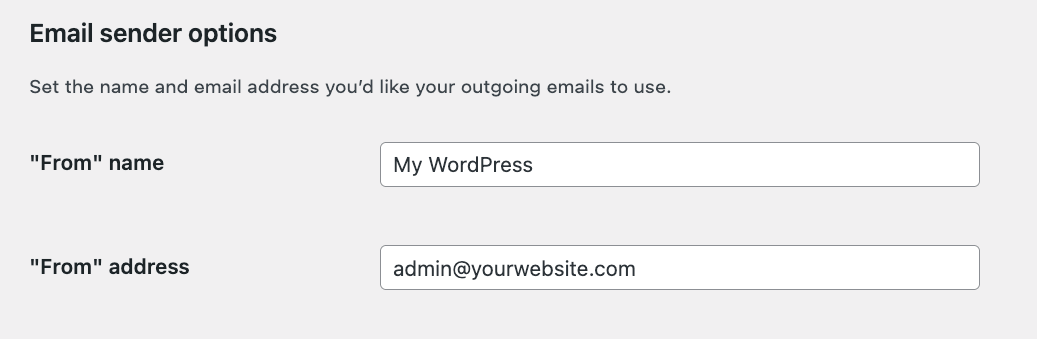
- Email sender options: “From” name and address.
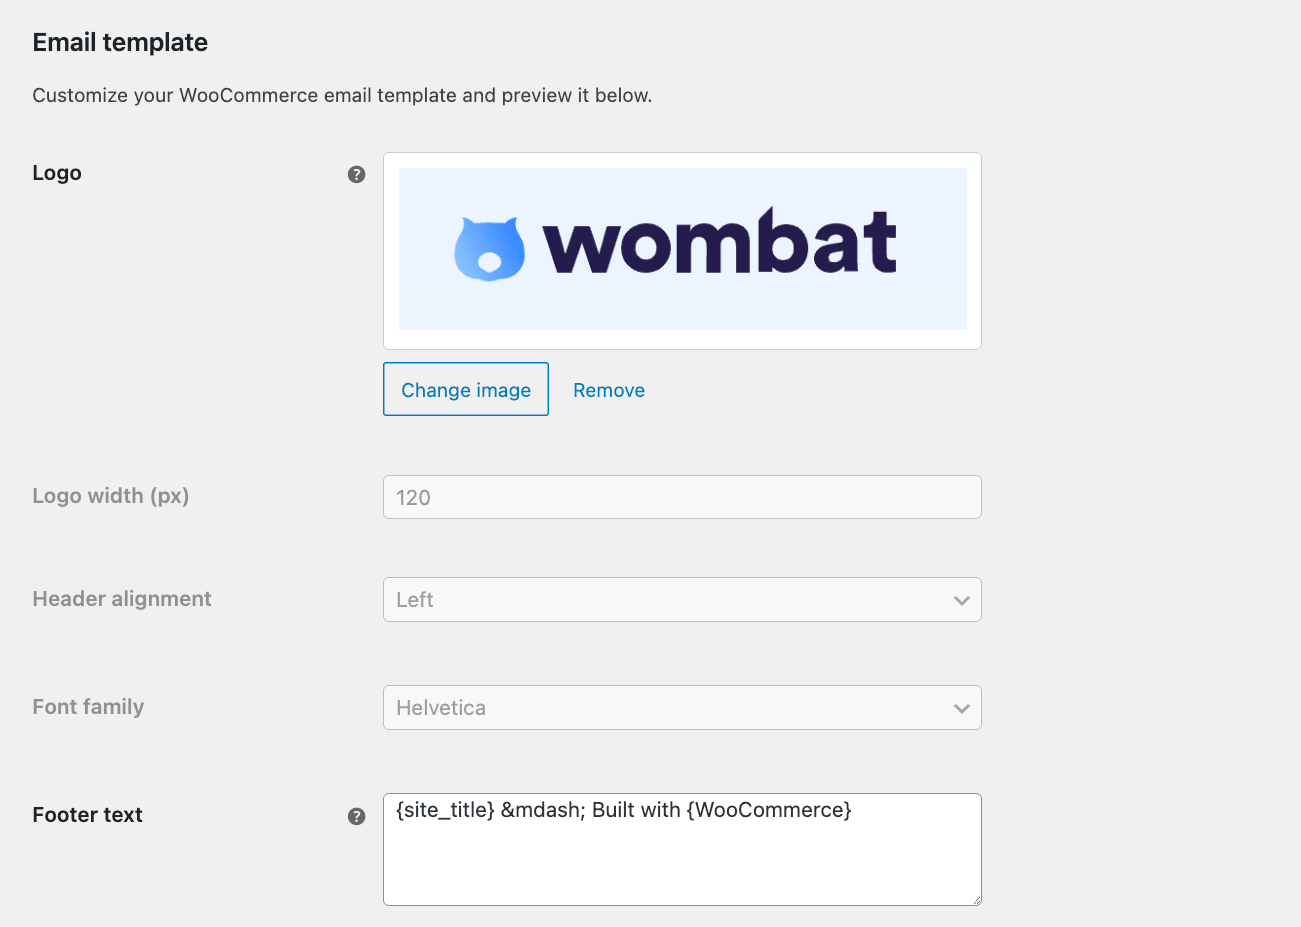
- Logo, logo width, header alignment, font family, and footer text.
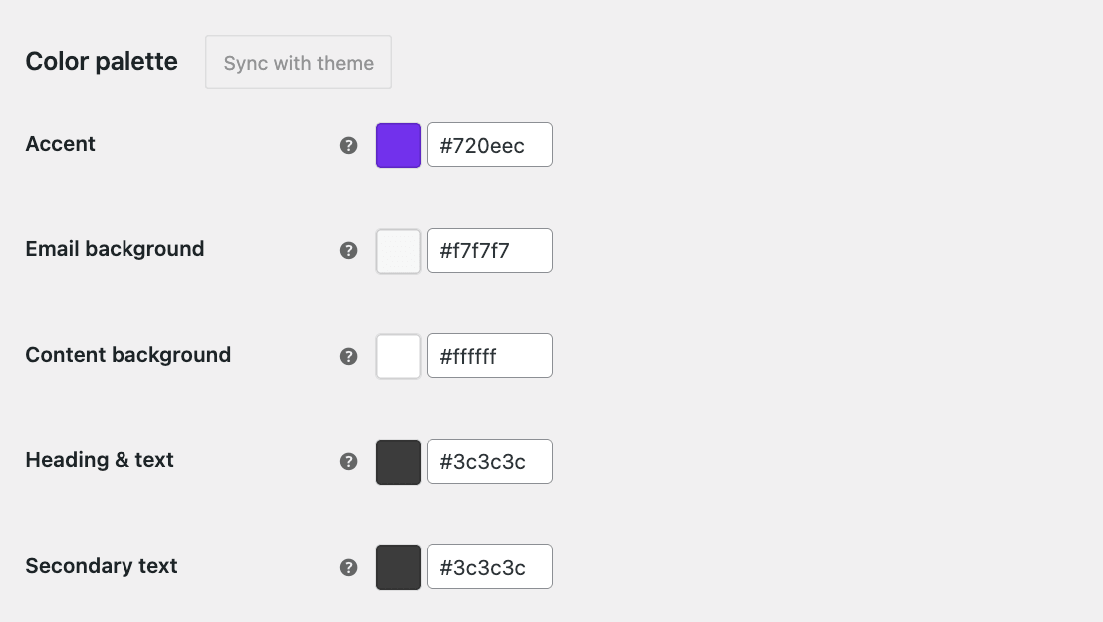
- A color palette that you can customize or sync back with the theme.
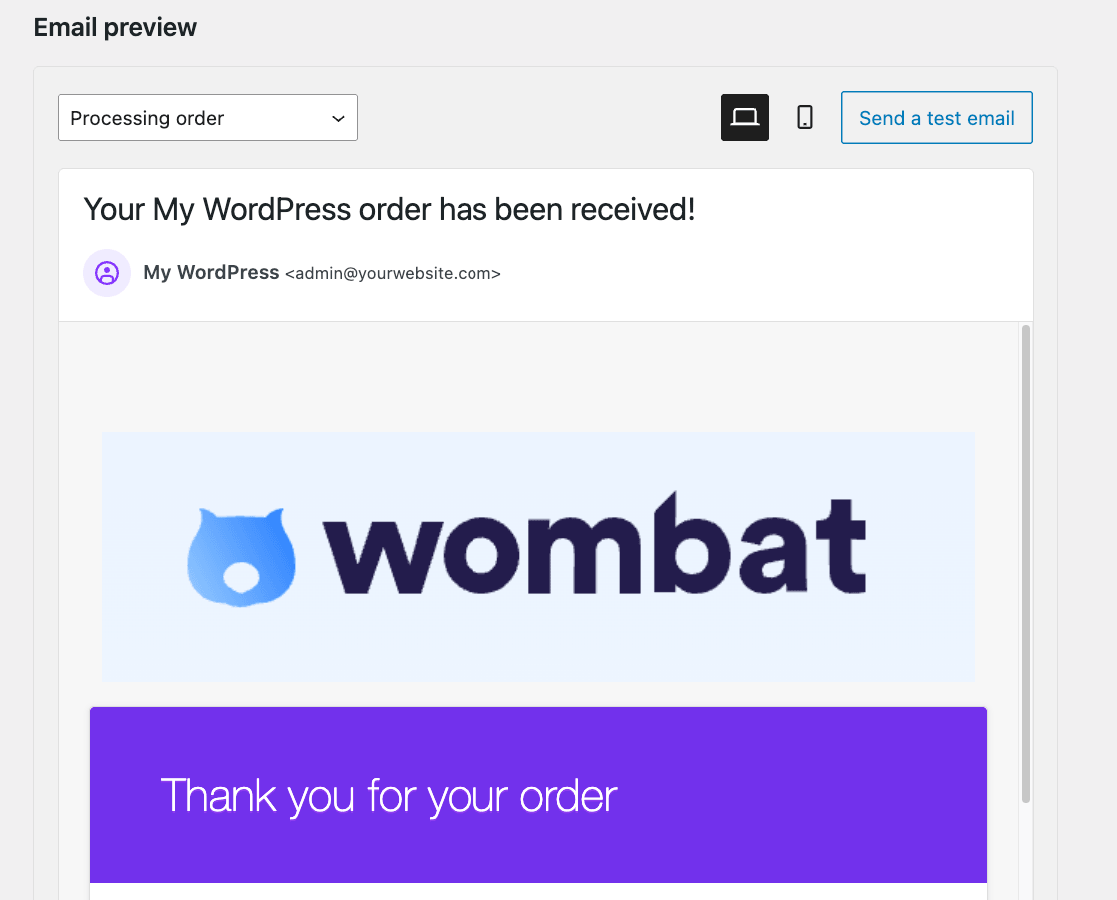
- An email preview window so you can see how it looks to the customer. You can switch between desktop and mobile versions, and send a test email.
In the individual email settings, you can enable or disable specific emails, as well as change the recipient email (unless it’s the customer), the subject line, email heading, additional content, and email type (HTML, plain text, or multipart).
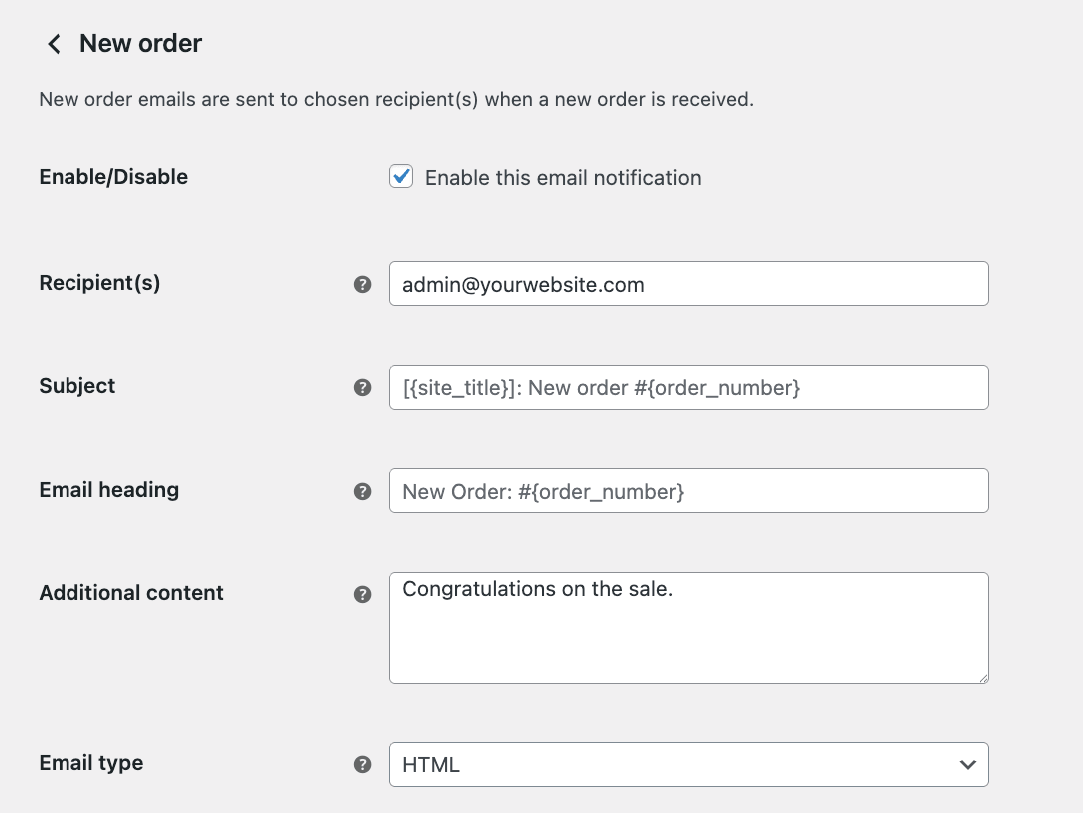
Most of these are cosmetic tweaks, not structural changes. You can’t rearrange sections, add content blocks, or insert product recommendations. The available placeholders are limited to {order_number}, {order_date}, {site_title}, and {site_url} – no dynamic personalization beyond those basic merge tags.
What’s missing entirely
Here’s what WooCommerce can’t do without a plugin or external platform:
- Abandoned cart recovery emails
- Welcome series for new subscribers
- Win-back campaigns for inactive customers
- Birthday or anniversary emails
- Post-purchase review requests
- Cross-sell or upsell sequences
- Drag-and-drop email building
- Open rate tracking, click-through analytics, or A/B testing
There is an obvious gap between transactional notifications and marketing emails, which is exactly why automation tools exist – and why everything that follows in this article requires a separate plugin or platform.
How triggers, conditions, delays, and actions fit together
Say a customer adds a pair of shoes to their cart, gets distracted, and leaves your store. 60 minutes later, the system checks whether they completed the purchase. They didn’t, so it sends a friendly reminder email with their cart contents.
That entire sequence runs on 4 components working together. Every WooCommerce email automation plugin uses this same logic model, regardless of brand or price.
1. Triggers
A trigger is the specific customer event that starts a workflow. Examples include cart abandoned, order completed, account created, or subscription payment failed.
Nothing happens until a trigger fires. Think of it as the starting pistol.
2. Conditions
Conditions are rules that filter which customers qualify for the workflow. The most common ones are conditions like “Only if cart value is over $100,” “Only if first-time buyer,” and “Only if the customer is within the free shipping zone.”
Without conditions, every automation fires for every customer on every matching event – which means irrelevant emails and wasted sends.
3. Delays
A delay is the configurable wait time between the trigger and the next step – 30 minutes, 24 hours, 7 days. Getting this right matters more than most store owners expect. If you send it too early, the email feels pushy. But if you wait too long, they’ve probably already moved on.
4. Actions
Actions occur when conditions are met, and the delay expires: send an email, generate a coupon code, apply a customer tag, or enroll the customer in a different sequence. Most workflows chain multiple actions together in a series.
Branching logic: Where it gets smart
Multi-step workflows add conditional splits between these components. Did the customer open Email 1? If yes → send an upsell offer. If no → resend with a new subject line.
This is what takes automations from simple (trigger → action) to intelligent (trigger → branch → different actions per path).
However, if a visitor never enters an email address, no automation can reach them – no matter how well your workflows are built. We’ll cover how to solve this capture problem later in the article.
Trigger-to-action mapping table
| Trigger event | Example condition | Delay | Action |
|---|---|---|---|
| Cart abandoned | Cart value > $50 | 60 minutes | Send a reminder email |
| Order completed | First-time buyer | 3 days | Send thank-you + product tips |
| Account created | Subscribed via popup | Immediate | Send a welcome email with the promised incentive |
| 60 days inactive | No open support ticket | None | Send a win-back offer |
| Order delivered | Purchased a specific product | 7 days | Send a review request with a direct link |
4 email automation workflows worth building first
Most guides list up to 9 “must-have” automations and present them as equally important. They’re not. Launching everything at once leads to chaos – it’s hard to keep track of so many workflows at once, and chances are, you’ll deactivate most of them after a month, because it’s too overwhelming.
A much better approach is to start with the workflow that has the highest direct revenue impact, let it run for 2-3 weeks so you can understand its performance, then add the next one.
Each workflow below applies the trigger-condition-delay-action framework from the previous section to a specific WooCommerce scenario.
1. Abandoned cart recovery
This one goes first because it targets revenue you’ve almost already earned – customers who added products to their cart and left before paying.
Sending 3 emails in a sequence produces significantly more recovered orders than sending just 1. Here’s a timing and content structure that works well:
| Timing | Content approach | |
|---|---|---|
| Email 1 | 30–60 minutes after abandonment | Friendly check-in, no discount. “Your items are waiting.” A gentle nudge, not a hard sell. |
| Email 2 | 24 hours | Product benefits + social proof. If you include an incentive, reserve it for high-value carts only – offering discounts on every abandoned cart trains customers to abandon on purpose. |
| Email 3 | 48 hours | Urgency – coupon expiring, limited stock. This is where a time-limited discount code earns its keep. |
💡Did you know? Most automation tools capture the email address the moment a visitor types it on the checkout page – before they complete the order. That’s how abandoned cart emails reach people who never hit “Place order.” However, for GDPR-compliant stores, capturing the field alone isn’t enough. The customer must have also opted in to marketing emails before a recovery sequence can fire.
2. Post-purchase follow-up
This workflow capitalizes on the goodwill window right after a successful purchase. Over time, post-purchase sequences build the social proof that influences every future buying decision on your product pages.
Email 1 – thank-you (3 days after delivery)
- Trigger: Order completed
- Delay: Enough time for the customer to receive and try the product, depending on your shipping
This is a good place to use conditional branching. Set up a condition that splits by order value: High-value orders (e.g. over $150) get a personal thank-you with a VIP discount for their next purchase. Standard orders get product tips or care instructions instead.
Email 2 – review request (7–10 days after delivery)
Keep this email short with 1 clear call to action: A direct link to the review form for the specific product the customer bought – not a generic “review our store” page.
Add a condition here too: Only send this email if the customer hasn’t already left a review for that product. No one wants to be asked twice.
3. Welcome series
A welcome series requires something the other workflows don’t: an existing subscriber list. You need people to welcome before this trigger can fire – and the next section covers how to capture those emails in the first place.
Trigger: New subscriber signs up or completes their first purchase.
- Email 1 – deliver what you promised. If someone signed up for 10% off, that discount code should be in this email. If you offered a free guide or product catalog, include the download link. Failing to deliver the signup incentive immediately is one of the fastest ways to lose a new subscriber’s trust.
- Email 2 – set expectations. Tell the subscriber how often you’ll email and what kind of content to expect (product launches, tips, exclusive deals). This small step reduces unsubscribes down the line because the customer knows what they signed up for.
4. Win-back campaign
Trigger: 60 to 90 days of customer inactivity – no purchases, no site visits. The exact threshold depends on your product cycle. A consumable brand might set this at 45 days; a furniture store might wait 6 months.
Content: Offer a reason to come back – a discount, free shipping, or a message showing new products. Specificity performs much better than generic messaging here. “We added 12 new items since your last order” is much more effective than “It’s been a while!”
⚠️Important: Exclude customers who have an open support ticket or pending return. Sending a promotional email to someone mid-complaint does more harm than good – it signals that your store doesn’t know (or care) what’s happening with their order.
Capturing emails and coupons before the first trigger fires
Every workflow above assumes one thing: you already have the customer’s email address. No list means no automation.
That makes email capture “step 0,” which has to happen before any trigger can fire. Here are the most common options:
- Standard signup forms work, but they rely on the visitor being motivated enough to hand over their email with no immediate reward. That’s a big ask from someone who just landed in your store for the first time.
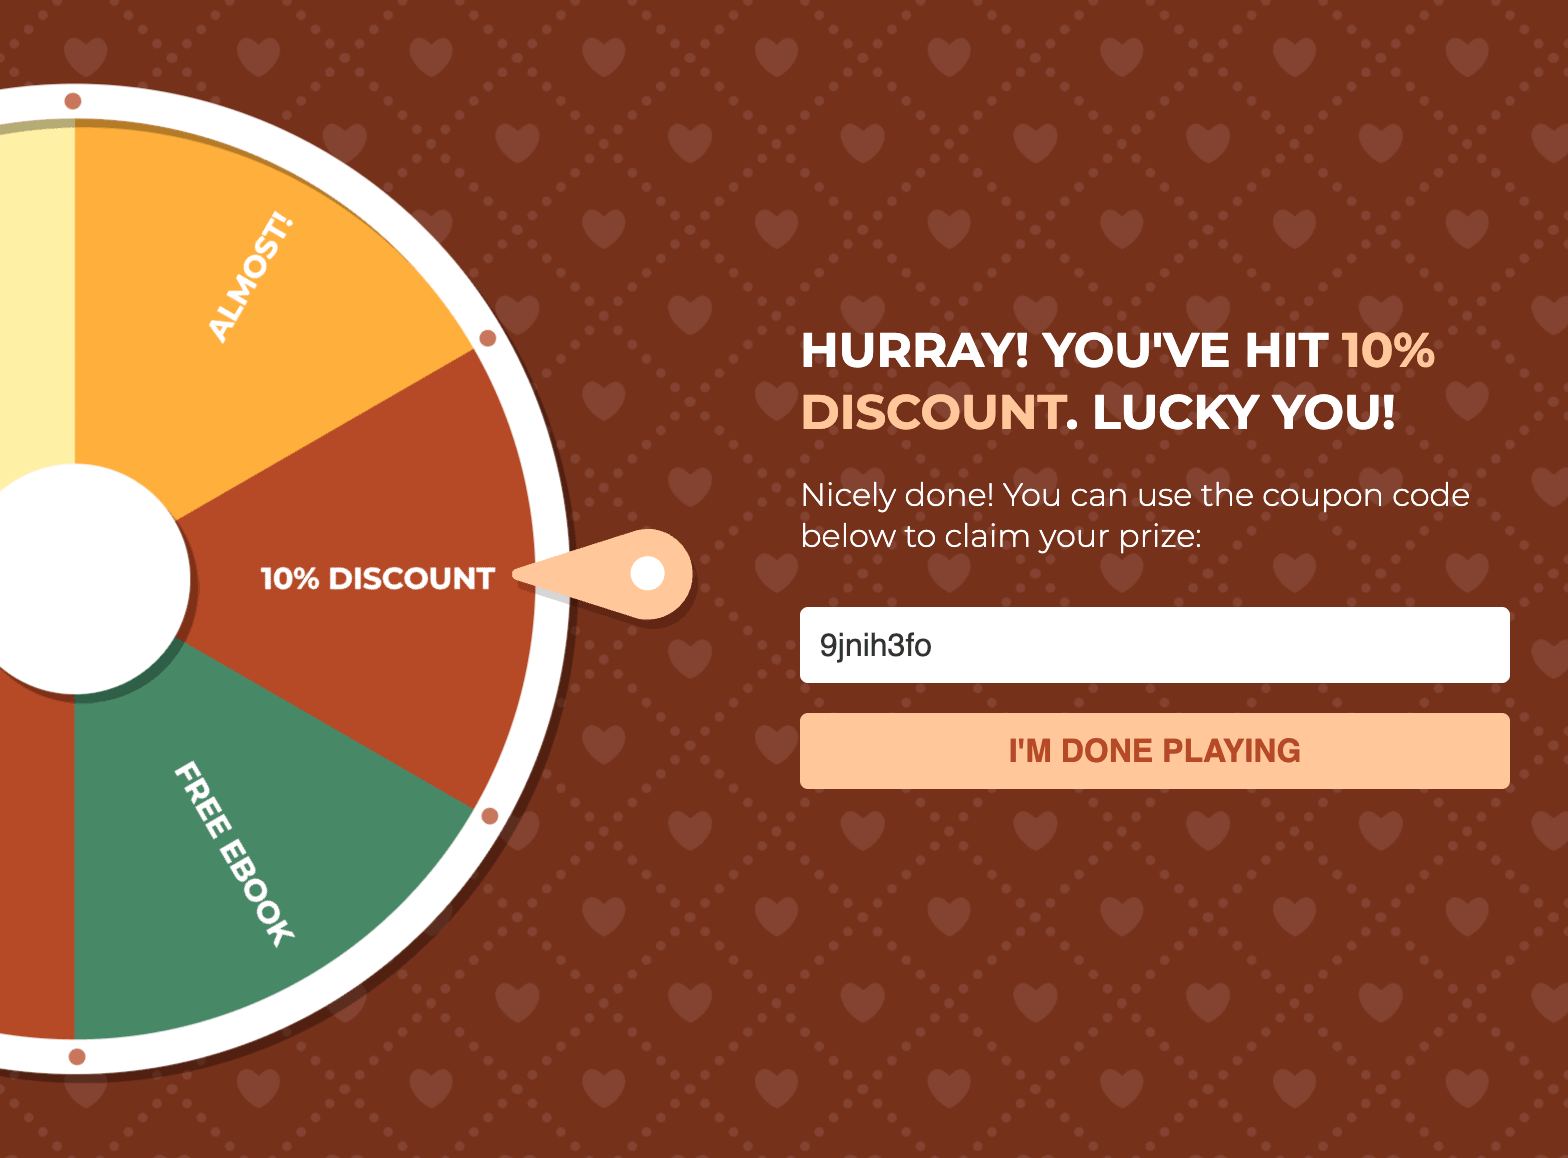
- Gamified opt-ins like spin-to-win popups tend to outperform static forms because the visitor gets something in return – a discount, free shipping, or a freebie. The exchange feels fair, so more people opt in.
Birthday coupon workflow – an end-to-end example
Here’s how list-building and automation might look in practice, using a birthday email as the example:
- A visitor arrives at your store.
- A gamified pop-up captures their email and birthday through WP Optin Wheel’s custom form builder – text fields, dropdowns, and mandatory GDPR checkboxes for compliance.
- WP Optin Wheel auto-generates a unique, one-time-use WooCommerce coupon as the prize. No risk of codes being shared on coupon sites.
- The data syncs to your email platform via 12 native integrations (Mailchimp, Klaviyo, ActiveCampaign, Brevo, MailerLite, and others) or through Zapier, Make, or n8n.
- Your ESP stores the birthday field and triggers a personalized coupon email every year – no manual input needed.
This maps back to the framework: The pop-up display is the trigger, the form fields capture data for conditions, the coupon generation is the action, and the ESP sync is the handoff to the next automation. Same trigger-condition-delay-action logic, applied to list-building instead of post-purchase.
Choose the right solution for your store
Before you pick a tool, you need to make an architectural decision – do you want a WooCommerce plugin that runs inside your WordPress dashboard, or an external platform that connects to your store from outside?
Approach 1 – WooCommerce plugins
Tools like FunnelKit Automations, AutomateWoo, and FluentCRM are WordPress.org plugins that live inside your admin dashboard. Your data stays on your server, and pricing is a flat annual fee – no per-contact charges.
The upside: deep access to WooCommerce hooks and extension-specific triggers for things like subscriptions, bookings, and memberships. The tradeoff: you’re responsible for your own email sending infrastructure, which means setting up an SMTP service or Amazon SES.
Approach 2 – External platforms
Tools like Omnisend, Klaviyo, and ActiveCampaign are SaaS platforms that connect to WooCommerce through a connector plugin. The platform handles email delivery for you – and most also support SMS and push notifications.
The tradeoff: Per-contact pricing that scales fast. Klaviyo, for example, costs around $175/month at 10,000 contacts.
Free options exist for both approaches.
- ShopMagic’s free tier covers basic automations with no contact limit, though multi-step delayed sequences require the paid version.
- Omnisend’s free plan gives you 500 emails and 500 push notifications per month with full feature access.
What to look for in any tool
Regardless of which approach you pick, check for these 4 things:
- Trigger library depth – how many WooCommerce events it can listen to.
- A visual workflow builder with conditional branching, not just linear sequences.
- WooCommerce-specific data access – order history, product categories, customer tags, lifetime value.
- Built-in or configurable sending infrastructure so your emails actually reach inboxes.
Set up your email automation process
Your next step depends on where you are right now.
If you don’t have a subscriber list yet: Start with email capture. You can’t automate emails to people you don’t have addresses for. A gamified approach like WP Optin Wheel lets you capture emails and generate WooCommerce coupons in a single step – giving visitors a reason to opt in while building your list from day 1.
If you already have a list: Configure abandoned cart recovery first using the trigger-condition-delay-action pattern. Set up the 3-email sequence (30–60 minutes, 24 hours, 48 hours) as your starting template. Let it run for 2 to 3 weeks, check your open rates and recovered revenue, then add the next workflow in priority order:
- Post-purchase follow-up
- Welcome series
- Win-back campaign
- Review requests
One workflow at a time. Get each one running smoothly before adding the next.
