The WooCommerce cart page is the critical step between browsing and buying, but it’s also where most customers give up on making a purchase. With cart abandonment rates ranging between 60-80% across industries, optimizing this page and understanding potential issues can significantly boost your sales.
However, customizing your cart page in WooCommerce isn’t as straightforward as you’d think it might be. This is because the platform is transitioning between 2 systems: classic themes and block themes (which use the Cart block). Each system requires different approaches for customization.
In this guide, you’ll learn 3 distinct methods to enhance your cart page:
- Using the block editor for modern themes
- Making adjustments in classic themes
- Adding features through plugins and code
We’ll progress from simple no-code solutions to more advanced customizations, helping you create a cart page that converts better. For easy navigation between the sections, you can click on the titles on the right in the table of contents.
Understanding block themes vs. classic themes
Block themes and classic themes handle WooCommerce cart pages quite differently. Here’s what you need to know:
- Block themes are the new kid on the block. They’re a new way to create themes within WordPress using Gutenberg. You can modify headers, footers, pages, product templates,… through a visual interface. These themes focus on visual blocks instead of code templates, making them faster, more lightweight, and easier to use for non-technical people. The disadvantage is that they’re so new that not every plugin integrates with them yet.
- Classic themes typically rely on PHP templates and use either page builders (like Elementor) or the WordPress Customizer for modifications. While they offer less visual editing flexibility, many store owners still prefer them because they work reliably with most WooCommerce extensions.
The most important difference, however, is that if you’re using a block theme, you’ll work with the dedicated WooCommerce Cart block.
With classic themes, you’ll use the traditional cart page that relies on PHP templates and hooks.
Not all WooCommerce extensions are fully compatible with block themes yet, so check your plugin compatibility before switching.
How to edit your WooCommerce cart page using the block editor
When using a block theme, the editor provides you with a few customization options. We’ll list them below.
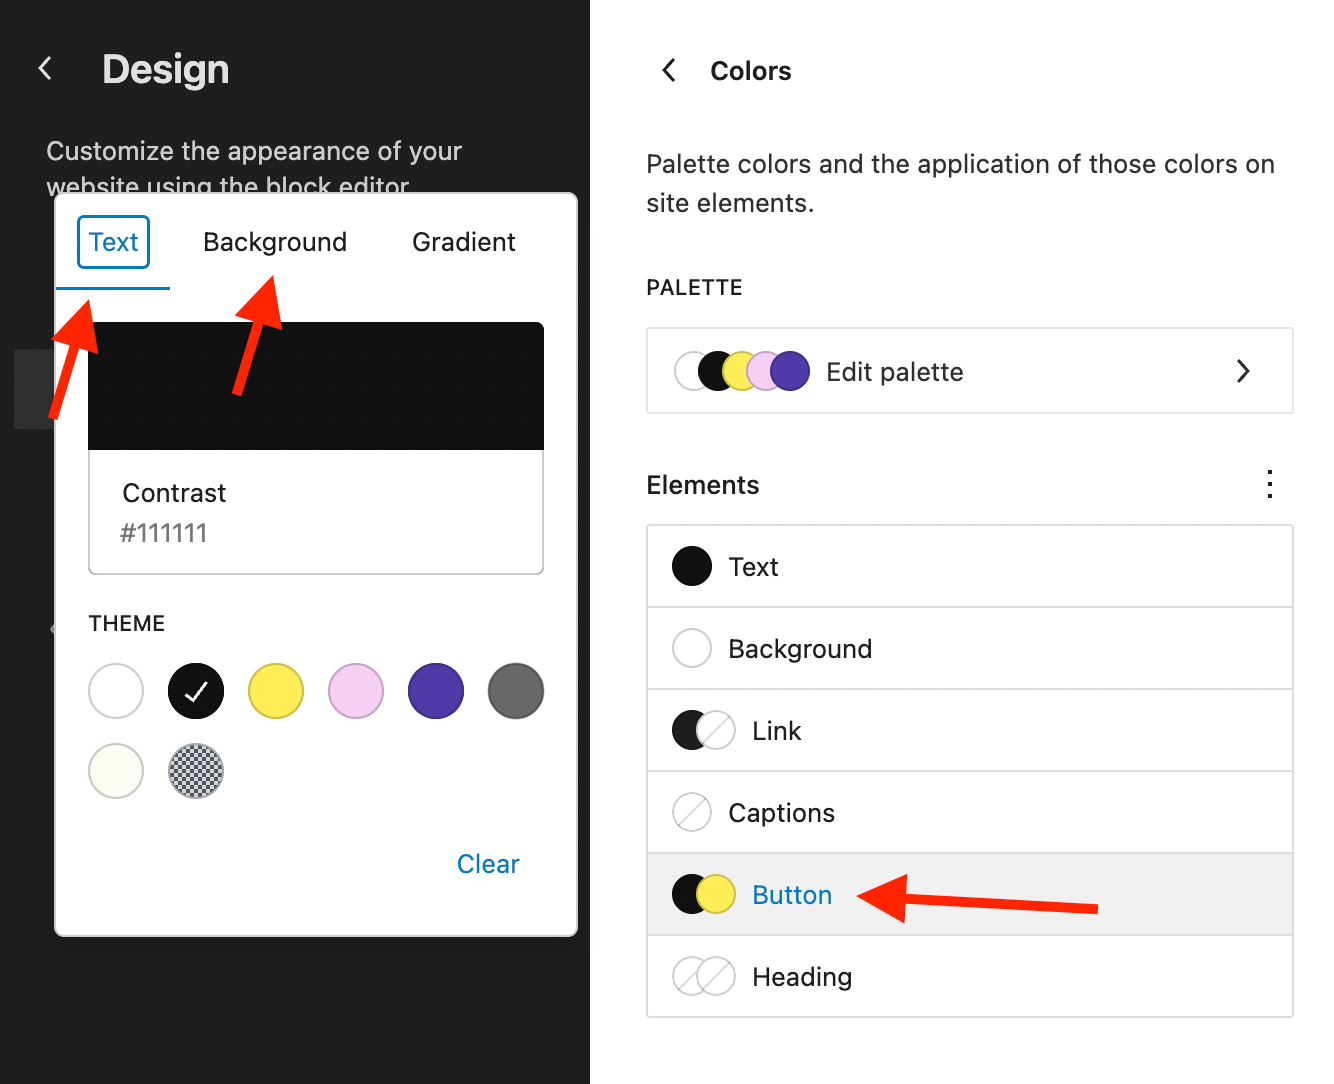
Button styles
You can edit the “Add to Cart” button style by navigating to Appearance → Editor and then going to Styles → Colors. Click Button to set the background and text color for all buttons, including the “Add to Cart” button.
The cart page
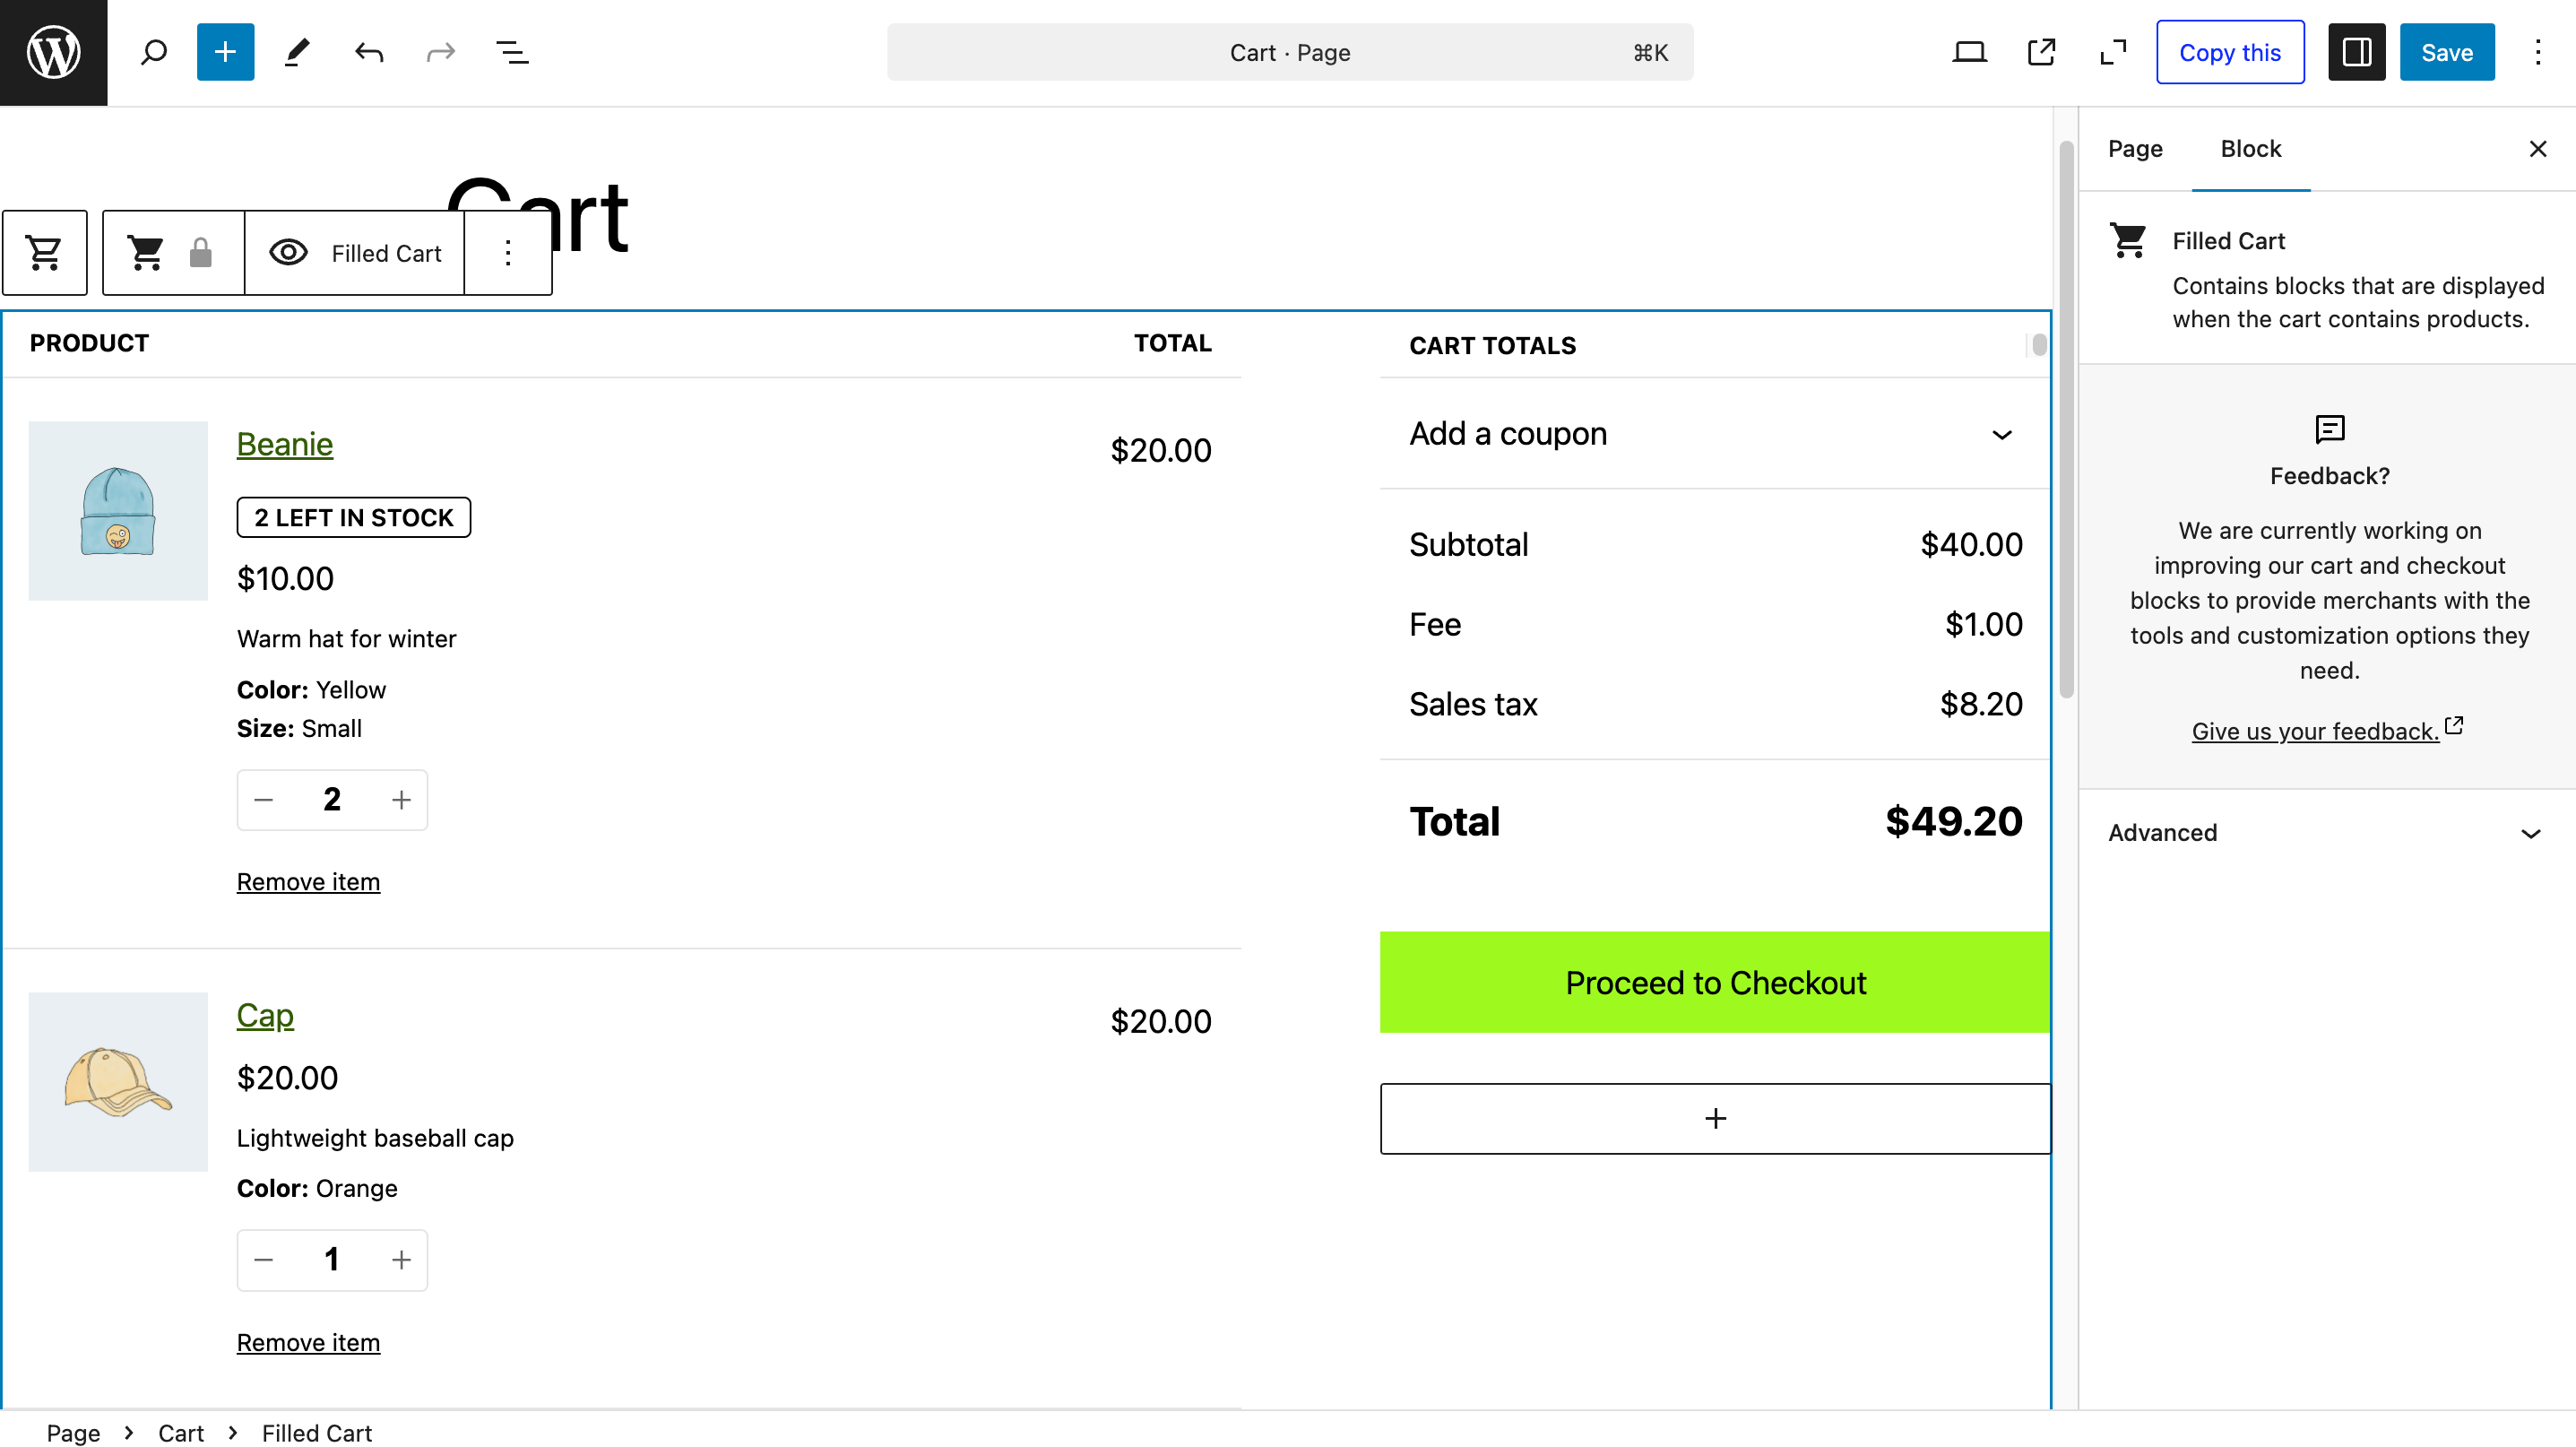
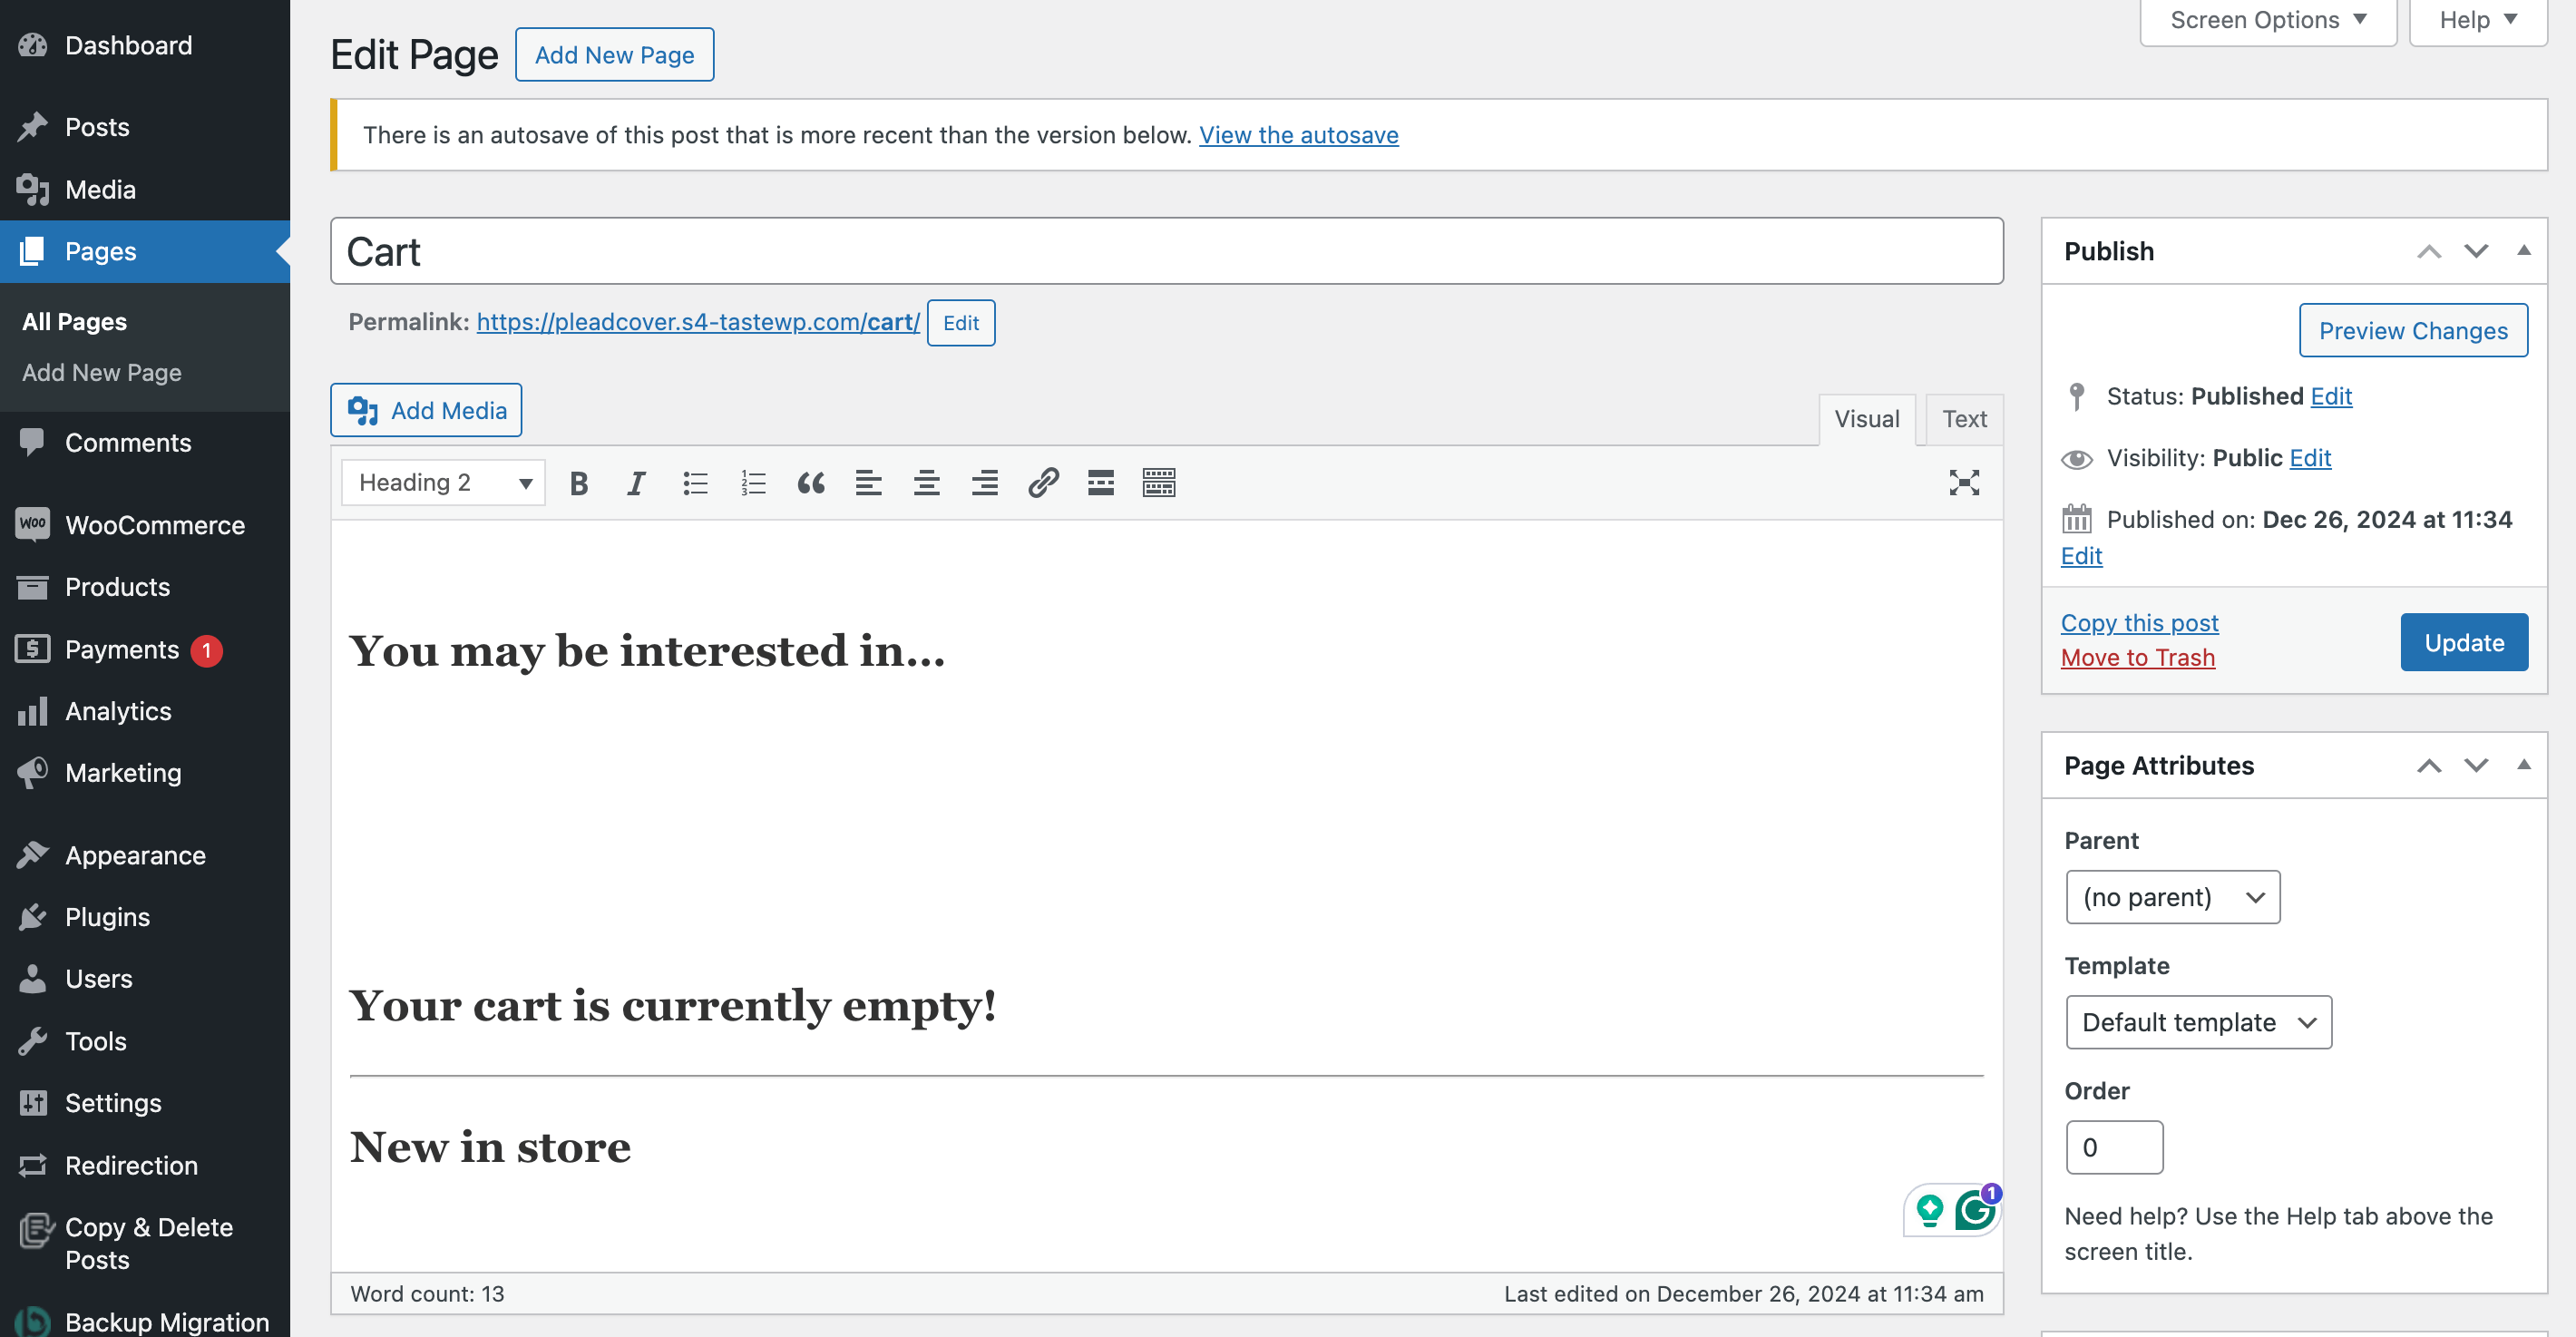
In your WordPress admin panel, go to edit the cart page, which you can typically find under Pages → Cart. You’ll notice it contains a cart block with several little blocks inside. Sadly, most elements in the cart are locked to maintain functionality, so there isn’t much you can customize.
WooCommerce is still actively developing the cart block, so hopefully the customization options will increase in the future. For now, here are the current possibilities:
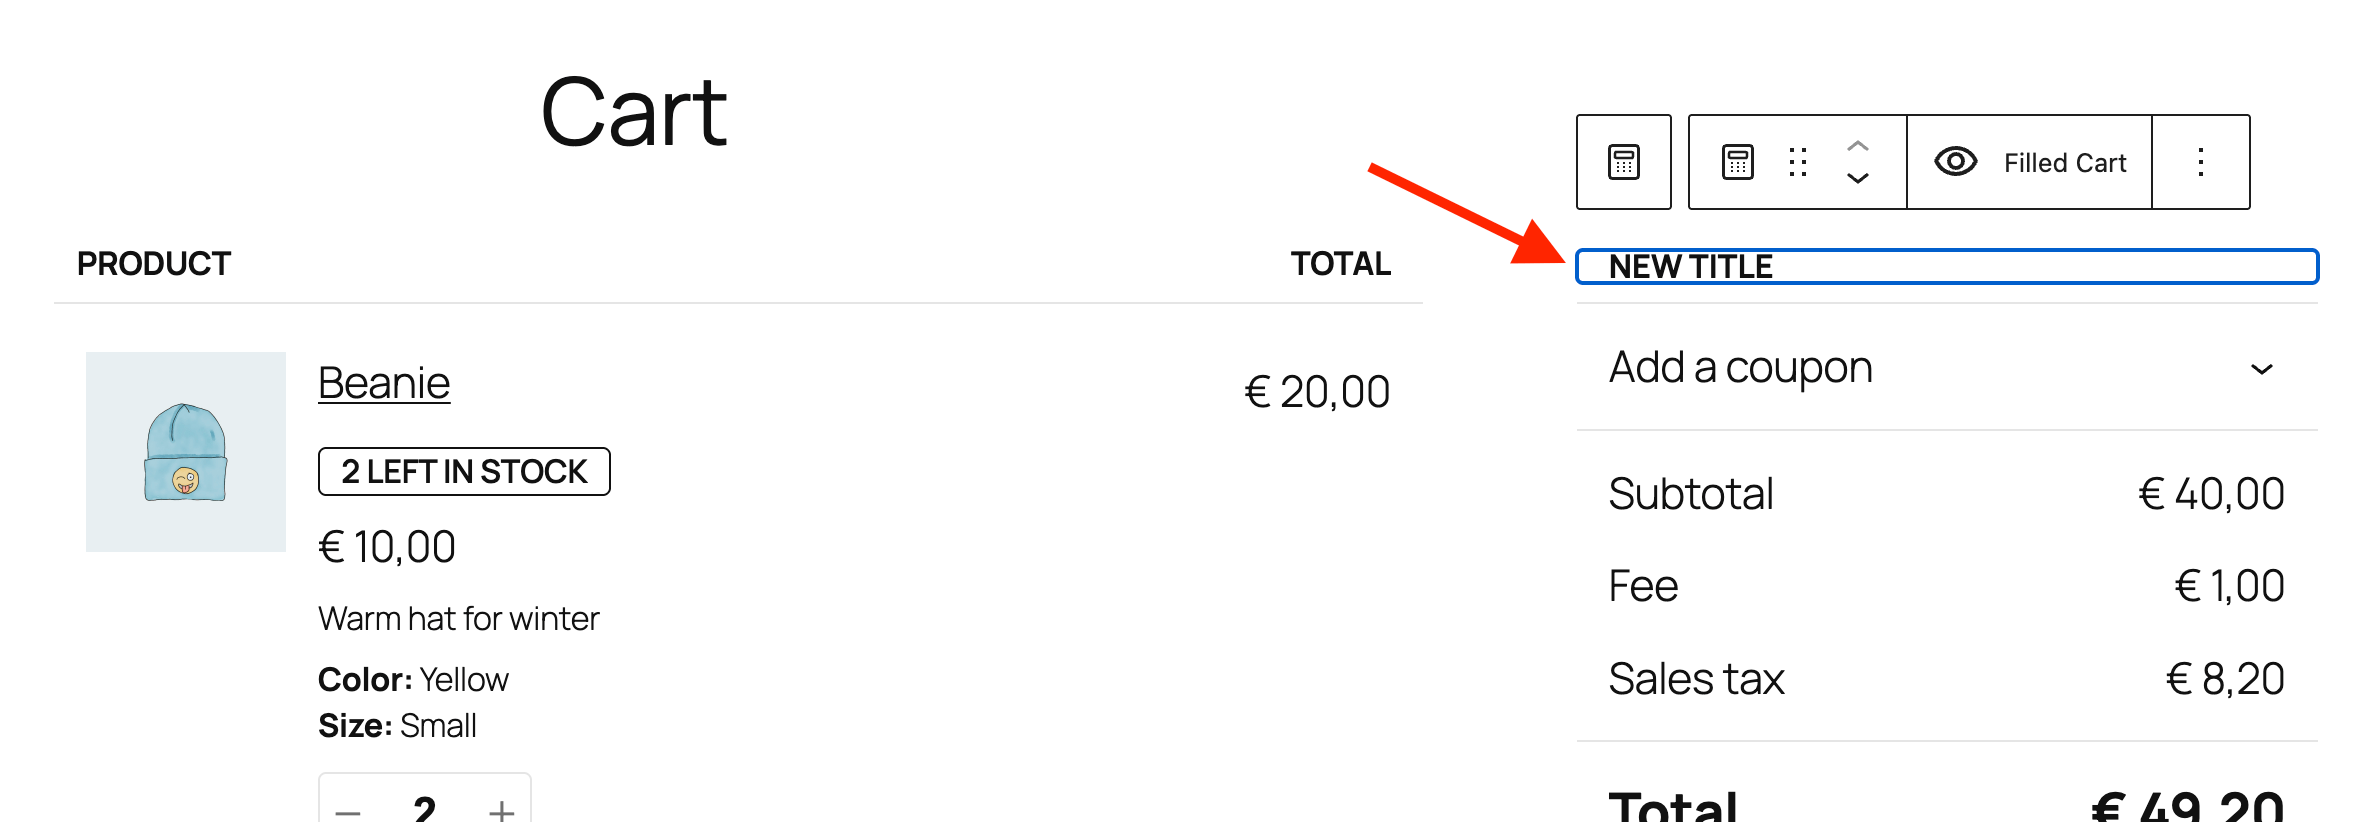
You can change the “totals” title:
You can also easily add (text) items at various places in the cart block by using the “Add before” or “Add after” item in the Gutenberg menu.
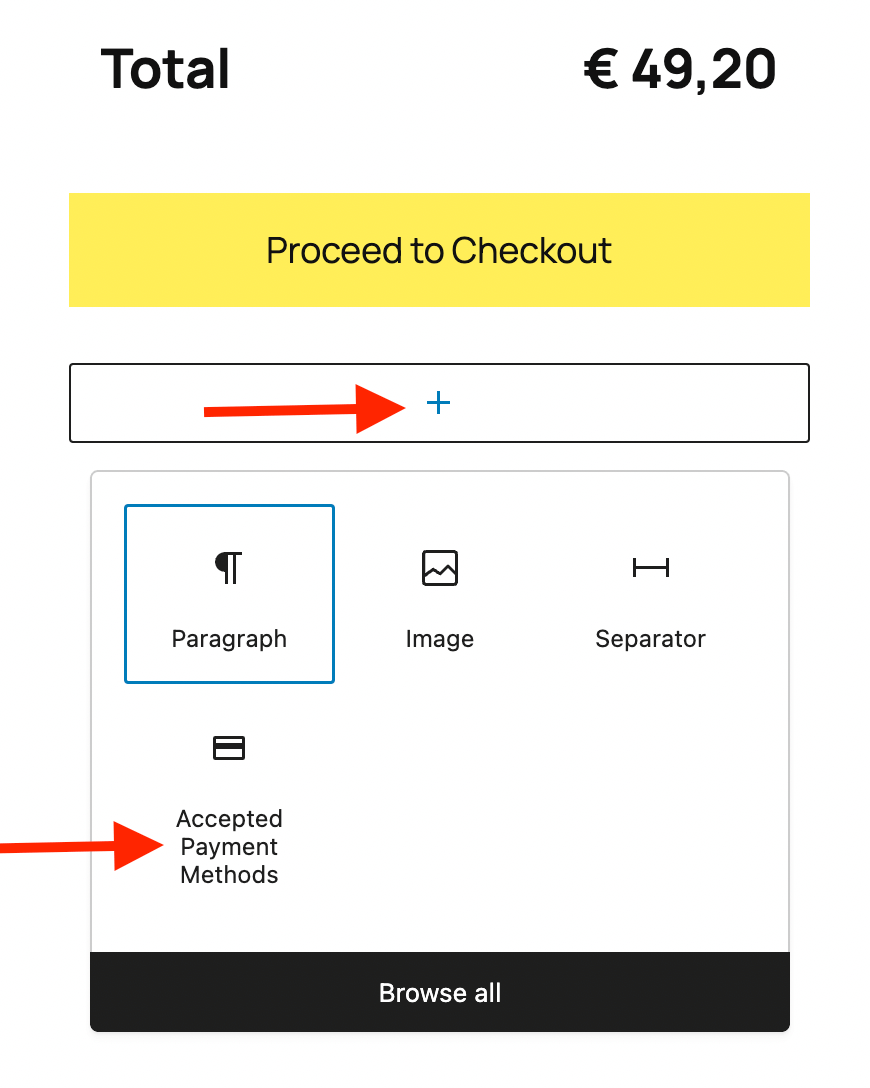
Similarly, you can also add any element (block) above or below the cart form, and in various places within the cart form. Below is a demo of where you can add the “Accepted Payment Methods” block which shows images of the card types you accept as payment:
Anything else is not (yet) possible with the cart block, but we’re hopeful WooCommerce keeps improving the customization features!
Using plugins to edit your WooCommerce cart page
While WooCommerce’s default cart page works well, plugins can add powerful extra features to boost your conversions. Before installing cart plugins, note that they can sometimes conflict with other extensions since they modify core cart functionality. For better compatibility, consider using themes with built-in cart features.
Here are 3 proven plugins to enhance your cart experience:
1. CartFlows – Complete Funnel Builder
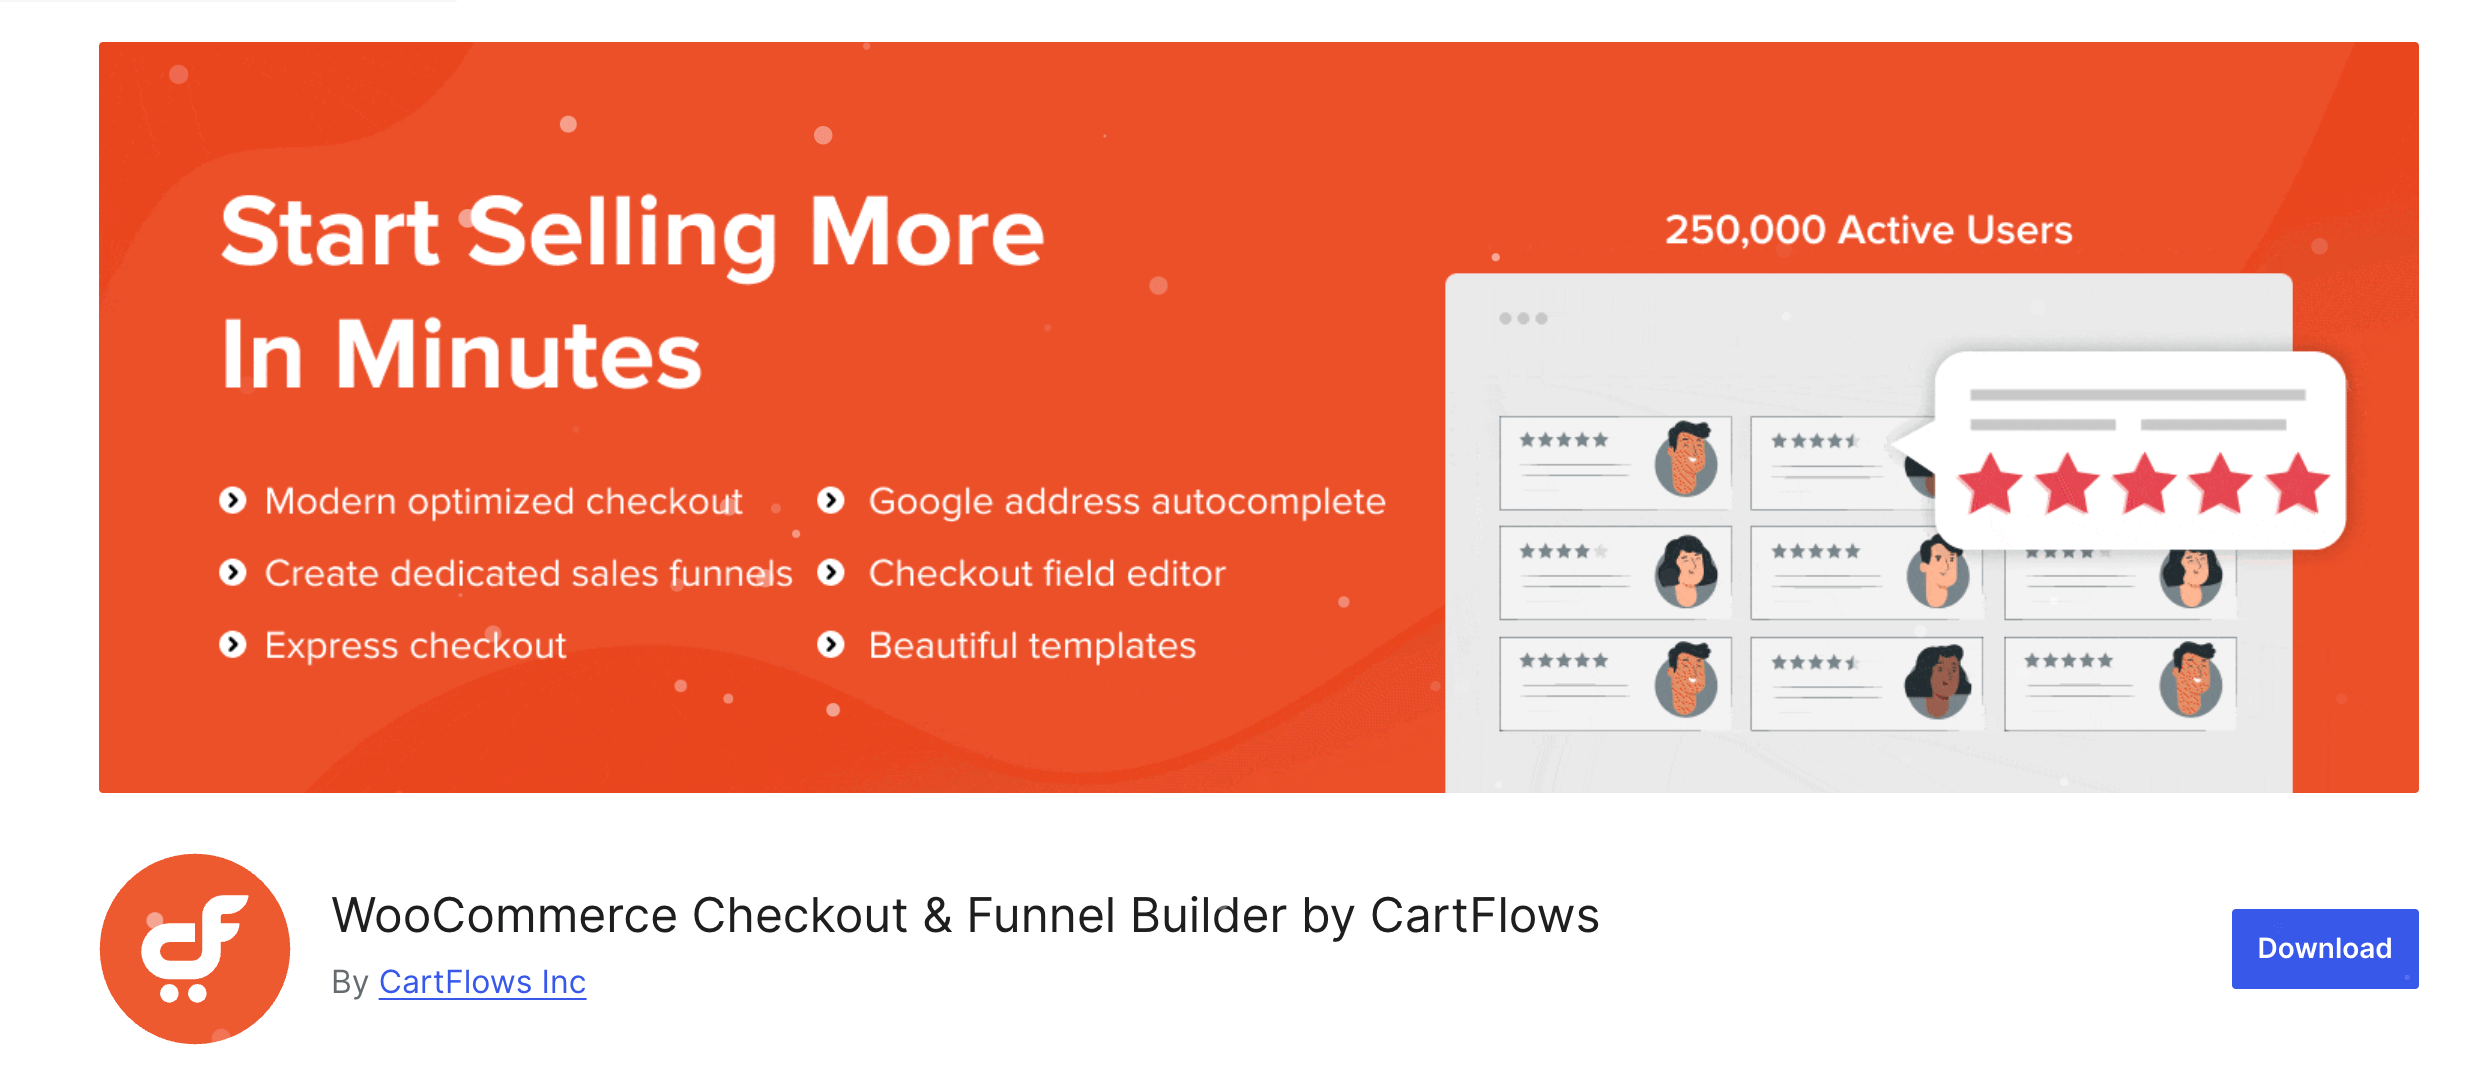
WooCommerce Checkout and Funnel Builder by CartFlows transforms your basic cart into a sales-optimizing system. Perfect for store owners focused on maximizing revenue through upsells and optimized checkout flows.
Key features:
- Built-in product recommendations and upsells
- Pre-designed conversion-focused templates
- A/B testing capabilities
- Analytics for tracking funnel performance
Price: Free version available, premium from $99/year.
2. Caddy – Smart Side Cart
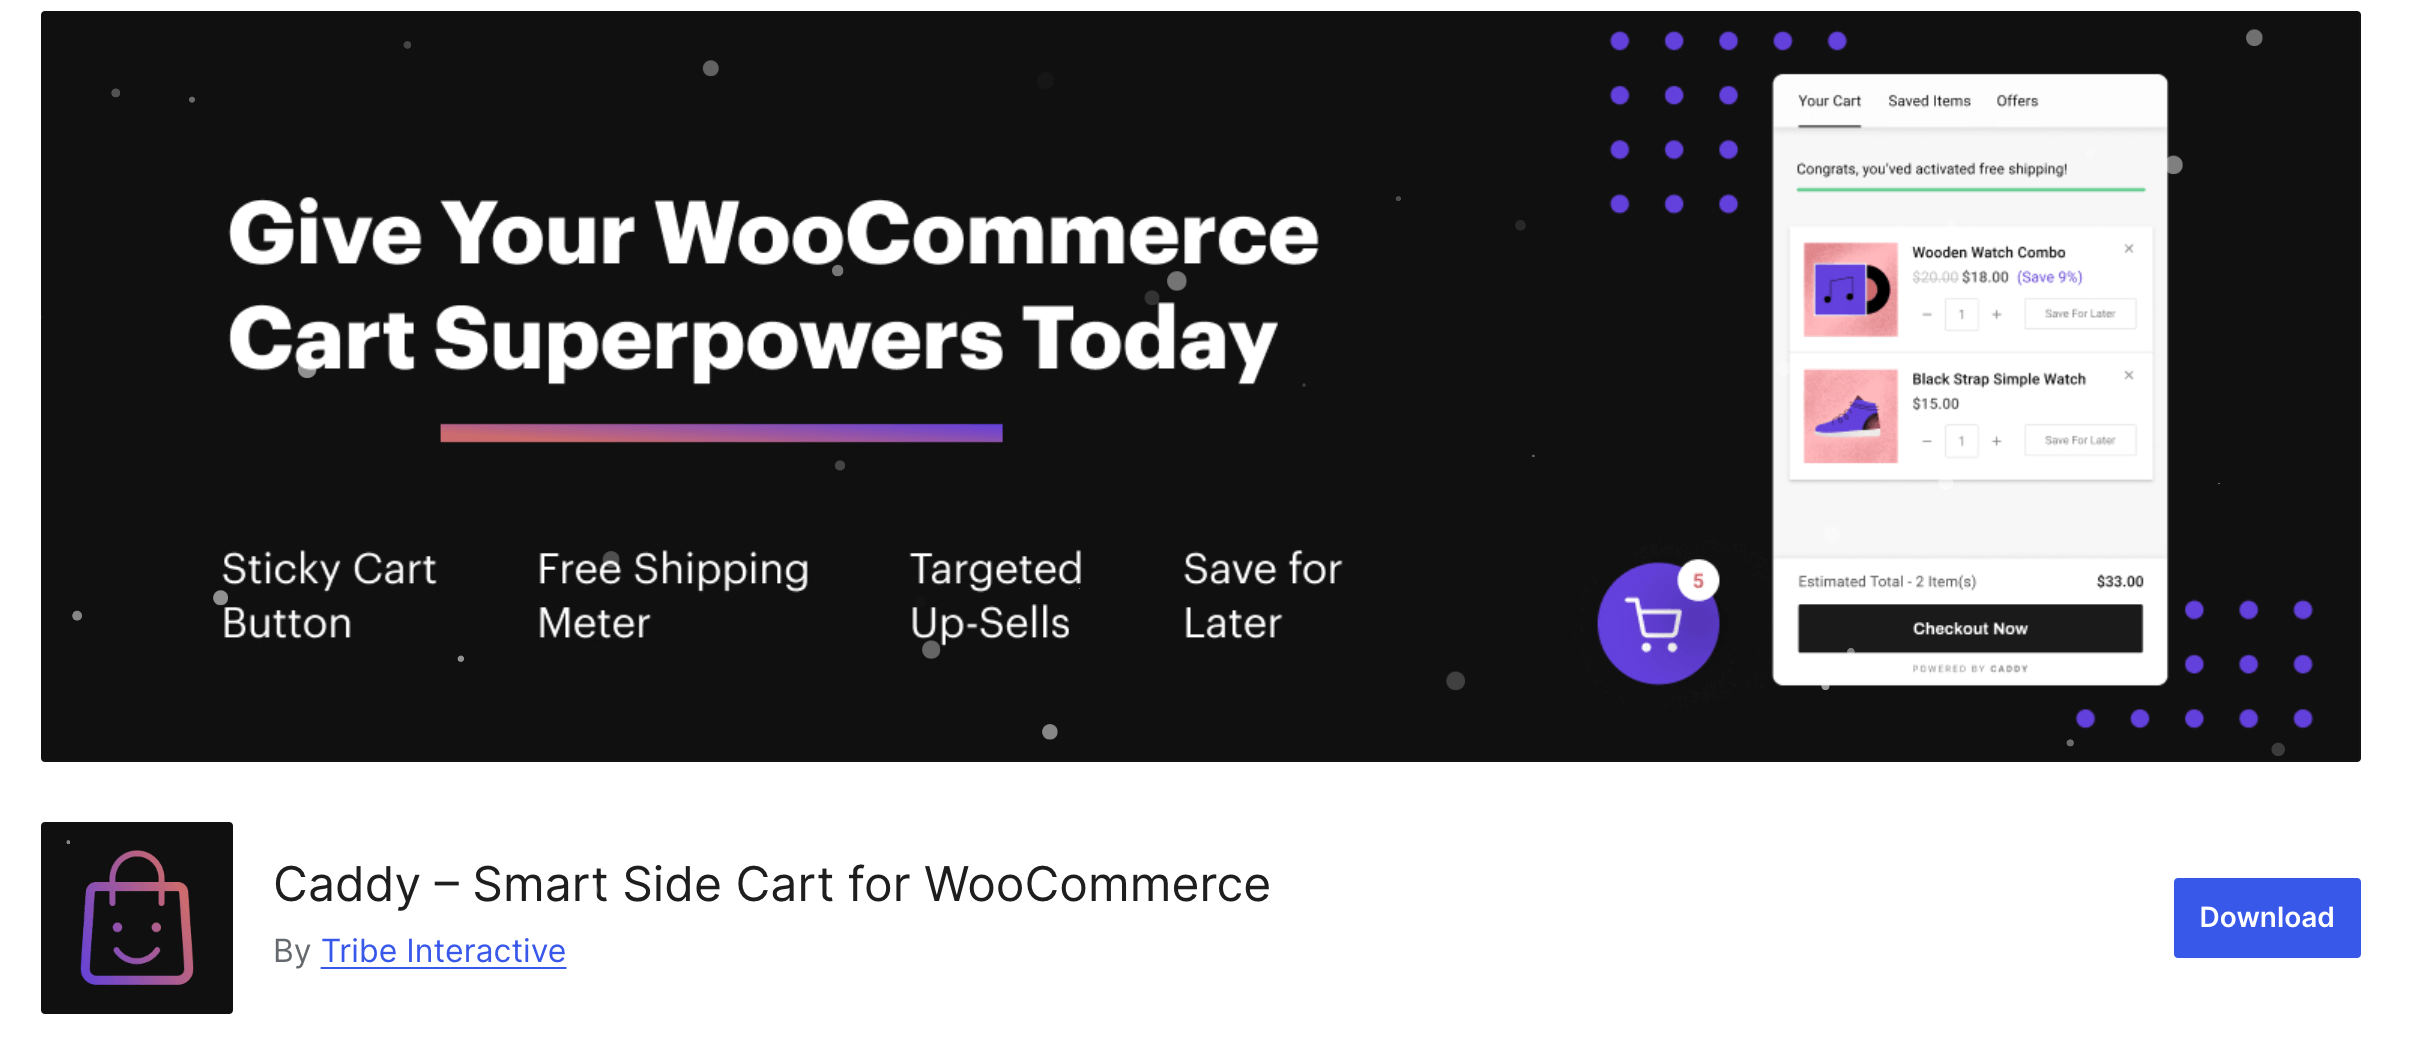
Caddy offers a floating cart that customers can access from any page. Ideal for stores wanting to simplify the purchase process without pushing customers to the cart page.
Key features:
- Ajax-powered floating cart button
- Free shipping progress meter
- Built-in product recommendations
- “Save for later” functionality
Price: Free version available, premium from $59/year.
3. WooCommerce Product Recommendations
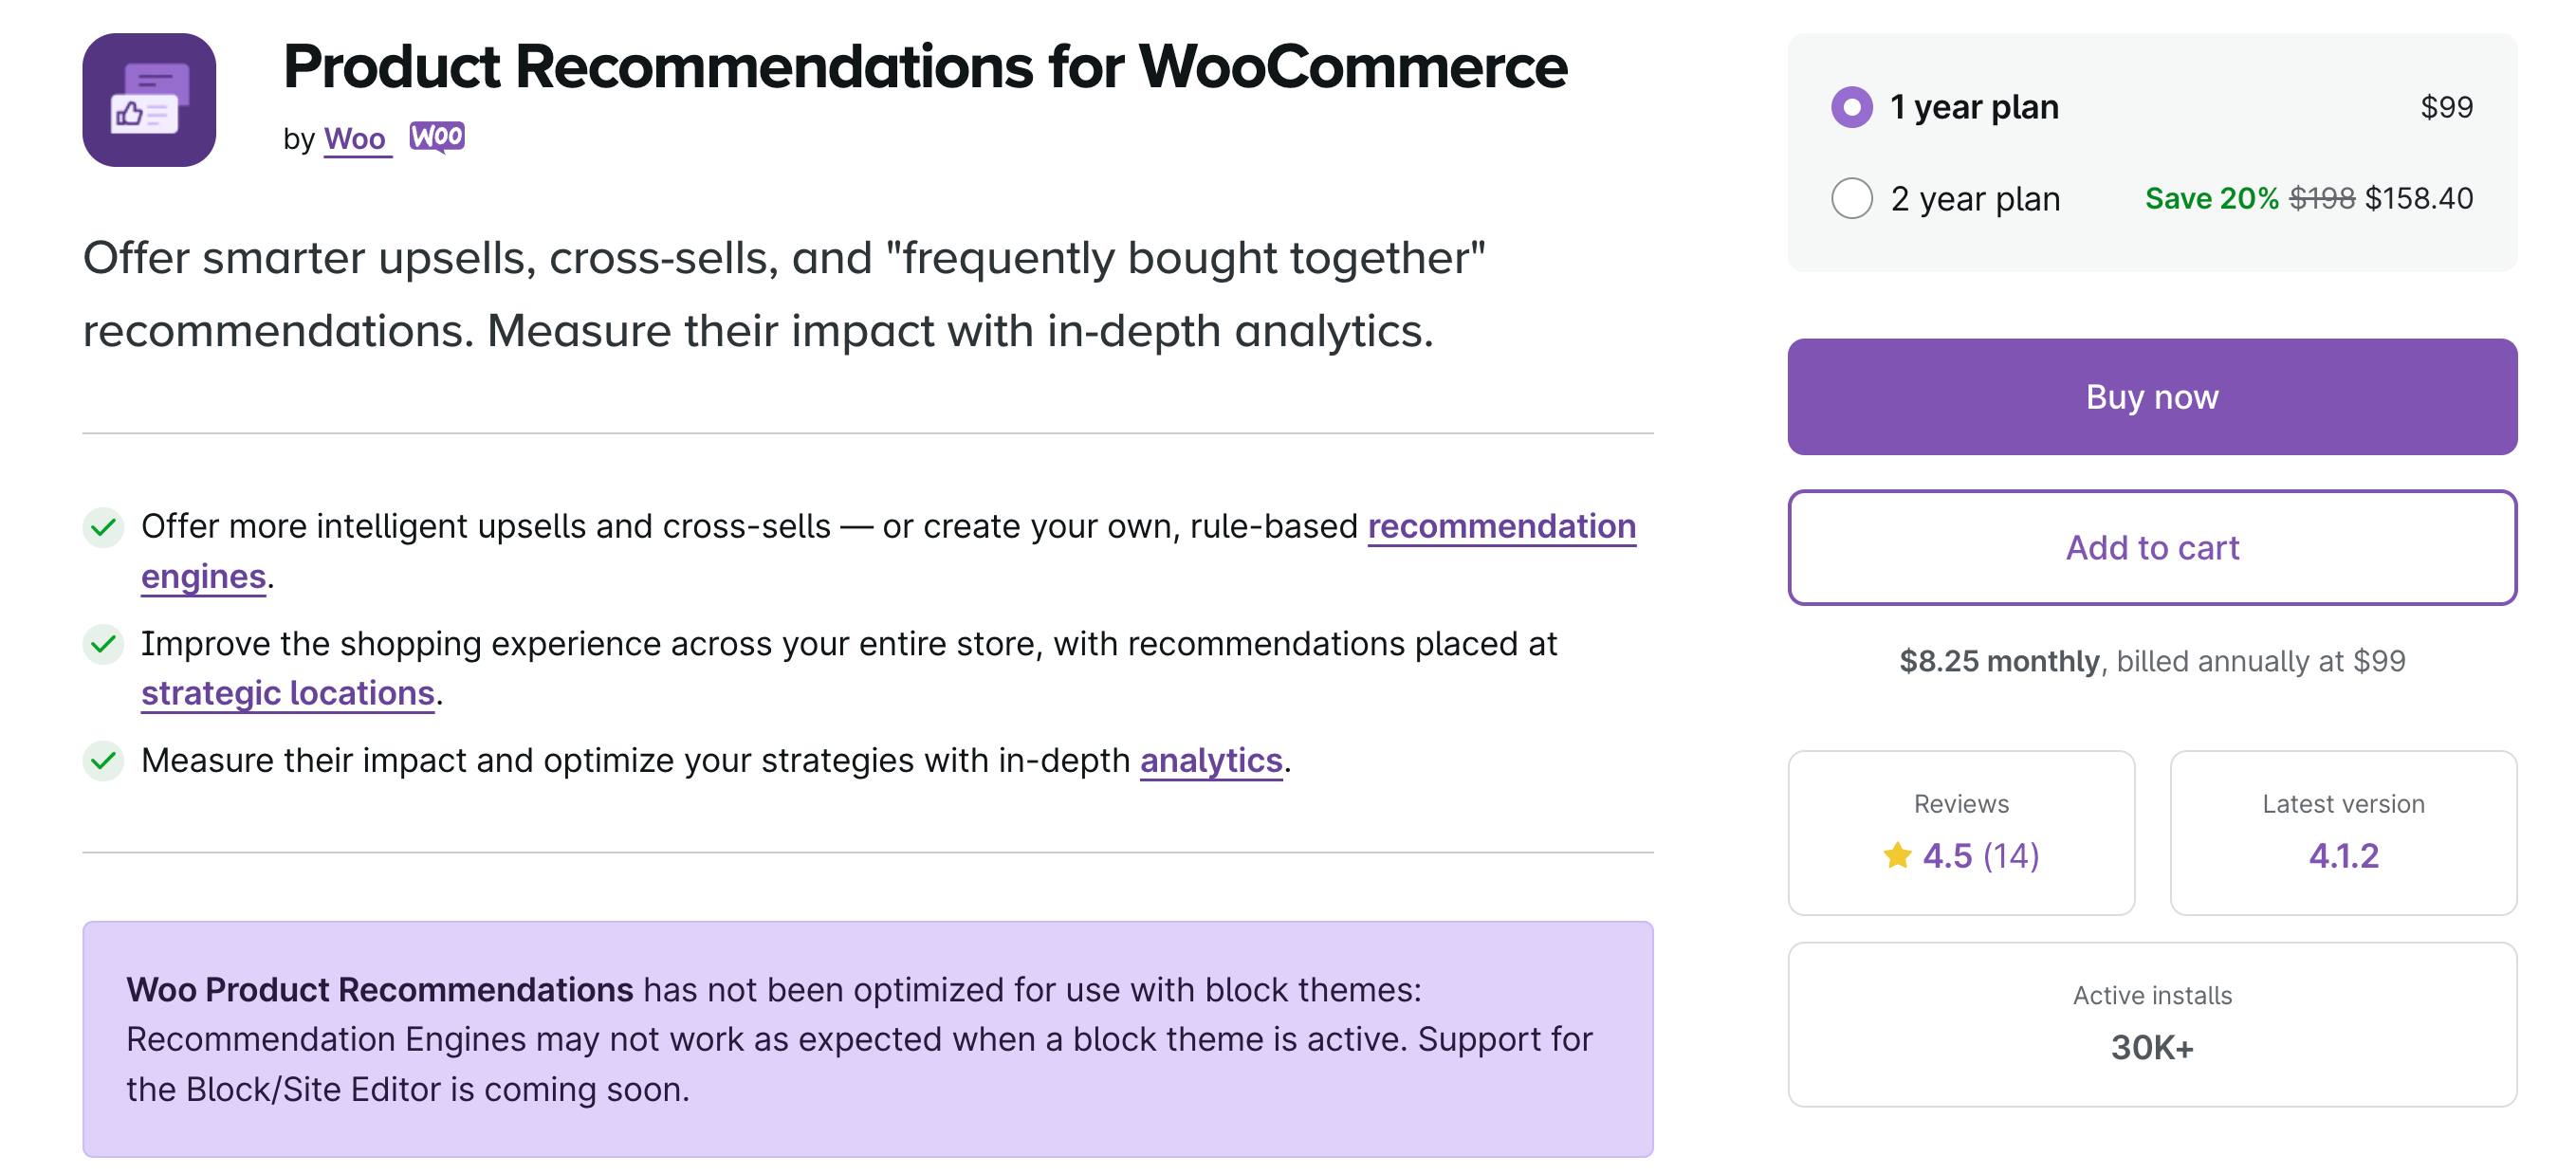
WooCommerce Product Recommendations is an official WooCommerce extension that adds intelligent product suggestions but is not compatible with the block editor, so keep that in mind. Best for stores looking to increase average order value through targeted recommendations.
Key features:
- Automated “Frequently Bought Together” suggestions with customizable placement across your store
- Advanced filtering and merchandising rules
- Detailed revenue tracking
Price: $99/year
Choose one of these plugins based on your specific needs – CartFlows for complete funnel optimization, Caddy for a streamlined cart experience, or Product Recommendations for targeted upselling.
How to customize the old cart page with code and hooks
As mentioned before, WooCommerce has 2 methods of adding a cart page. The “new way” by using block themes, or the “old way” by using the [woocommerce_cart] shortcode on any page.
The “new way” is still under active development so we actually prefer to use the shortcode!
Using the shortcode, WooCommerce cart customization can be done in 2 ways:
- For visual changes like colors, fonts, spacing, etc… you can either check if your theme or page builder has typography (and other design) settings. If those are not available, you can rely on custom coding with CSS.
- For deeper structural changes (like adding or removing parts), you’ll need custom code in the form of PHP hooks.
Editing the WooCommerce cart page with hooks
Hooks allow you to modify WooCommerce functionality without changing the core files. Think of them as predefined “connection points” where you can add custom code. This makes your customizations upgrade-safe and maintainable.
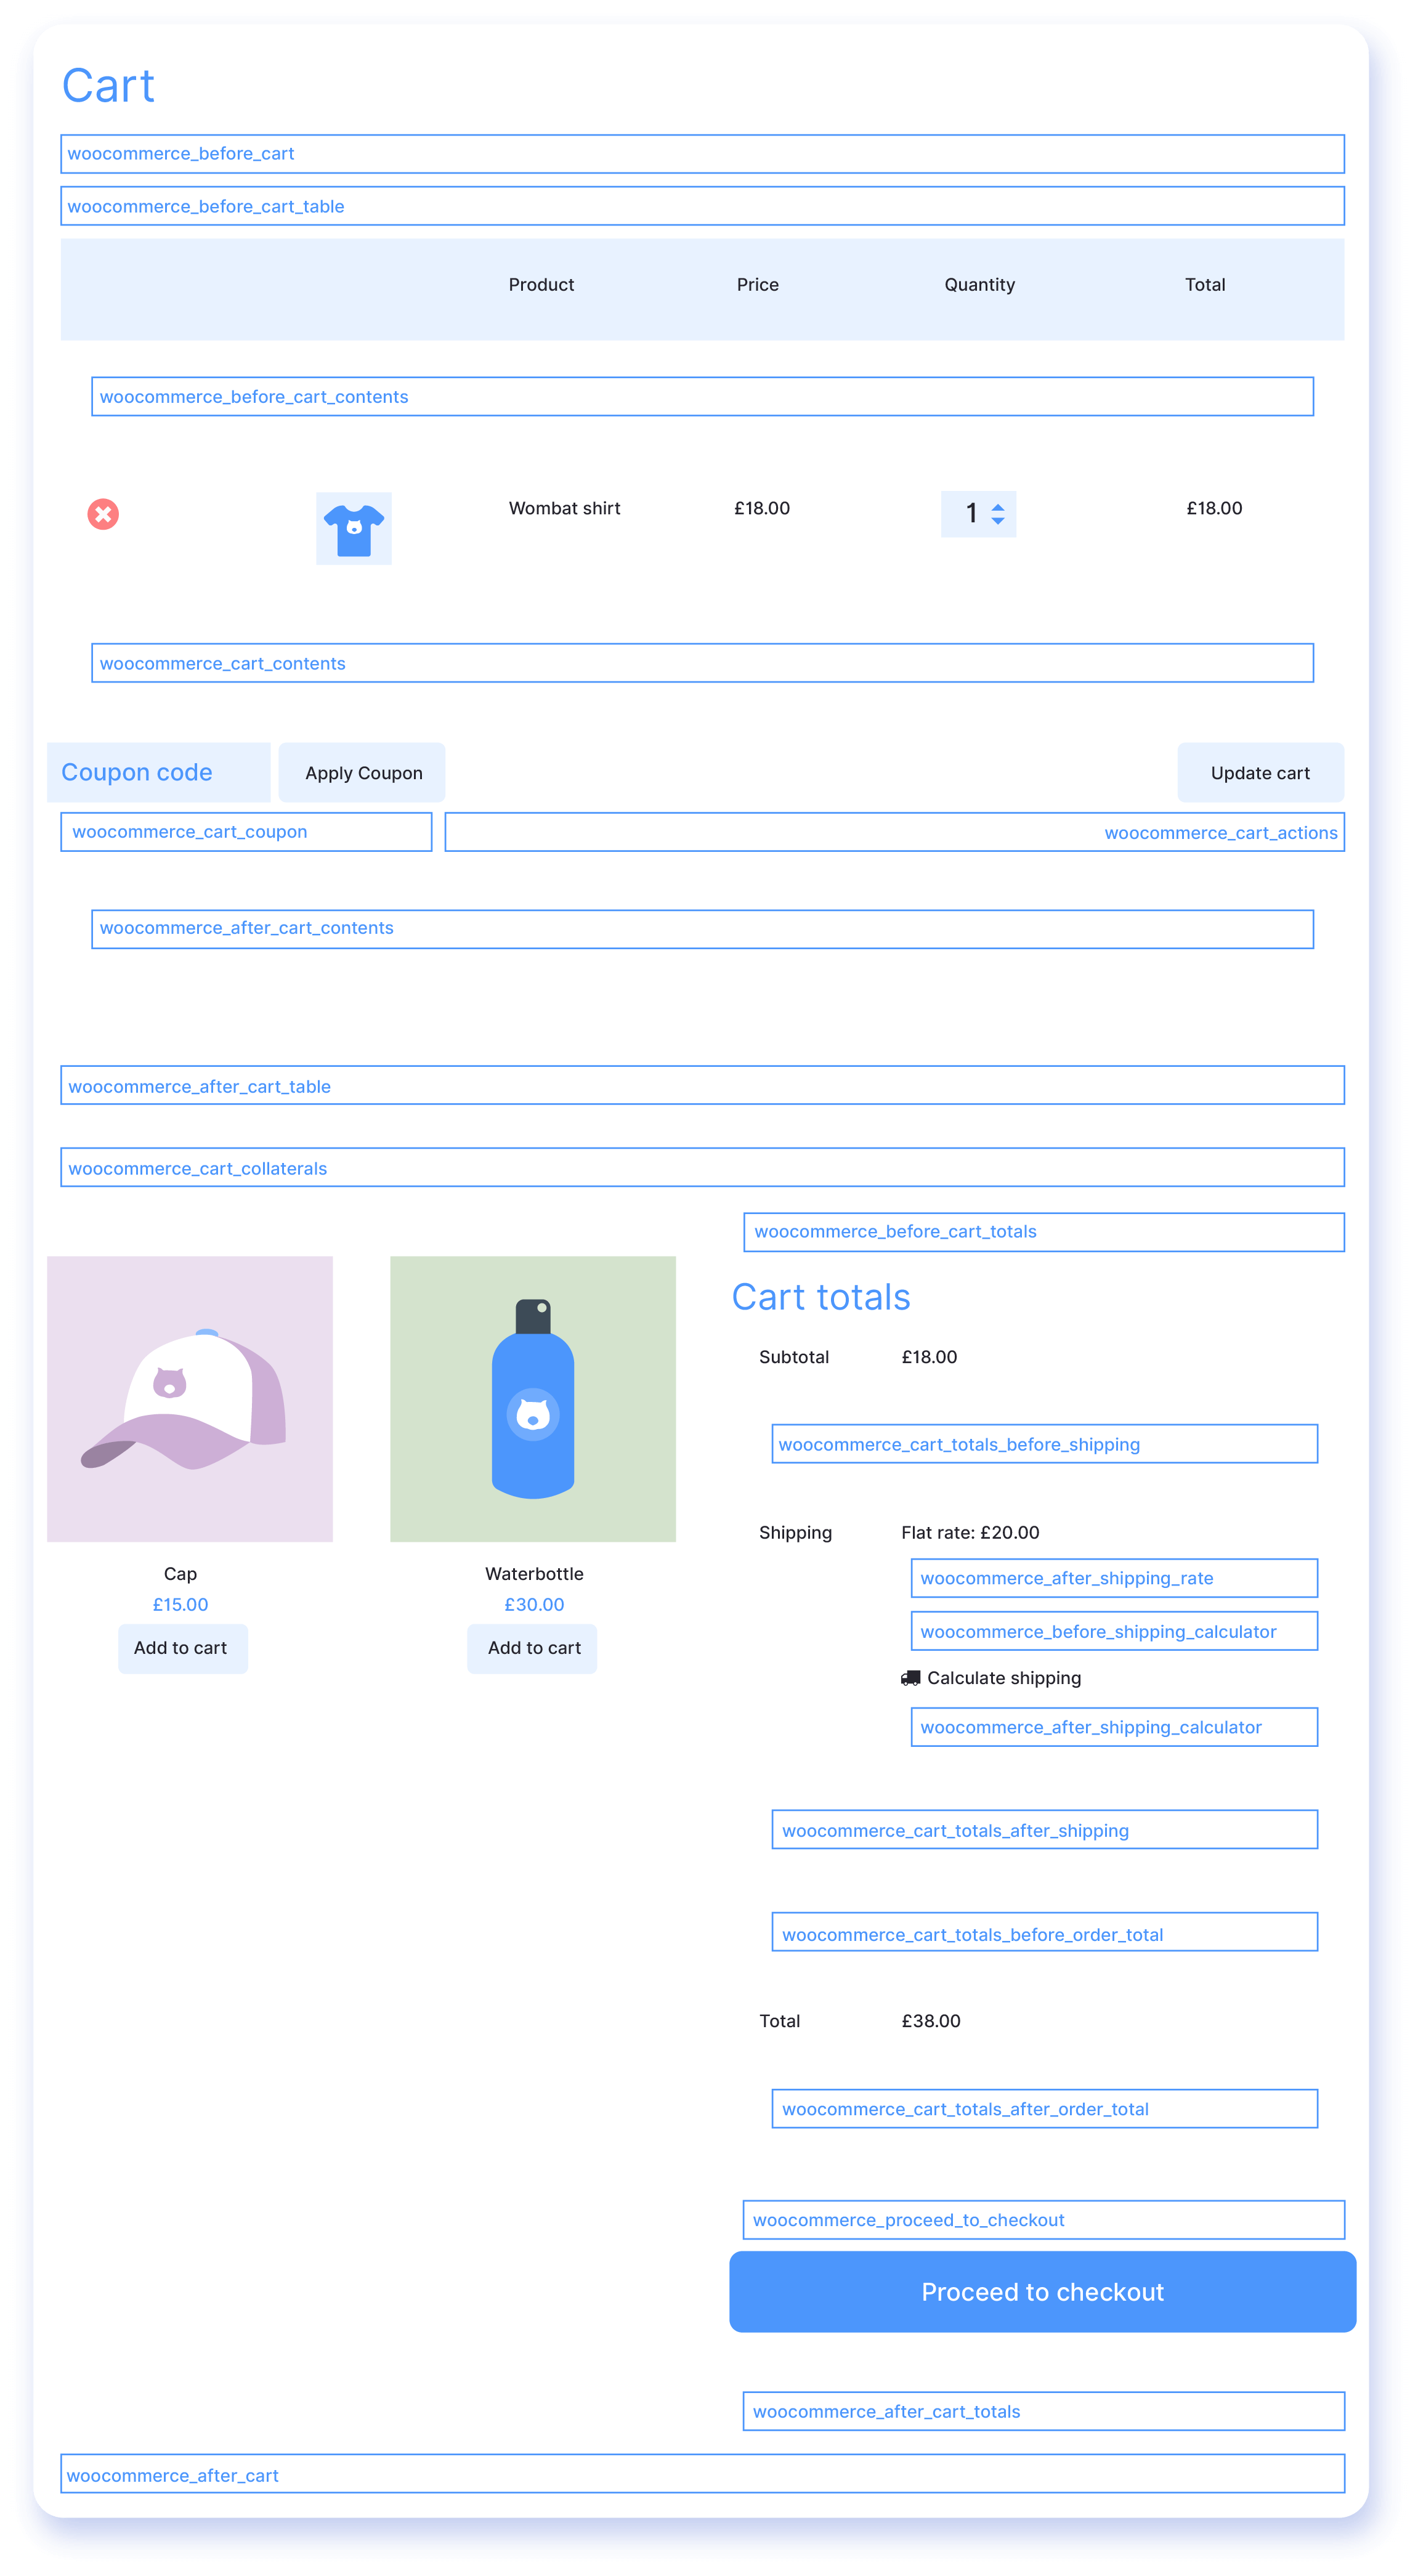
The traditional WooCommerce template hooks (like woocommerce_before_cart, woocommerce_cart_totals, etc.) were originally designed for the shortcode-based (a.k.a. “classic”) cart and checkout pages that rely on PHP templates.
If we’re using WooCommerce’s new block editor-based cart and checkout pages provided by the WooCommerce blocks feature, these traditional hooks won’t work in the same way or, in many cases, won’t work at all because these new blocks use React and JavaScript rendering. So the PHP action hooks and filters that we’d typically use in the functions.php to manipulate the cart layout or content simply won’t exist in the same manner within the block-based system.
Here’s a practical example – a return policy message above the cart items. To do that, add the following snippet in the functions.php file of the child theme:
function add_note_before_cart_table() {
    echo '<div>Enjoy a 30-day money-back guarantee on all purchases.</div>';
}
add_action( 'woocommerce_before_cart_table', 'add_note_before_cart_table' );
Code language: PHP (php)
You can also remove default elements. For instance, to remove cross-sell products:
function remove_cart_cross_sells() {
    remove_action( 'woocommerce_cart_collaterals', 'woocommerce_cross_sell_display' );
}
add_action( 'woocommerce_before_cart', 'remove_cart_cross_sells' );Code language: JavaScript (javascript)
Pro Tip: Always test hook modifications on a staging site first. One small error can break your cart functionality.
For a complete list of available hooks, check the WooCommerce hook documentation.
Customizing the cart page appearance with CSS
You can modify how your cart page looks using Cascading Style Sheets (CSS).
CSS is a code language that lets you adjust visual elements like fonts, colors, spacing, and borders throughout your cart page. You can add custom CSS through WordPress’s built-in tools – either the Customizer for regular themes or the Site Editor for block themes.
For example, to change your product titles’ font style, size, and color, you’ll need to target the correct CSS class. The .product-name class typically controls product title styling in the cart. Adding CSS to customize this element helps create a consistent brand experience for your customers.
For regular themes:
- Open the cart page on your website, make sure it contains one or two products.
- Right-click on a product title and select Inspect (in Chrome, Firefox, or any modern browser with developer tools).
- Identify the CSS class or element selector associated with the product title. For WooCommerce, it’s often something like .product-name or a similar class nested inside a cart-specific container.
- Go to Appearance → Customize.
- Find the Additional CSS option, paste your CSS code into the text box, and save your changes.
.product-name {
    font-family: 'Arial', sans-serif; /* Change font */
    font-size: 18px; /* Adjust size */
    font-weight: bold; /* Make it bold */
    color: #2164d9; /* Change text color to a shade of blue */
}Code language: CSS (css)
Top tips to reduce cart abandonment in your WooCommerce store
Here are effective strategies to minimize abandoned carts and boost sales:
- Add strategic upsells by displaying related products when specific items are in the cart. For example, suggest phone cases when customers add smartphones, or recommend lens filters with camera purchases.
- Install cart abandonment tracking tools like the WooCommerce Cart Abandonment Recovery plugin to identify where customers drop off. Use this data to streamline your checkout process and fix usability issues.
- Build trust with social proof by showing customer reviews and purchase notifications near the checkout button. Real testimonials about shipping speed and product quality can reassure hesitant buyers.
- Simplify the mobile checkout experience by minimizing form fields, offering digital wallet payments, and ensuring buttons are large enough to tap easily on small screens.
- Create a sense of urgency using tools like HurryTimer to display stock levels and limited-time offers. For instance, show “Only 3 left in stock” or add countdown timers for special discounts.
- Test different cart layouts, messaging, and promotional offers to find what converts best. Small changes like button colors or shipping offer placement can significantly impact completion rates.
Maximize your WooCommerce conversions with Studio Wombat
While customizing your cart page is crucial for increasing sales, it’s just one piece of the conversion puzzle. Studio Wombat offers 3 powerful plugins that enhance your WooCommerce store’s capabilities and help turn browsers into buyers:
- WooCommerce Discounts solves complex pricing challenges by letting you create targeted promotions. Set up automatic discounts, bulk pricing rules, and BOGO deals without writing code. You can schedule sales events and apply discounts based on user roles, cart contents, or specific products to drive more sales.
- Advanced Product Fields for WooCommerce adds essential customization options to your products. Rather than limiting customers to basic variations, you can add text fields, dropdowns, swatches, date pickers, and file uploads. This flexibility lets you sell personalized products and collect crucial order details upfront.
- WooCommerce Quantity Discounts, Rules & Swatches is the perfect addition for your bulk discounts. It lets you set minimum and maximum purchase amounts and display dynamic pricing tables. The visual quantity selector makes it easy for customers to adjust their order size while seeing their savings in real time.
These plugins integrate perfectly with your existing WooCommerce setup and won’t slow down your site. Each comes with detailed documentation and responsive support to help you maximize their features.
Start boosting your cart conversions today!
An optimized cart page transforms hesitant shoppers into paying customers. By using CSS to adjust fonts and colors, implementing smart quantity rules, and adding strategic upsells, you can significantly reduce abandonment rates.
But don’t stop at the cart! Advanced Product Fields lets you add custom options like text fields and swatches to create personalized products. WooCommerce Quantity Discounts, Rules & Swatches simplifies bulk ordering with visual quantity selectors and tiered pricing tables. Plus, WooCommerce Discounts automates your promotions with flexible rules for everything from BOGO deals to role-based pricing – no annoying coupon codes needed! Ready to take your WooCommerce store to the next level? Check out Studio Wombat’s full range of conversion-boosting plugins today.
