
WooCommerce sends basic notifications when customers add products to their cart, but these default messages miss critical communication opportunities. They won’t tell shoppers they’re $15 away from free shipping, that a custom item requires 3 weeks of lead time, or that an automatic discount just saved them 20%.
Custom cart messages fill this gap. They inform customers about store policies, nudge them toward higher cart values, or confirm that promotions have been applied without requiring coupon codes.
These messages generally fall into 2 categories:
- General communication: Shipping thresholds, lead times, holiday closures, return policies.
- Discount confirmation: Automatic savings notifications, BOGO alerts, quantity discount reminders.
You have 3 approaches to implement them, and today we’ll cover each method so you can pick the right tool for your specific use case.
Important: understand your WooCommerce cart type

Before you begin implementing a cart messaging solution, you need to know which cart system your store uses. WooCommerce offers 2 different cart architectures, and the tools that work for one may not work for the other.
- Classic shortcode-based cart: The traditional WooCommerce cart system that existed before WooCommerce version 8.3. This cart uses PHP templates and when you edit the cart page in WordPress, it shows a simple
[woocommerce_cart]shortcode.
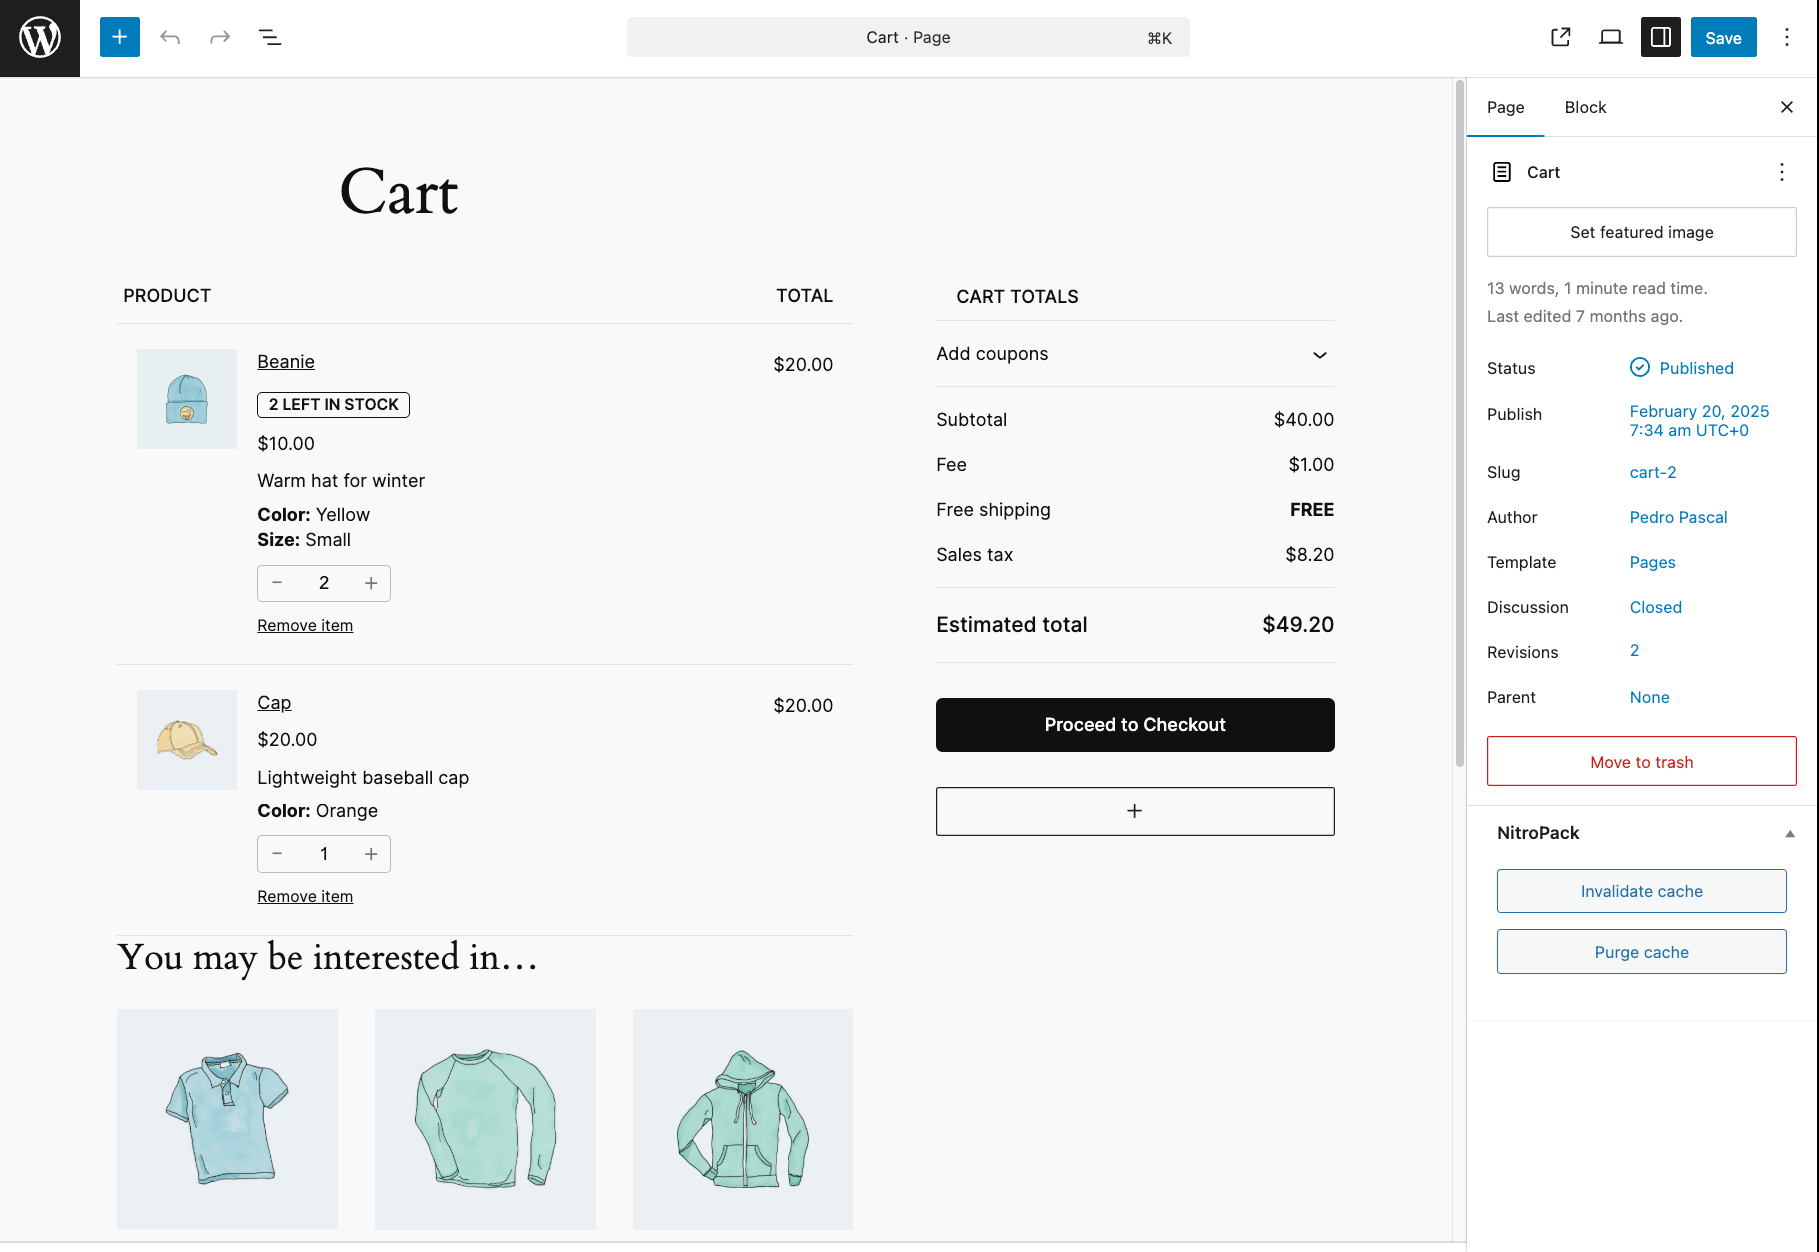
Most messaging plugins and PHP hooks work with this system. As of March 2026, 87% of WooCommerce stores still use this method, so it’s highly likely your website also uses it! - Block-based cart: The newer cart block was introduced in WooCommerce 8.3 (released August 2023). This cart renders through JavaScript instead of PHP templates. It looks better than the “classic cart” and offers visual editing in the backend. Sadly, it requires different technical approaches for custom messaging and it’s less easy. Here’s an example of the cart block in the backend:
How to check which cart you’re using:
- Navigate to Pages → Cart in your WordPress dashboard.
- Open the page editor.
- Look at the content:
- if you see
[woocommerce_cart]shortcode, you have the classic cart.![Shortcode [woocommerce_cart] example](https://www.studiowombat.com/wp-content/uploads/2026/03/shorcode-cart-example.png)
- If you see visual blocks you can drag and drop, like in the example above → You have the block-based cart.
- if you see
What are the main ways to add a custom message to my WooCommerce cart page?
You can add custom messages to your WooCommerce cart page using 3 methods:
- Dedicated cart messaging plugin – The easiest approach. Plugins like WooCommerce Cart Notices or Cart Notices for WooCommerce let you create conditional messages through a visual interface. No coding required.
- Custom code via hooks – PHP snippets or JavaScript give you precise control over message placement. This method requires adding (and maintaining!) code to your website, so may not be ideal.
- Discount plugin with integrated messaging – If your message communicates an active promotion (“20% off applied!”) – which is usually the case – use a discount plugin that includes messaging features. The message only appears when the discount triggers.
Why focus on cart page messages specifically? Because they appear while customers are still deciding what to buy. Checkout page messages arrive too late in the process – shoppers have already committed to their purchase, and unexpected information at that stage often leads to cart abandonment instead of action.
When to use each approach
The deciding factor is simple: What is your message actually communicating? In short:
- Use discount plugins for confirmation messages like “You saved 20%” or “BOGO deal applied.” These notifications should only appear when promotions are active, and discount plugins handle that logic automatically.
- Use dedicated messaging plugins or custom code for general cart communication – things like “Add $15 more for free shipping,” “Custom orders ship in 2-3 weeks,” or “Holiday shipping deadline: December 18th.” These tools offer flexible conditions based on cart totals, product categories, and time-based rules.
How to add general messages to your cart page
For messages that aren’t tied to active discounts, you have 2 implementation paths: plugins for ease of use, or custom code for precise control. Let’s start with the simpler approach.
Use dedicated plugins for general cart messages
Several plugins let you add conditional cart messages without touching code. For this tutorial, we’ll use Cart Notices for WooCommerce by BeRocket – a free option that works with classic shortcode-based carts (see our section above to understand what this means).
Here’s how to set up a basic “Free delivery over $50” message:
- Navigate to WooCommerce → Cart Notices.

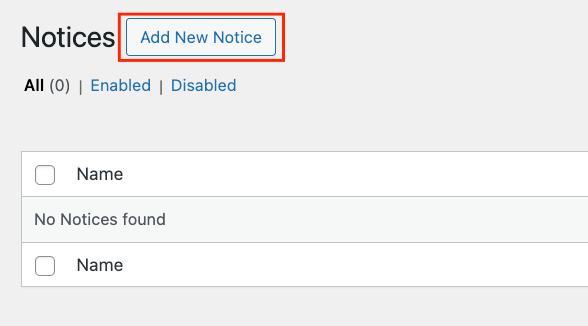
- Click the + Cart Notices button on the right-hand menu.

- Click Add New Notice.
- Write your message: “Free delivery on orders over $50!”
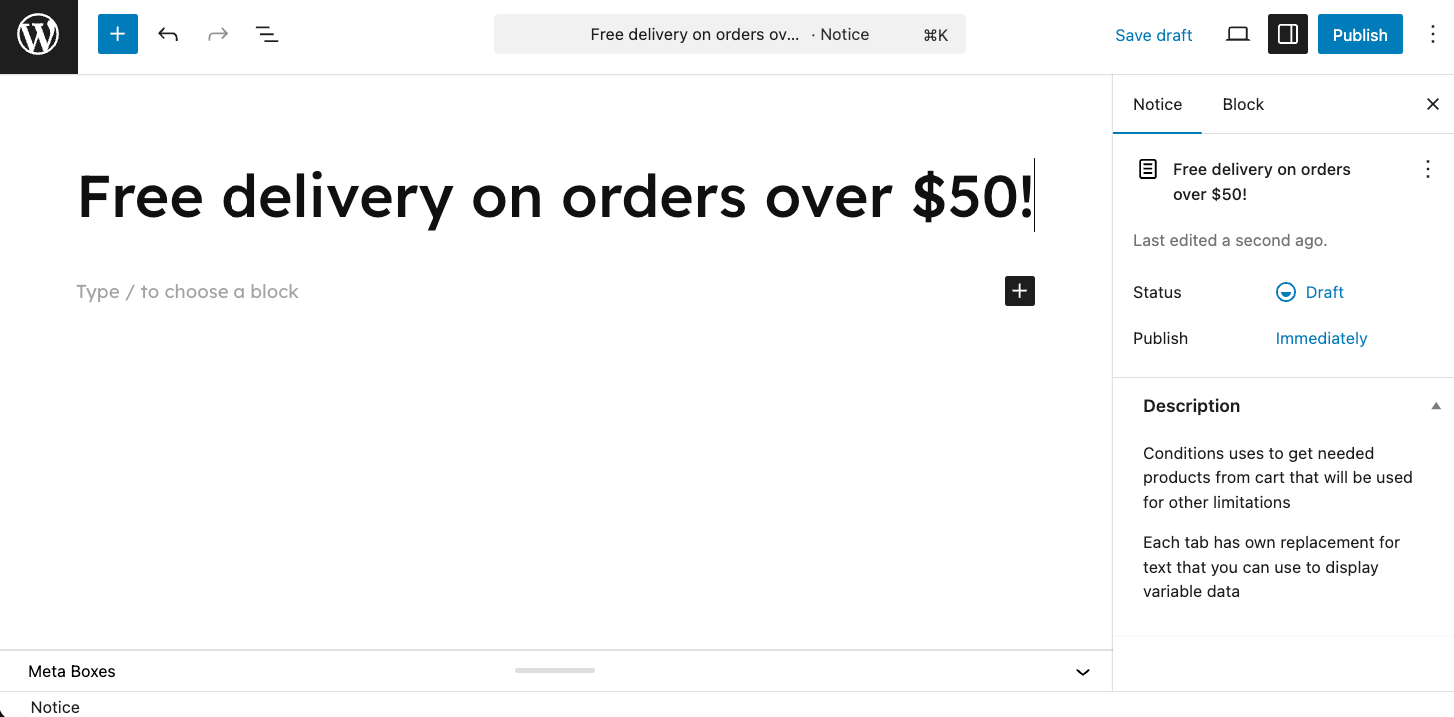
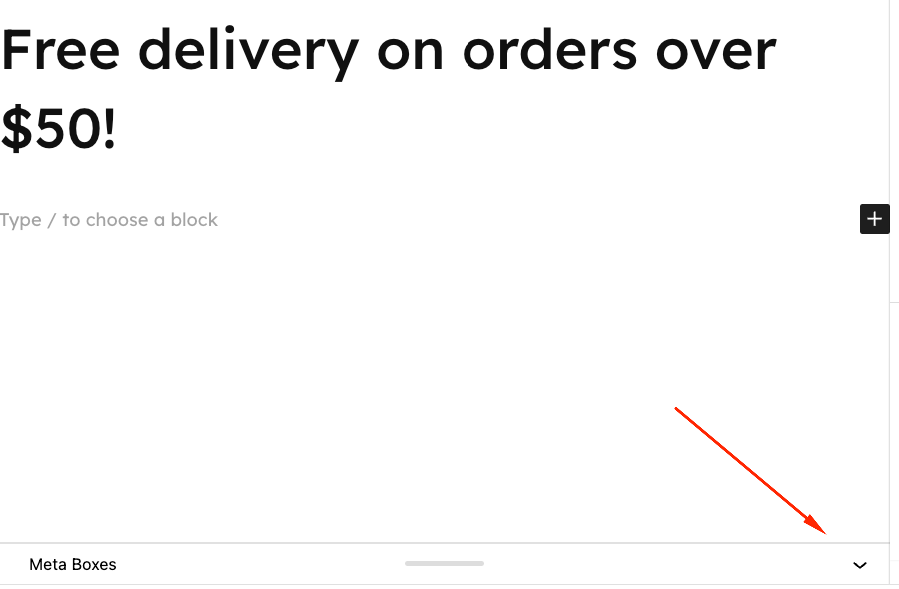
- Click on the Meta Boxes arrow to open the Notice settings menu.
- Add your conditions. You can apply the notice to a specific product, category, stock quantity, and more.
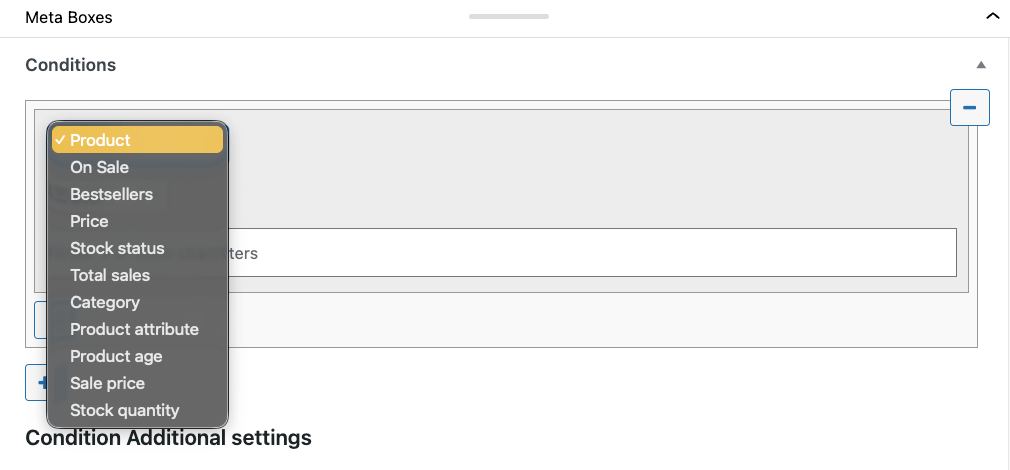
- Choose the condition mode:
- Normal – Condition will check each product, but display only 1 notice for products summary.
- Cart – Condition will check all products in cart and display only 1 notice for cart summary.
- Each product – Condition will check each product and will display 1 notice for each product that matches conditions.

- Scroll down to Cart Notice Settings, and you’ll be able to set up the different categories and other conditions, such as the cart price, time, products, category, and referrer host.

- For example, we can set up a price threshold (e.g. $50) and choose the price type (if it’s the product price with or without tax).
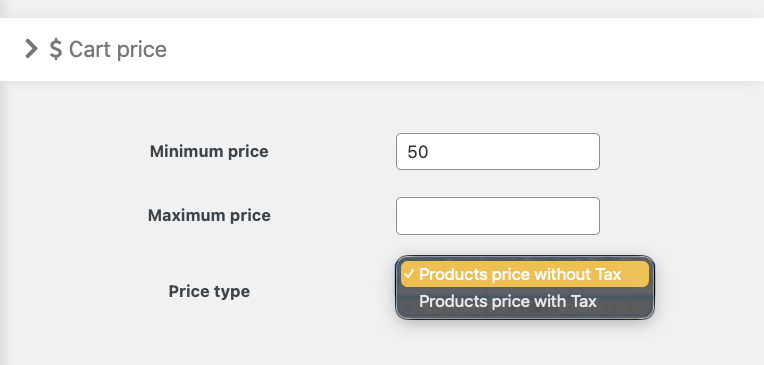
- Save and publish.
The plugin offers 5 conditional triggers: minimum cart amount (like the one we just did), time-based deadlines, specific products in cart, product categories, and customer referrer source. You can also add call-to-action buttons that link to specific pages.
One limitation to note: BeRocket’s free plugin displays static messages. If you want dynamic calculations like “Spend $12.50 more to qualify for free delivery,” you’ll need a premium solution such as WooCommerce Cart Notices by SkyVerge ($43/year).
This paid plugin includes the {amount_under} variable that automatically calculates the remaining amount needed – and it’s compatible with both classic carts and the newer Cart Block editor introduced in WooCommerce 8.3.
Using custom code to add cart messages
If you prefer working with code, you can add cart messages using WordPress hooks. The approach depends on whether your store uses the classic shortcode-based cart or the newer block-based cart.
Option 1: Using the woocommerce_before_cart hook for the classic shortcode-based cart
This PHP snippet approach only works if your store still uses the traditional shortcode-based templates. Starting with WooCommerce 8.3, all new installations default to block-based Cart and Checkout pages instead.
How do you know which one you have? Check your Cart page in the WordPress backend editor. If you see the [woocommerce_cart] shortcode, you’re on the classic cart. If you see a visual block layout, you’re on the block-based cart.
For classic carts, add this code to your child theme’s functions.php file or use a code snippets plugin:
add_action( 'woocommerce_before_cart', 'my_not_empty_cart_message' );
function my_not_empty_cart_message() {
if ( ! WC()->cart ) {
return;
}
$count = WC()->cart->get_cart_contents_count();
// Show message when cart is NOT empty
if ( $count > 0 ) {
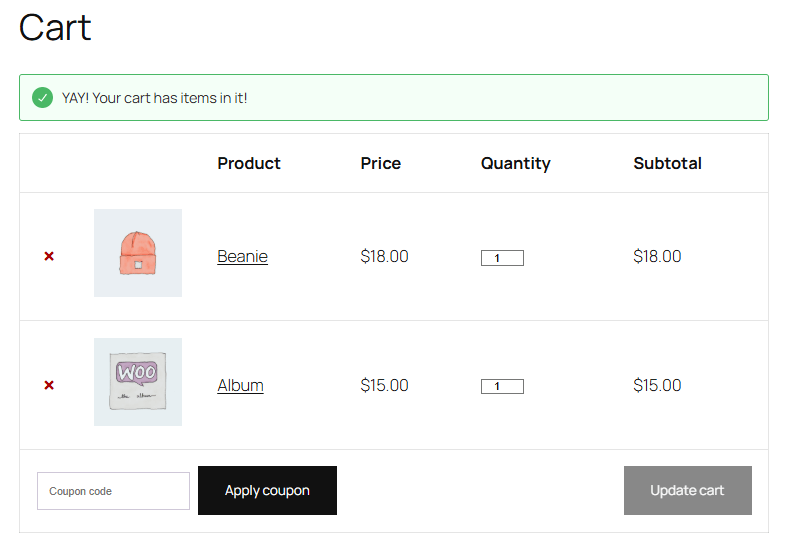
wc_print_notice( 'YAY! Your cart has items in it!', 'success' );
}
}Code language: PHP (php)The woocommerce_before_cart hook places your message above the cart table. You can customize the message text inside the wc_print_notice() function to say whatever you need – shipping policies, lead time warnings, and promotional reminders.
The wc_print_notice() function automatically inherits your theme’s WooCommerce notice styling, so your message will match your store’s design. The second parameter accepts three values: ‘success’ (green), ‘error’ (red), or ‘notice’ (blue).
Important: The block-based cart doesn’t use PHP templates – it renders through JavaScript/React components. If you have a block-based cart, this hook won’t work. Use the JavaScript method below instead.
Option 2: Using custom JavaScript for the block-based cart
If your store uses the block-based cart (default since WooCommerce 8.3), you’ll need a JavaScript approach instead. This code snippet works with both cart types, making it a safer choice if you’re unsure which template you’re using.
Add this to your child theme’s functions.php file or a code snippets plugin like Code Snippets:
add_action( 'wp_footer', 'my_cart_first_item_message_js_nosession' );
function my_cart_first_item_message_js_nosession() {
// Only run on Cart page
if ( ! function_exists( 'is_cart' ) || ! is_cart() ) {
return;
}
if ( ! function_exists( 'WC' ) || ! WC()->cart ) {
return;
}
// Get cart count
$count = WC()->cart->get_cart_contents_count();
?>
<script>
(function() {
// Get the PHP cart count in JS
var cartCount = <?php echo (int) $count; ?>;
// Only show message when there is EXACTLY 1 item in the cart
if (cartCount !== 1) {
return;
}
// Create notice
var notice = document.createElement('div');
notice.className = 'woocommerce-message wc-first-item-message';
notice.innerHTML = 'YAY! You just added your first item to the cart!';
// Insert in commonly used wrappers
var container =
document.querySelector('.woocommerce-notices-wrapper') || // Classic cart
document.querySelector('.wp-block-woocommerce-cart') || // Cart Block
document.querySelector('form.woocommerce-cart-form') || // Fallback
document.body;
if (container && container.parentNode) {
container.parentNode.insertBefore(notice, container);
} else {
// Absolute fallback
document.body.insertBefore(notice, document.body.firstChild);
}
})();
</script>
<style>
.wc-first-item-message {
margin-bottom: 15px;
}
</style>
<?php
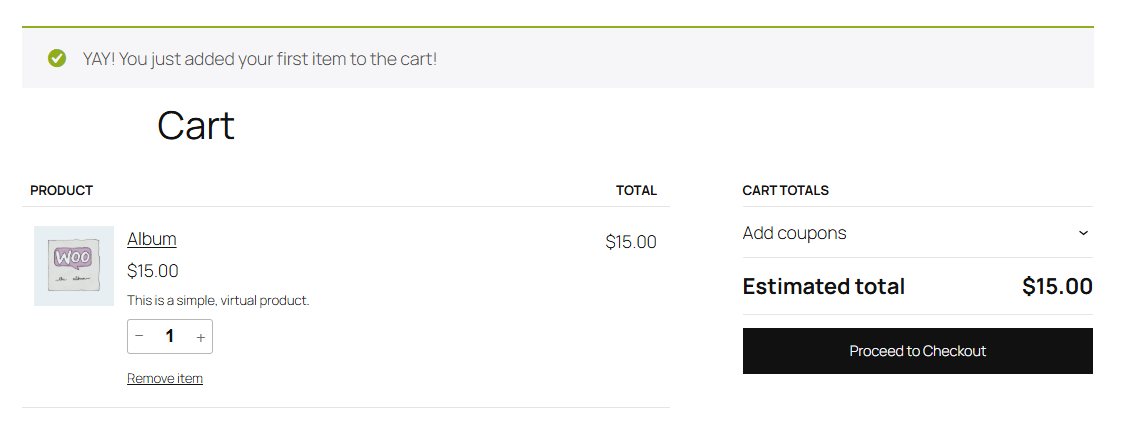
}Code language: JavaScript (javascript)This example displays a message only when the cart contains exactly 1 item – perfect for welcoming first-time additions. Customize the message by editing the text inside notice.innerHTML.
This is how it looks when a user adds their first item:
And this is how it will look when they add more items:
Want the message to display regardless of cart contents? Simply remove the conditional check and your notice will appear on every cart page load.
⚠️Safety reminder: Never edit your parent theme directly. Theme updates will erase your changes. Always use a child theme’s functions.php or a code snippets plugin to keep your customizations safe.
How to change the WooCommerce “Added to cart” message
This is a different use case from cart page messaging, but it comes up often enough to address here.
The “X has been added to your cart” notification is a transient confirmation that appears briefly after a customer clicks the Add to Cart button. It’s not a persistent message on the cart page itself – it’s a system notification handled by WooCommerce’s core logic.
To customize this message, use the wc_add_to_cart_message_html filter:
add_filter( 'wc_add_to_cart_message_html', 'custom_add_to_cart_message' );
function custom_add_to_cart_message( $message ) {
    return 'Nice choice! Your item is waiting in the cart.';
}Code language: PHP (php)
Add this snippet to your child theme’s functions.php or a code snippets plugin.
⚠️The distinction matters: The “Added to cart” notice is a fleeting confirmation that disappears after a few seconds or on page reload. Cart page messages, as covered above, persist while customers review their items. For block-based carts, remember that persistent messages require the JavaScript approach rather than traditional PHP hooks.
Start communicating your cart messages properly today
Cart messages do more than display text. They inform customers about savings, encourage higher cart values, and set clear expectations before checkout. The right message at the right moment can mean the difference between an abandoned cart and a completed purchase.
The key is matching your tool to your message intent.
- For general communication – shipping thresholds, lead times, policy reminders – use dedicated messaging plugins or custom code. These give you flexibility with conditions and placement.
- For discount confirmation messages, the approach is different. If you want to show “20% off applied!” or “BOGO deal activated!” when a promotion triggers, configure those messages directly within your discount plugin. This keeps your discount rules and messaging in one workflow instead of juggling separate tools.
WooCommerce Discounts by Studio Wombat handles this elegantly. When you create a discount rule, whether percentage-based, quantity-based, BOGO, or conditional, you can configure the confirmation message right there. The message appears automatically on product pages and in carts when customers meet the discount conditions.
Ready to pair automatic discounts with messages that convert? Get started with WooCommerce Discounts today.
