WooCommerce lacks native file upload functionality, but if you sell customizable products – custom T-shirts, personalized gifts, print-on-demand items, engraved jewelry – it’s a much needed feature.
So what do you do if WooCommerce doesn’t support file uploads natively? You go out in the wild, looking for a plugin that does.
However, once you add the tool, you’ll still need to adjust your settings to ensure a good experience for your customers. Thankfully, file upload plugins let you configure all kinds of settings, such as:
- Upload locations (product pages, cart, checkout).
- Validation rules (file types, sizes, dimensions).
- Security options (login requirements, file restrictions).
- Integration features (pricing, email attachments, progress bars).
This guide will help you do just that. We’ll show you how to add file upload fields using Advanced Product Fields, configure size limits and security for standard hosting, use conditional logic to show uploads only when needed, and verify that files attach reliably to orders.
Why product page file uploads work better than alternatives
Adding a file upload field at a product page level works best because:
- Customers personalize before adding to the cart, which reduces abandonment.
- Files are attached to product line items for a much simpler fulfillment process.
- Conditional logic is enabled and shows uploads only when needed – no page clutter.
- The field can integrate with other customization options like color swatches and text fields.
The alternative is operating at the cart and checkout level, though that mostly serves edge cases such as post-purchase submissions or store-wide requirements – more on that in a bit. The main point is that typical personalization scenarios, such as those we mentioned earlier, work best on product pages.
That’s because when customers can upload their custom design alongside selecting size and color, they commit to the purchase earlier in the journey. They won’t have to remember to upload files later at checkout, where rushed customers often abandon carts.
When you might need checkout or cart uploads instead
Product page uploads cover most customization needs, but that doesn’t mean cart/checkout placement is unnecessary. It works best for:
- Post-purchase documentation (prescriptions, insurance forms after payment)
- Store-wide requirements (every order needs files regardless of products)
- Delayed submissions (customers complete purchase, upload artwork later)
Dedicated extensions handle these scenarios but lack product-level conditional logic and customization integration.
So, if personalization is product-specific, use product page placement. The integration with other product options and earlier customer commitment consistently outperform checkout alternatives.
Add a file upload field with Advanced Product Fields
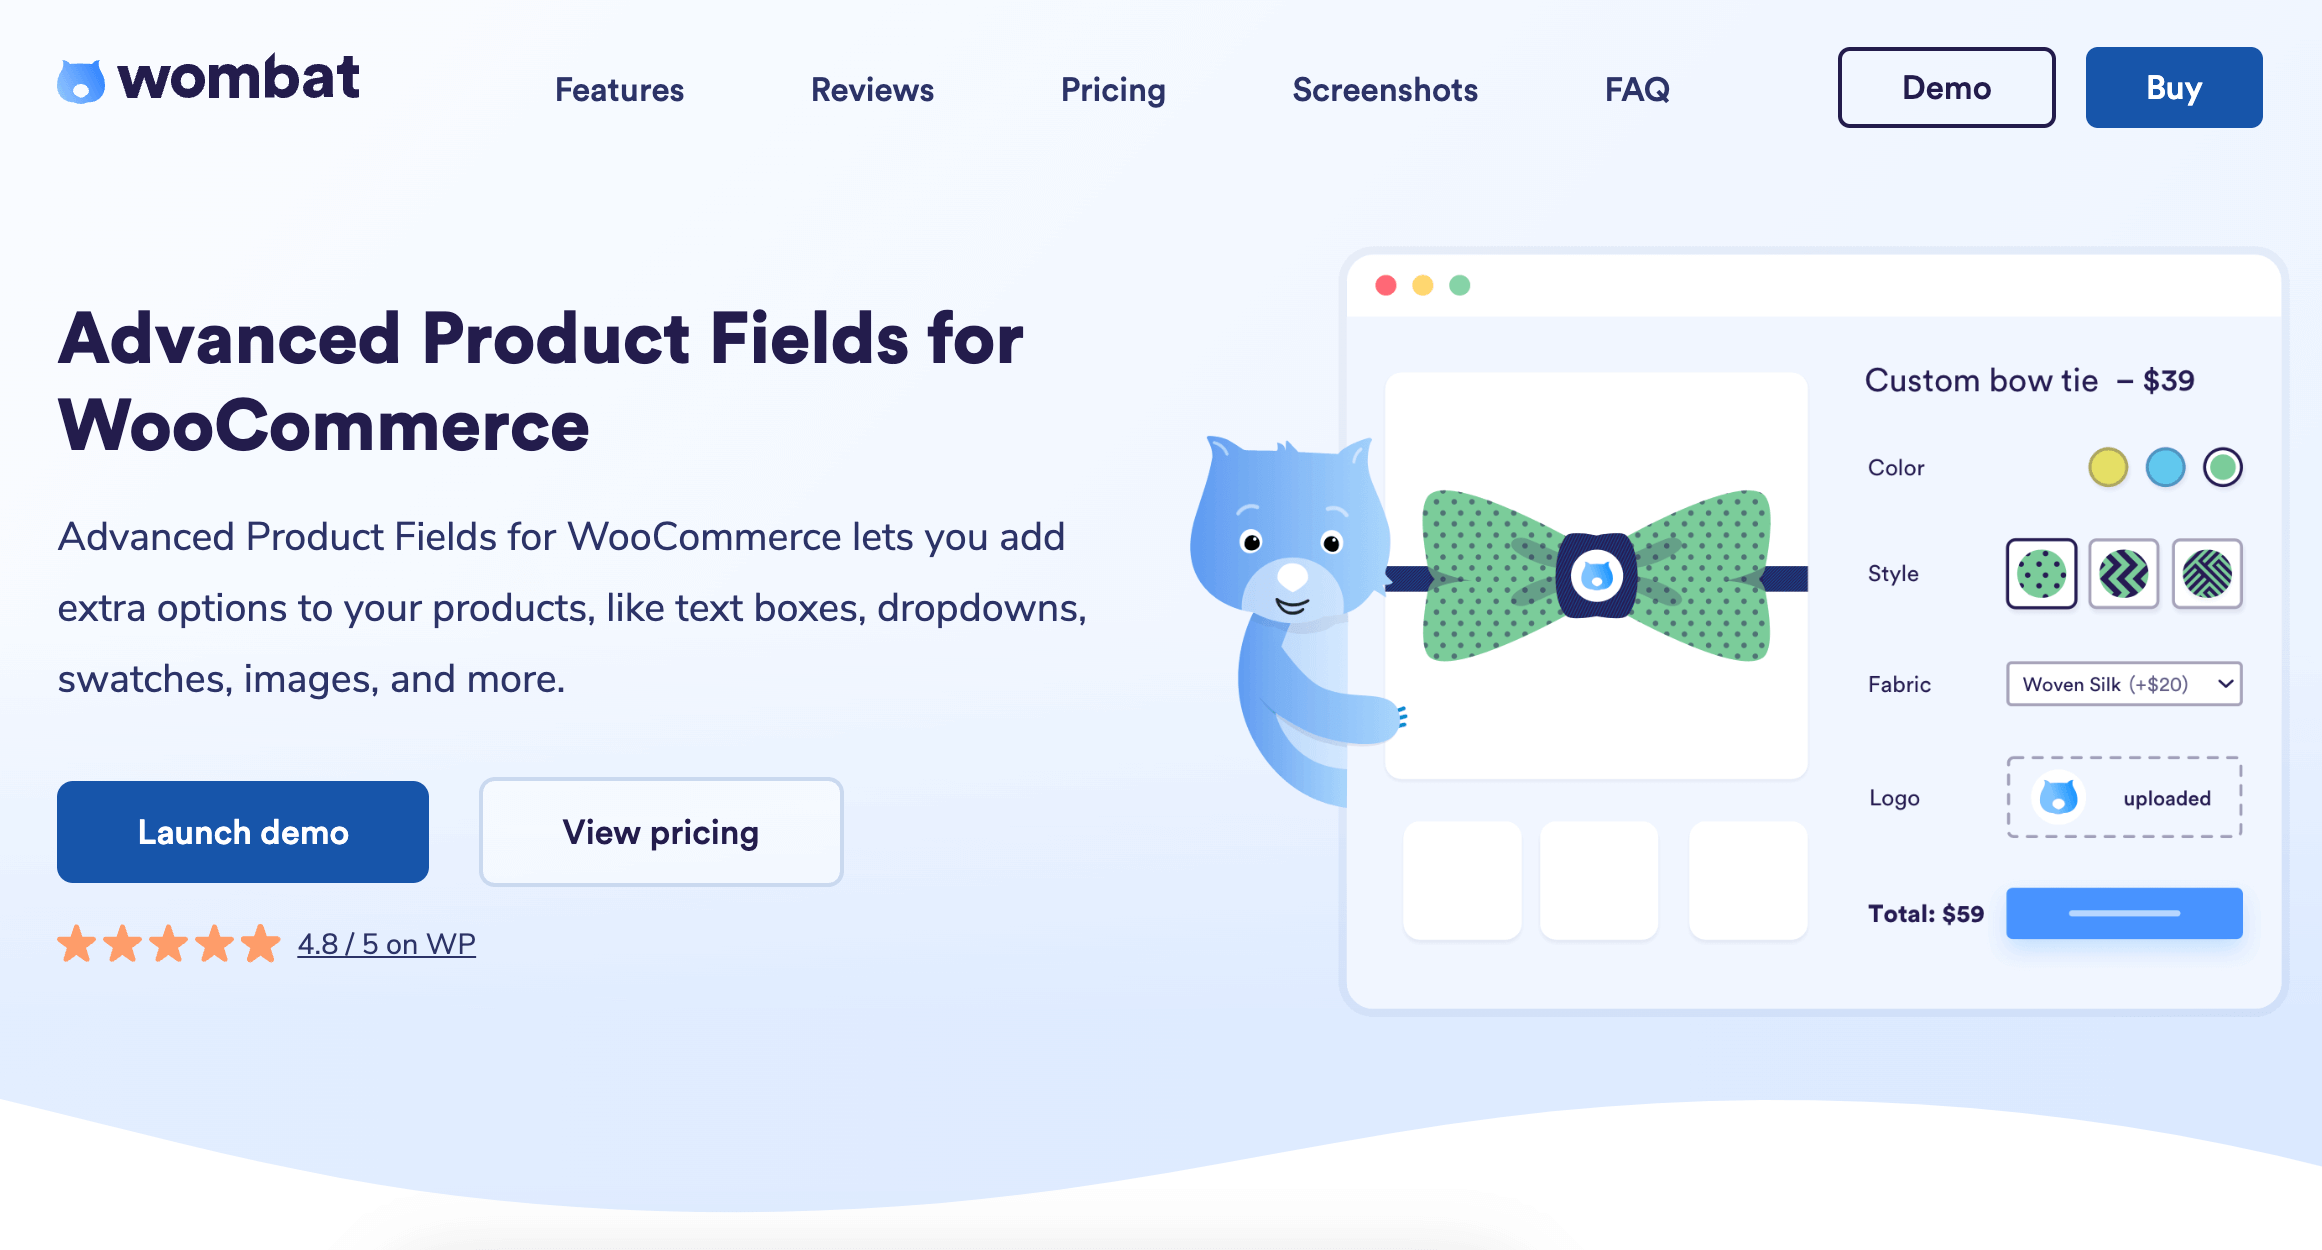
Advanced Product Fields is the best choice for most product personalization scenarios. Product page placement aligns with customer behavior, conditional logic keeps your product pages clean, and setup works on standard hosting.
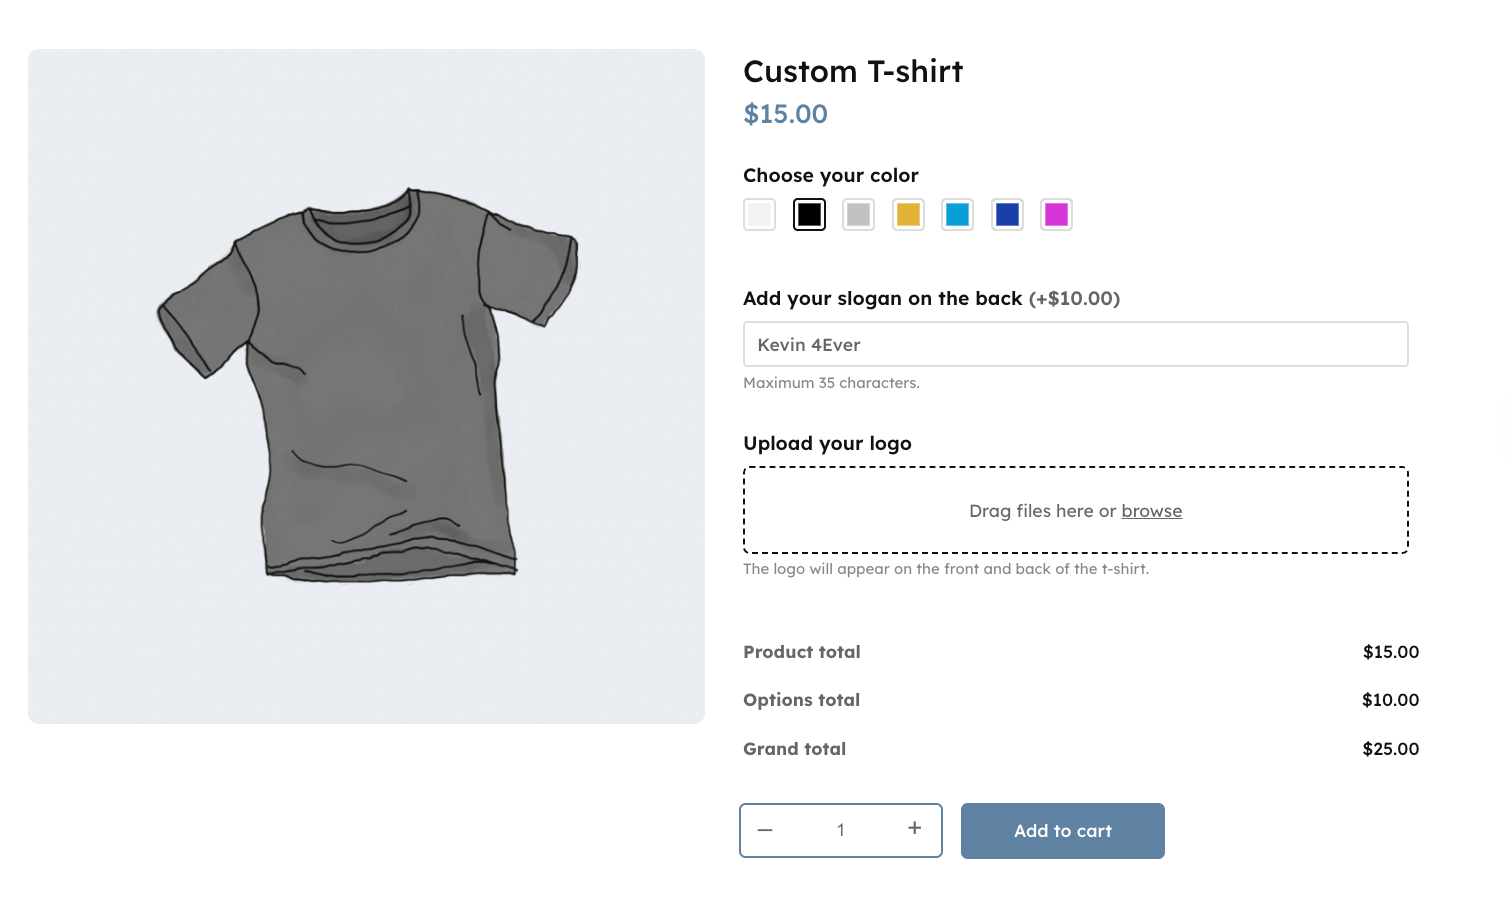
To show you how it works, let’s add a file upload field directly on a WooCommerce product page for a custom T-shirt.

Step 1: Create your products and add custom fields
Before you begin, download the plugin from your Studio Wombat account and upload it to your WordPress site.
⚠️With APF, you can add custom fields at a global level or for individual products. In this example, we will create a global field group that will apply to all T-shirt products in your catalog.
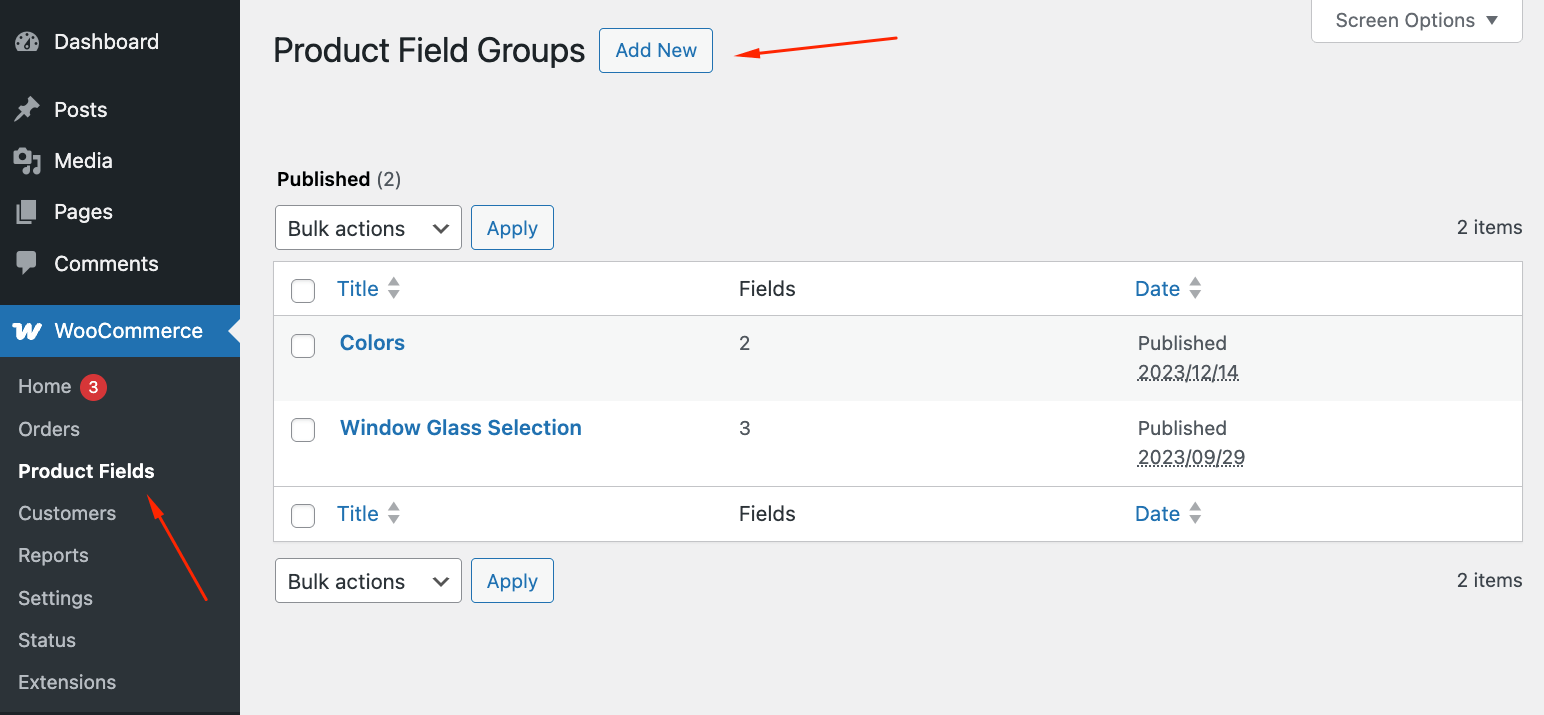
- Create a new field group by going to WooCommerce → Product Fields → Click Add Field Group.
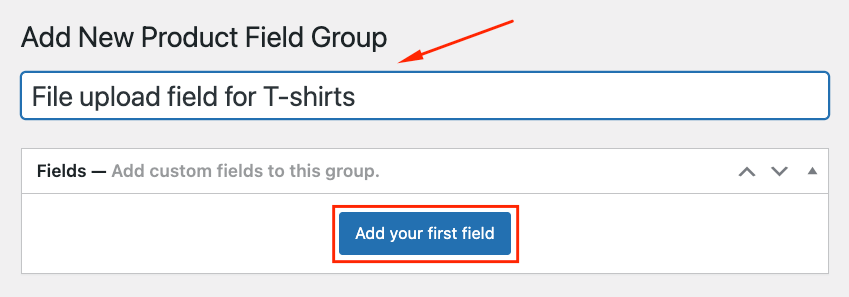
- Name your field group and click on Add your first field.
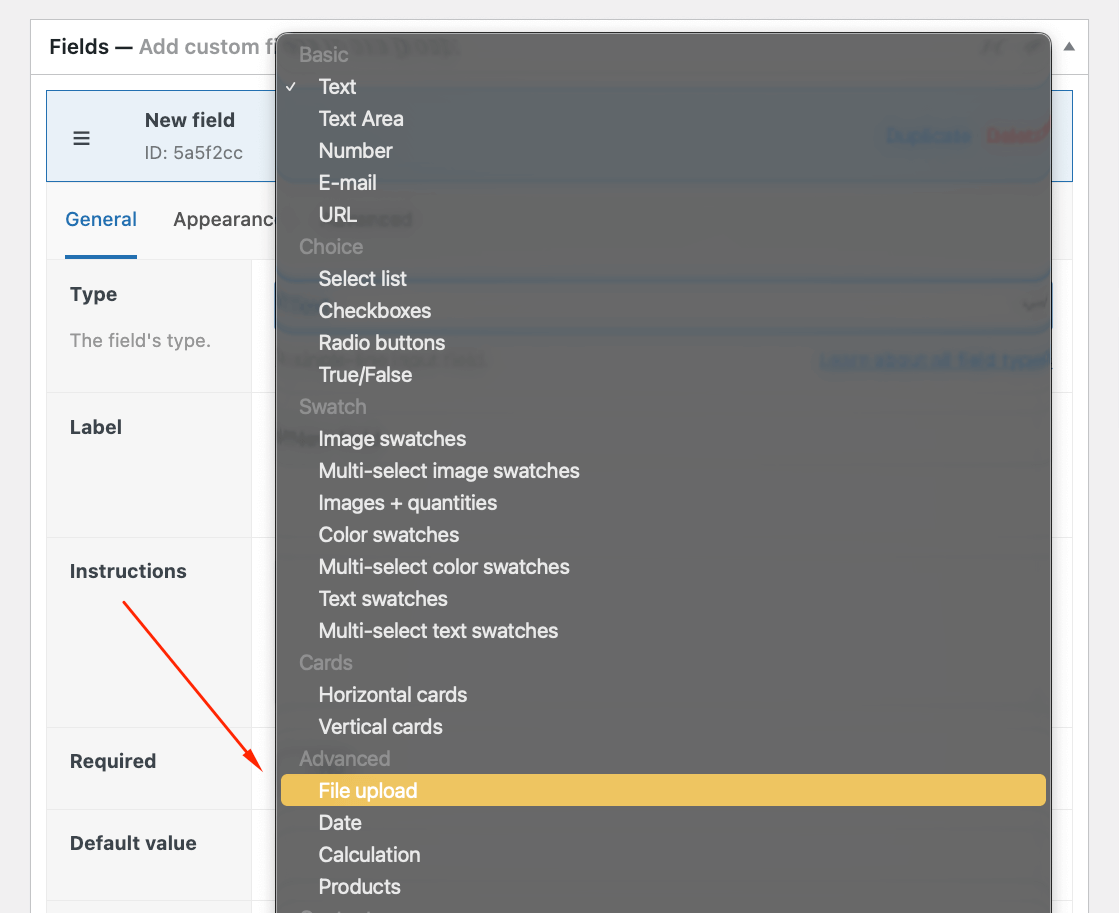
- Select the file upload field from the dropdown menu.
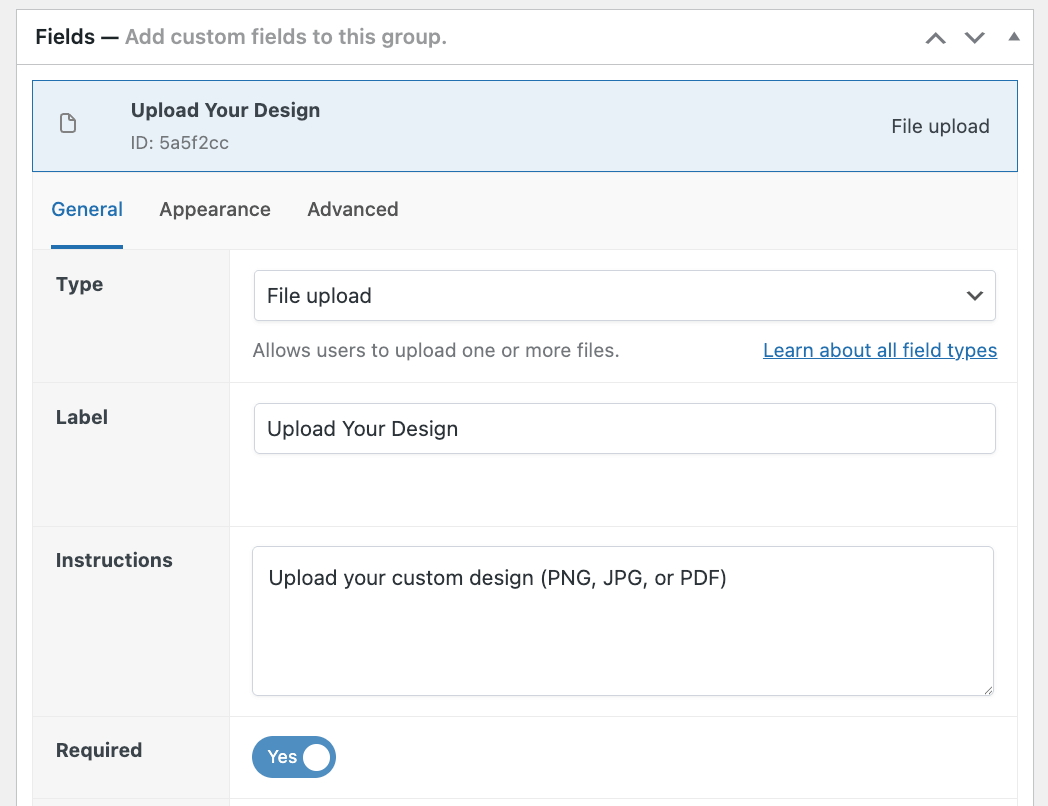
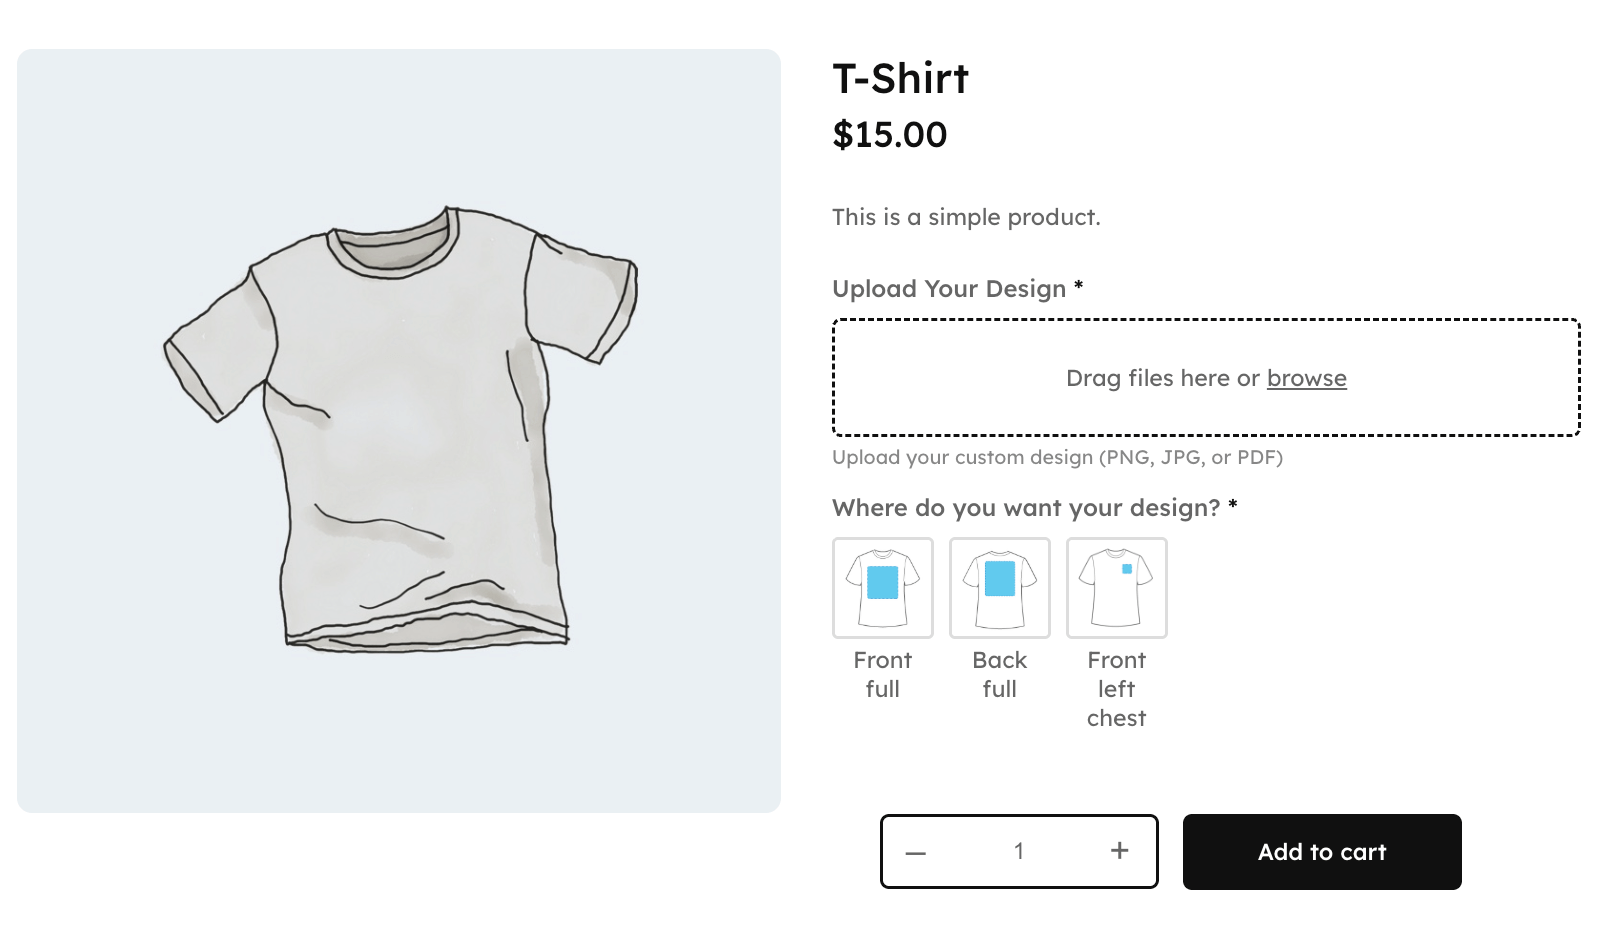
- Add a clear label like “Upload Your Design,” instructions – “Upload your custom design (PNG, JPG, or PDF),” and toggle the Required setting. With this, your basic file upload settings are complete – we’ll show you the more detailed ones in a bit!
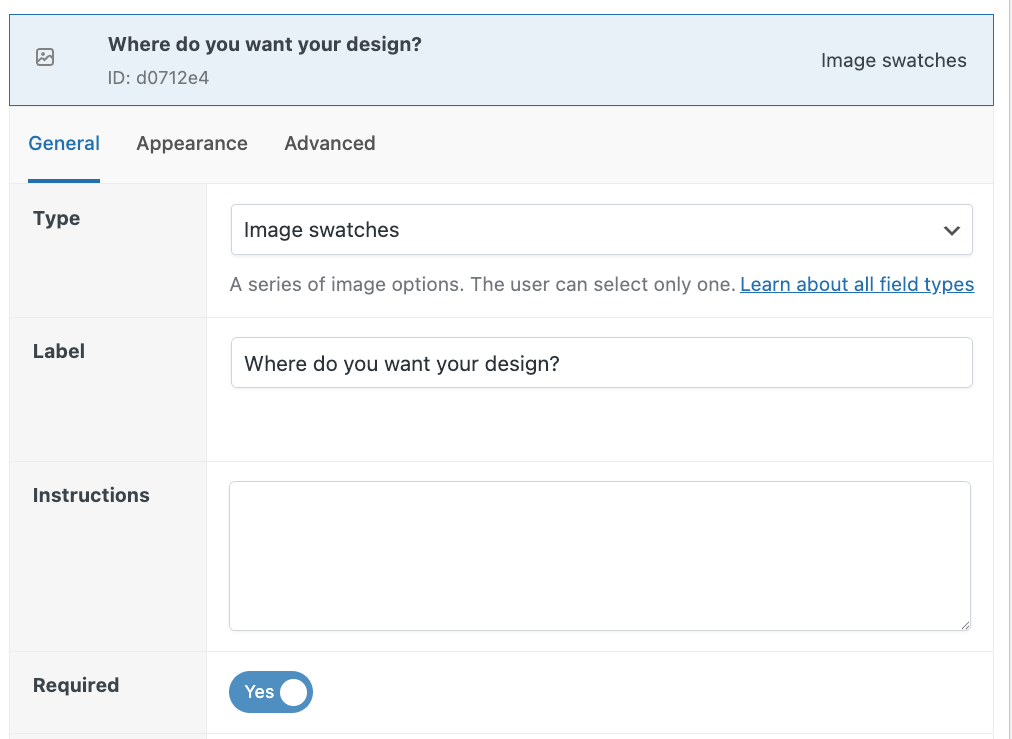
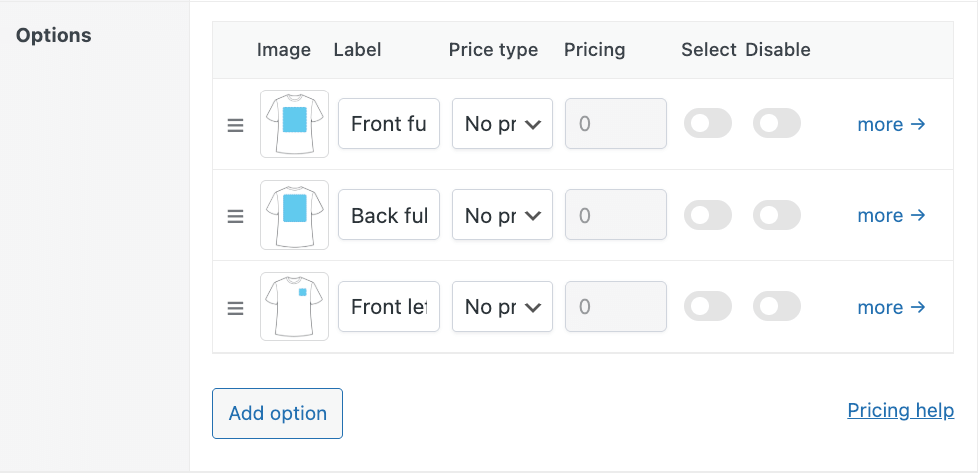
- Let users choose the placement by adding Image Swatches with examples. Add your label and instructions, toggle the Required setting.
- Add your options.
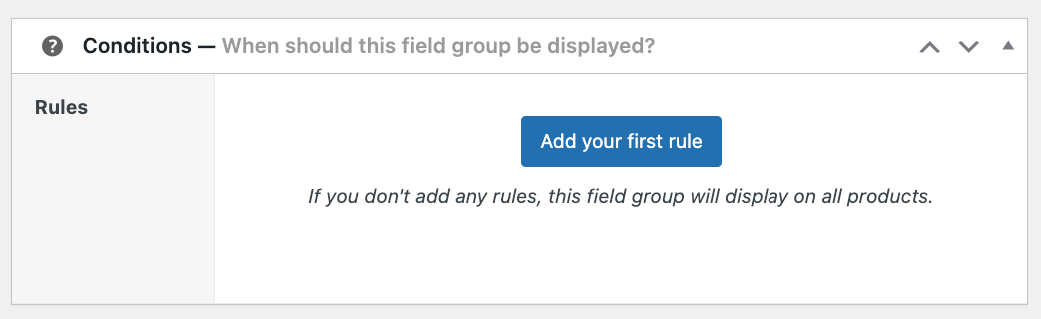
- Finally, scroll down to the Conditions settings and click Add your first rule.
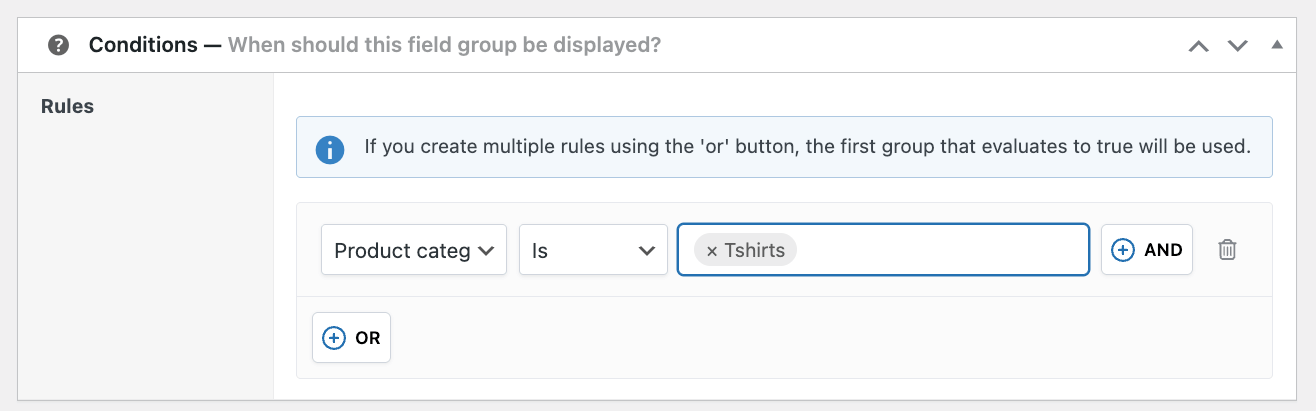
- Select to show this field group if Product category is Tshirts.
- Save your draft so you can check the front end, and if everything is okay, click Publish.
If you want to have all your product fields the same for all T-shirt products, you can add them here. For example:
- Size selector: Field type Radio buttons, add options (Small, Medium, Large, X-Large)
- Fabric choice: Field type Radio buttons, add options (Cotton, Polyester Blend, Premium Cotton)
- Delivery date: Field type Date, label it “When do you want this delivered?”
Your customizable shirt now accepts customer designs and automatically renders previews.
Advanced Product Fields includes drag-and-drop by default and supports AJAX uploading if enabled.
- Customers drag files from the desktop directly onto the upload field
- Progress bars show upload status in real-time
- Thumbnail previews verify the correct file selected
- Multiple file uploads work when configured
- Prevents adding to cart during active uploads
Everything works out of the box without additional configuration.
Want to see how the live preview works? Check out this guide that shows you how to create a customizable phone case.
2. Configure file limits, sizes, and upload options
Advanced Product Fields gives you precise control over what customers can upload, but understanding the technical constraints prevents frustrating upload failures.
Limiting the file types
First of all, we recommend restricting the accepted file types only to the ones that make sense:
- JPG and PNG for image designs
- PDF for print-ready files with embedded fonts
- Docx, pdf, and TXT for documentation
You apply these limits when you’re creating your file upload field:
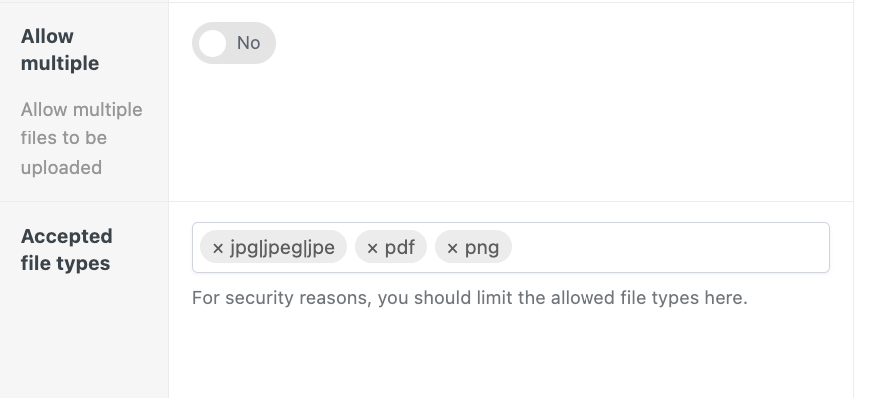
This protects your server while ensuring you receive usable files. Plus, your customers won’t have to go through the frustrating process of uploading their files again.
Configuring file size settings
With APF, you can set a minimum and maximum file size. The minimum helps ensure you’re only working with high-quality files, while the maximum keeps you within your setup’s limits.
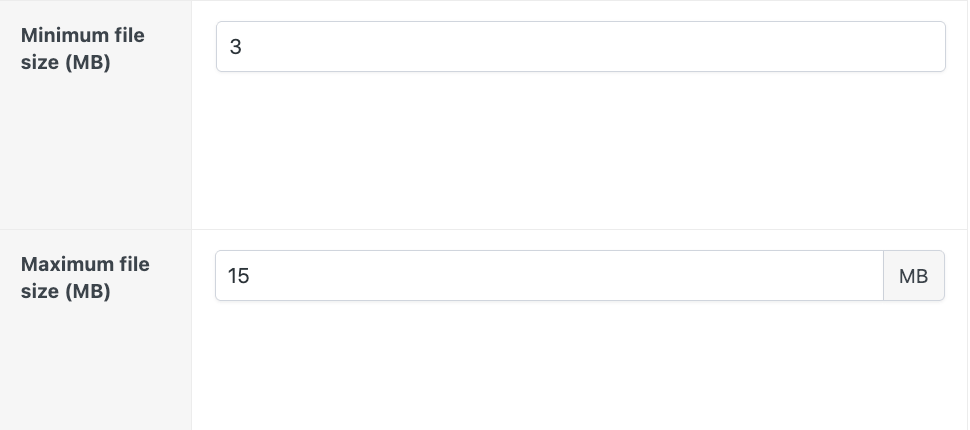
Most customization scenarios, such as T-shirt designs, greeting card artwork, and simple logos, fall within the 2-10 MB range and rarely exceed it. That being said, you can still run into issues even if uploads do fall within that range.
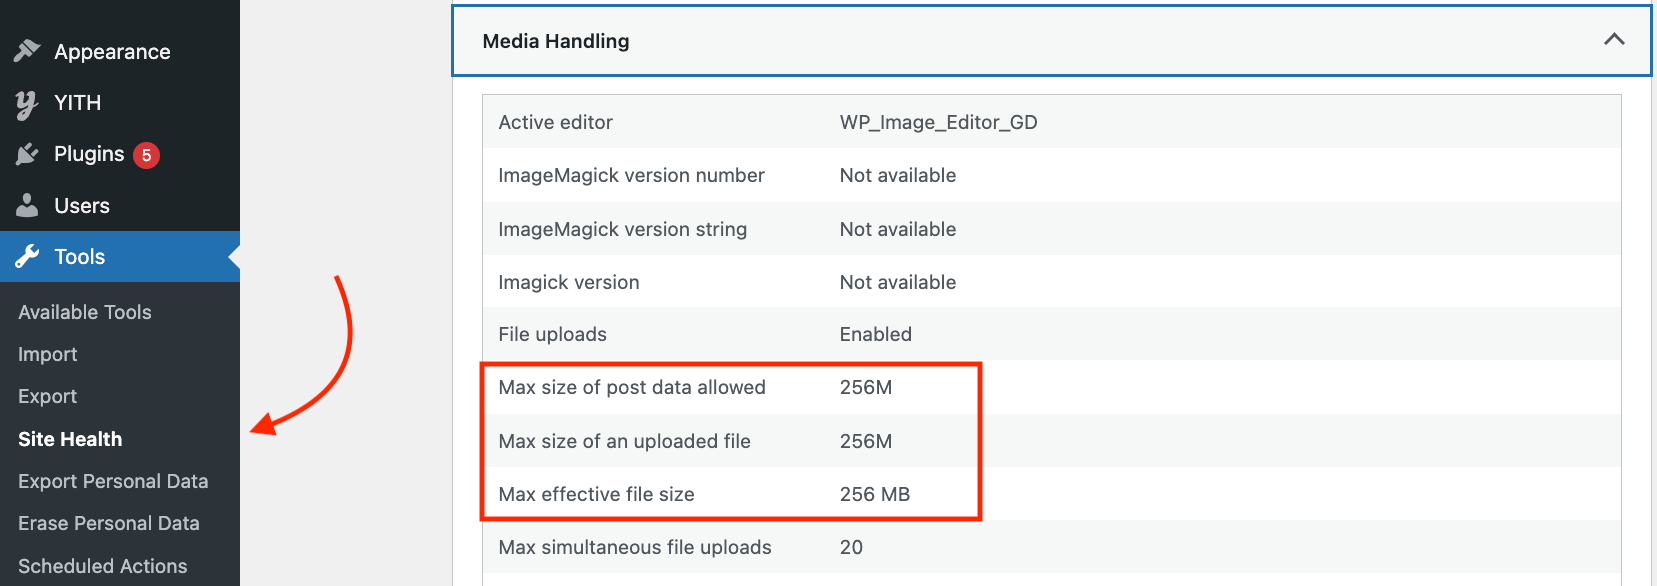
That’s because plugin settings can’t exceed server PHP limits (upload_max_filesize and post_max_size). This constraint causes more upload failures than any other issue. Let’s show you what we mean.
Say you configure Advanced Product Fields to accept 10 MB files. Everything tests fine with small images. Then a customer uploads their 5 MB design and gets a mysterious error.
The culprit? Your server’s PHP limit is capped at 2 MB, completely overriding your plugin settings. That’s why you need to always check your actual upload limit. Thankfully, it’s pretty easy to do so. Just go to Tools → Site Health → Info → Media Handling.
If your size limit is capped incorrectly, you’ve got a couple of options. The easiest is to contact your hosting support and request an increase. Most hosts adjust PHP settings within minutes.
For more advanced users, you can manually edit configuration files, but incorrect changes can break your site.
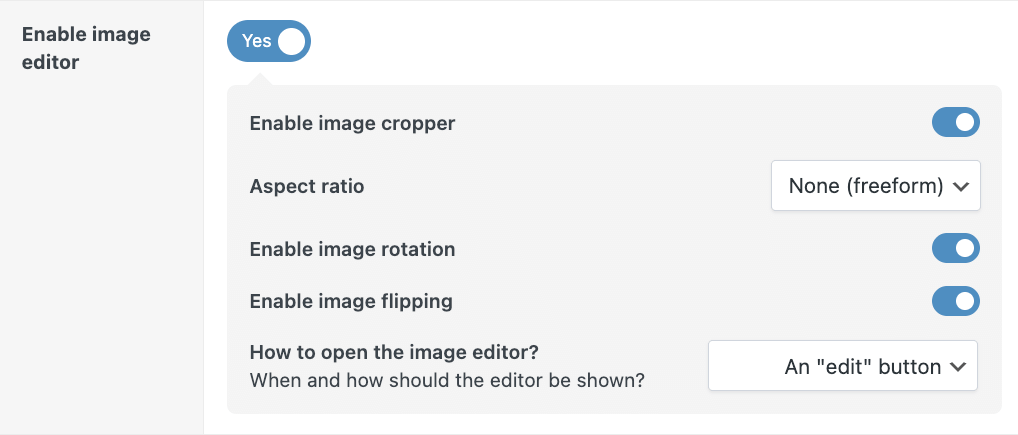
Alongside this, you’ll also want to enable crop, rotate, and flip tools so customers can adjust uploads before submitting. This eliminates frustrating email exchanges about orientation issues or incorrect framing.
With APF, this is very easy. Just toggle the Enable image editor option in the settings:
Step 3. Use conditional logic to enhance UX
Conditional logic shows upload fields only when customers need them, preventing unnecessary clutter on your product pages.
| Logic type | When to use | Example scenario |
| Category-based | Show uploads for specific product categories | Enable file uploads for “Custom Apparel” while hiding from “Standard Products” |
| User role | Target B2B customers or wholesale buyers | Show custom engraving options only to logged-in wholesale accounts needing bulk personalization |
| Selection -dependent | Reveal based on previous selections | Hide the upload field until the customer chooses “Upload My Logo” instead of “Standard Design” |
We already have one global conditional rule: Show the file upload field only when the category is T-shirts. However, we can go even further and give our customers the option to choose, hiding the upload field unless they say so.
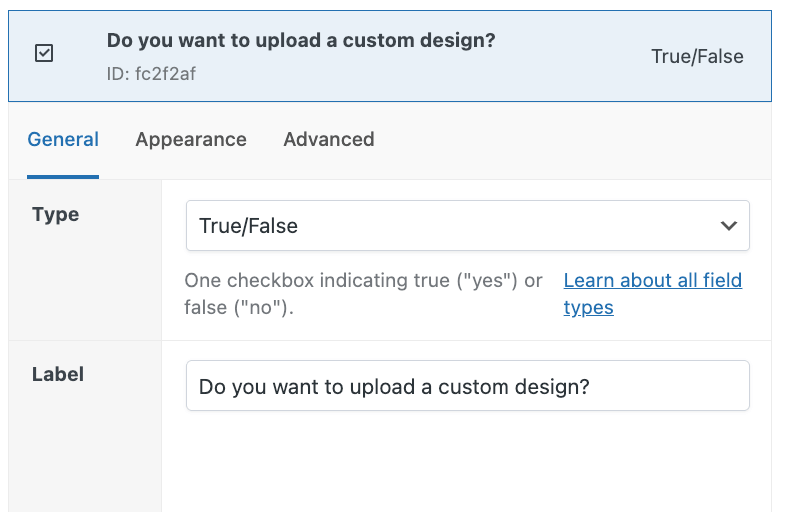
- Start by creating a True/False product field and giving it a clear label.
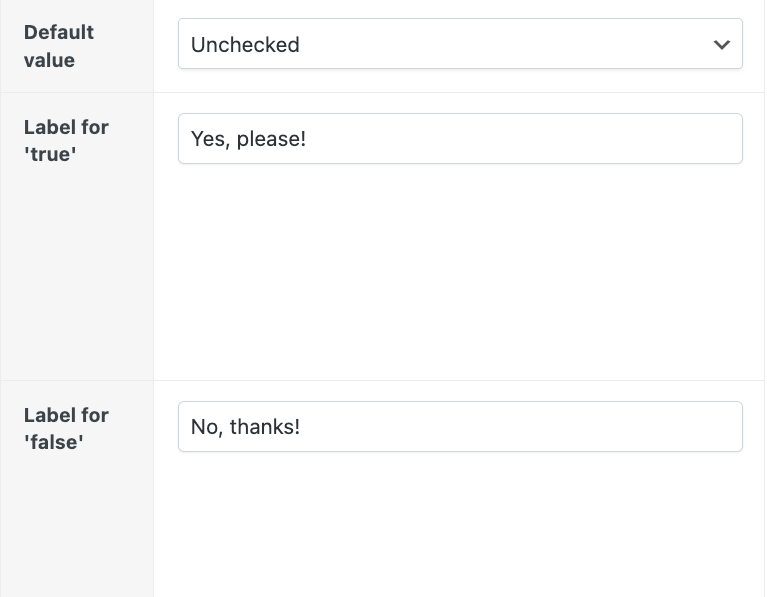
- Select the default value and add custom labels for both options.
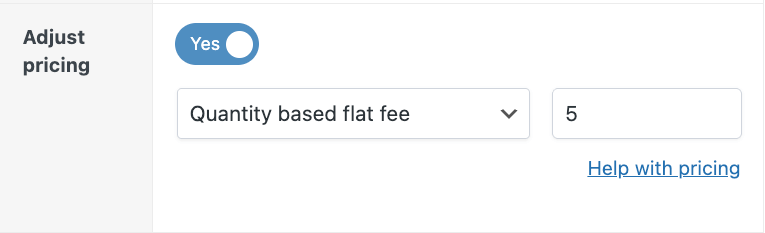
- You can even let the option adjust the pricing – adding an extra fee for custom designs while keeping the standard options affordable.
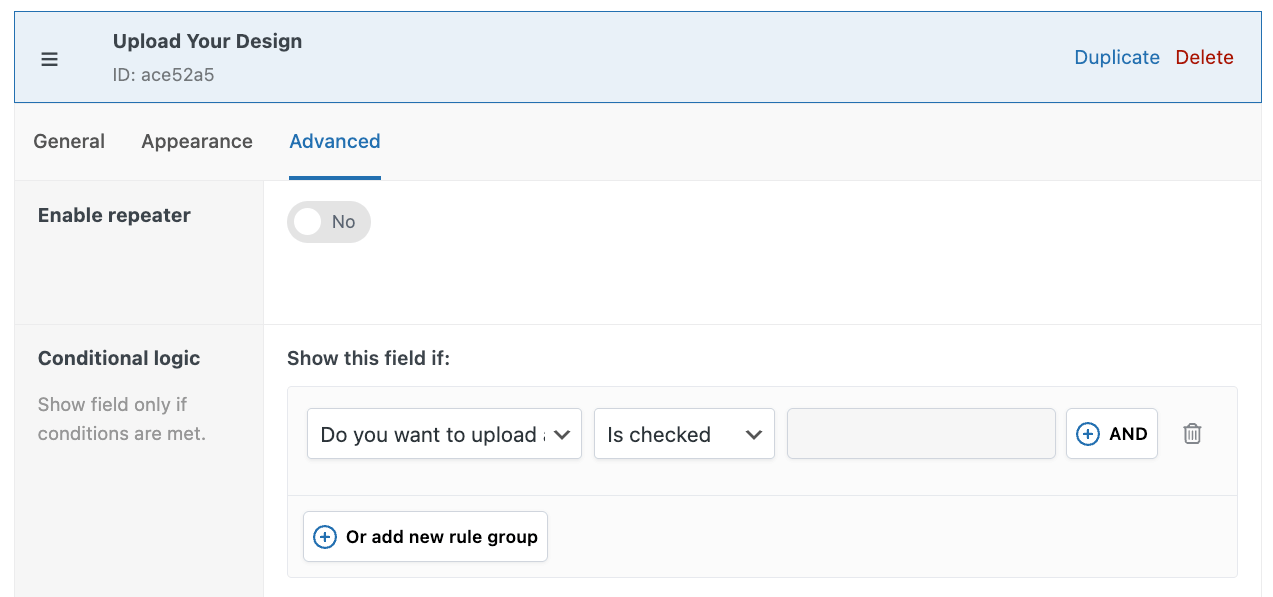
- Go back to your file upload field and click on the Advanced settings.
- Add a condition rule that shows the field only if the customer has selected that they want a custom design.
- Do the same for the image swatch field with the positioning options.
- Save your changes and test on the front end.
You can learn how in our extensive guide on conditional logic fundamentals.
Step 4. Add upload fees for customization services
Want to add more fees like the one above? With APF, you can easily configure pricing options such as:
- Flat fee: $5 per order for custom design
- Quantity-based flat fee: $3 per uploaded file
- Percentage-based fee: 15% product price increase
- Quantity percentage fee: 3% of product price per uploaded file
If needed, you can also add formula-based pricing for advanced calculations that factor in multiple variables.
Whatever you choose, on the front end, the customer will see a detailed pricing breakdown that automatically displays on the product page when the specific options are selected.
Step 5. Verify uploaded files are attached to the orders
Place a test order with a realistic file before going live. Then go to your active order and see whether uploaded files appear in order details as downloadable links.
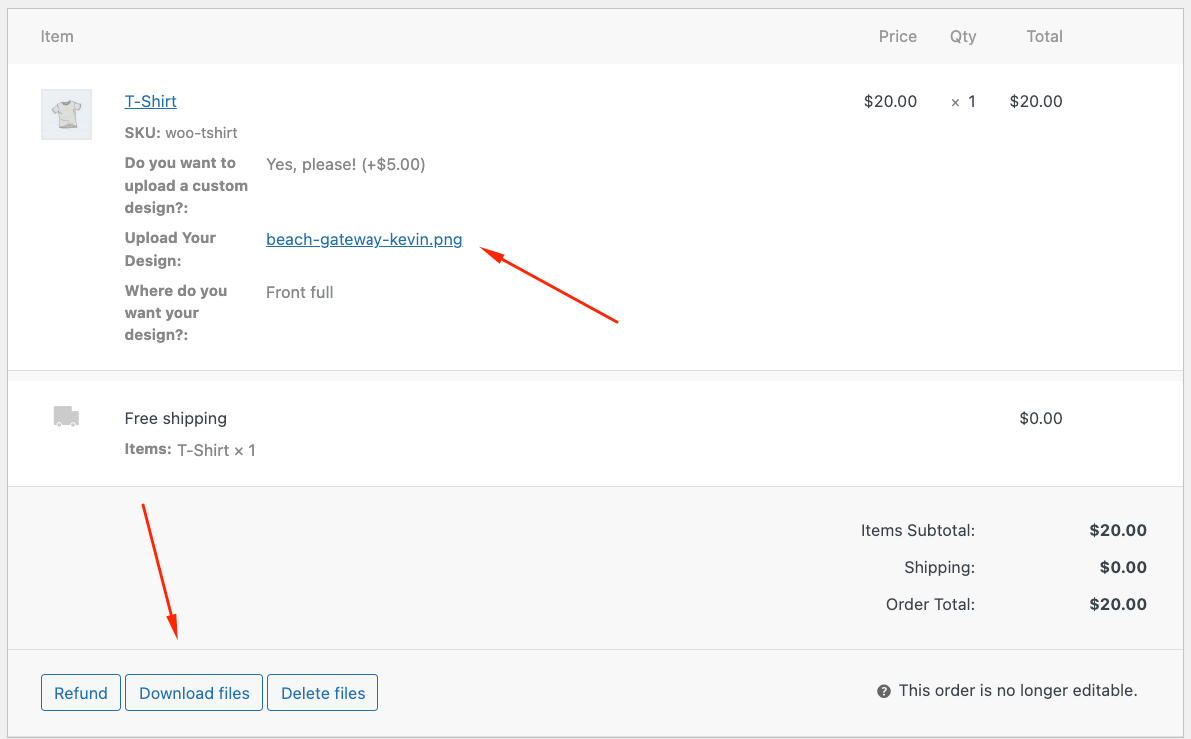
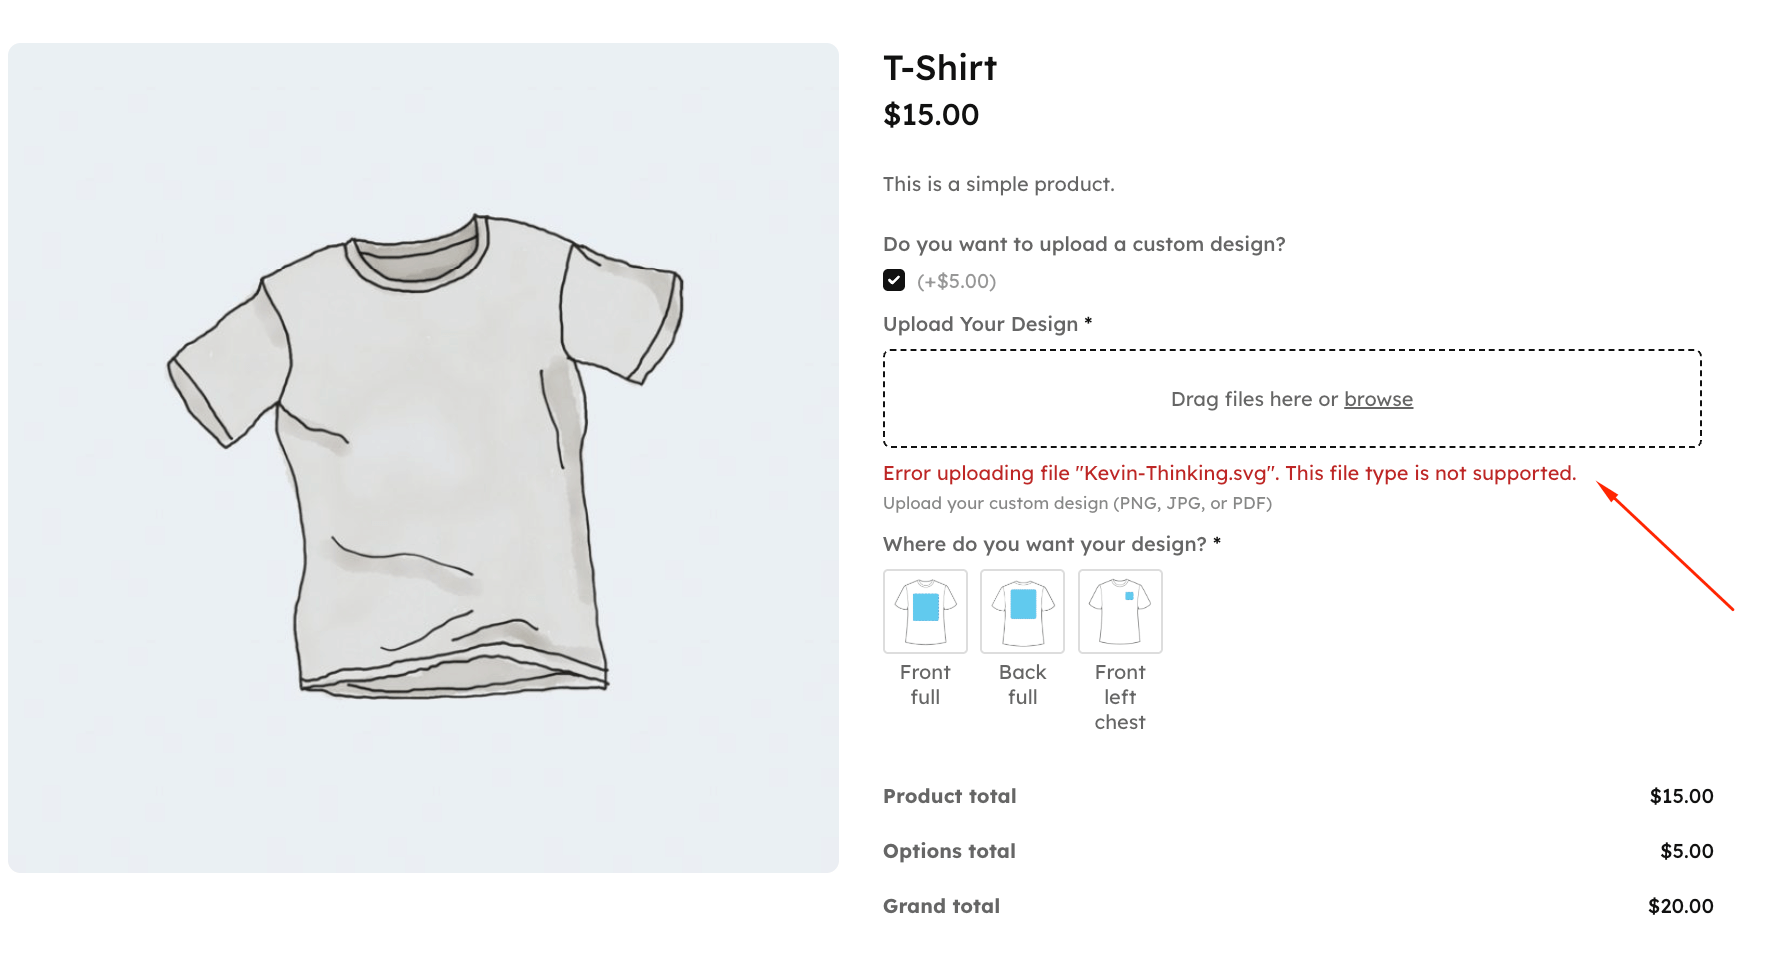
You can also test uploading a blocked file type to verify that error messages display correctly.
If files are missing: Check your field group assignment under Location Rules and verify the scope settings match your product type.
Step 6. Secure uploaded files from public access
Advanced Product Fields uses WordPress’s built-in secure file handling to protect uploads automatically, so you don’t need to adjust anything extra. There are basic but effective security features, like:
- Files are saved to protected subdirectories with randomized names
- Only allowing needed file types (blocks malicious uploads like .exe or .php files)
- Adding .htaccess protection to prevent directory browsing
Fix uploads that fail despite correct plugin settings
Occasionally, even when it looks like you’ve configured everything correctly, something could still go wrong. We’ve compiled some of the most common issues you might face, along with easy fixes that should get you up and running again.
| Symptom | Likely Cause | Solution |
| Uploads fail at 2MB | Server PHP limits are lower than plugin settings | Contact your host to increase upload_max_filesize and post_max_size values |
| Upload field doesn’t appear | Field group not assigned to products or conditional logic, hiding it | Check Location Rules assignments and verify that conditional logic rules aren’t blocking the field |
| Files missing from orders | Scope mismatch or plugin conflict is interfering with file attachment | Verify scope settings match your product type, test with the default WordPress theme to isolate conflicts |
| Generic browser errors | Disallowed file type or special characters in filename | Add the MIME type to allowed formats, ask customers to remove special characters from filenames |
Start accepting custom file uploads today
WooCommerce lacks native upload functionality, but product page placement with Advanced Product Fields gives you the most control over personalization workflows.
Product page file uploads convert better than cart or checkout alternatives. Conditional logic prevents customer overwhelm by showing fields only when needed. 10 MB limits work reliably on standard hosting. Verification testing prevents lost files and customer service headaches.
Advanced Product Fields delivers the modern drag-and-drop interface, conditional display rules, and product integration that personalization businesses require.
Files attach reliably to orders, giving you confidence to accept custom designs without worrying about lost submissions or frustrated customers.
Get Advanced Product Fields today and set up your first customizable product with file upload capabilities.
